

Last Updated on December 9, 2024
Need SharePoint for project management?
In this guide, I’ll show you how to use SharePoint for project management through its default features.
Let’s get started.
Table of Contents:
Although you can use SharePoint for many things, it has the right features and capabilities to help teams collaborate.
Some of the things you can expect here include:
- Centralized workspace
- Customizable features
- Task management tools
- Integration with Microsoft tools
- Sensitive data protection
For example, let’s say you’re managing a marketing campaign project.
With SharePoint, you can access a centralized project site where everyone can access key resources like guidelines and drafts.
Each team member can also be assigned tasks through task lists, with deadlines visible on a shared calendar.
👉 Related: How to Use SharePoint as Project Management Office (PMO) Portal
Sign up for exclusive updates, tips, and strategies
Create a Dedicated Project Site
Having a dedicated project site (for each project) keeps your team’s work organized and accessible in one single place.
Go to the start page (home button) in SharePoint and click the “Create site” button:
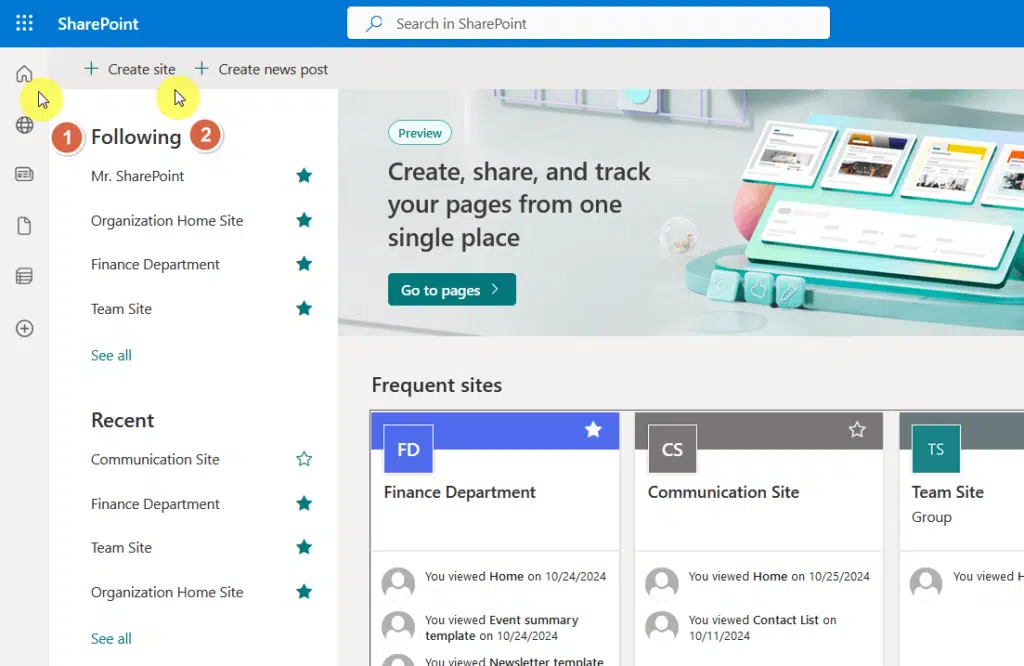
This process kickstarts the site creation process in SharePoint, giving you the 2 main options for a modern site.
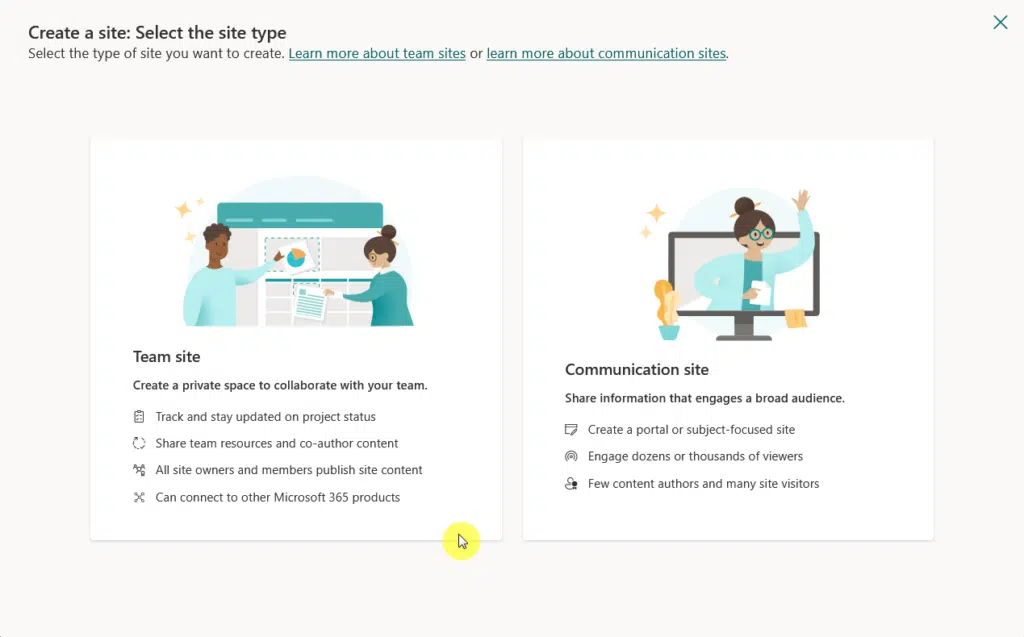
Since we’re talking here about a project site, the site to use is the team site as its features are designed for teams.
Select that option:
From there, all you have to do is select a template.
As you may have noticed, there’s a project management template complete with features and web parts for project management.
Here’s its preview:
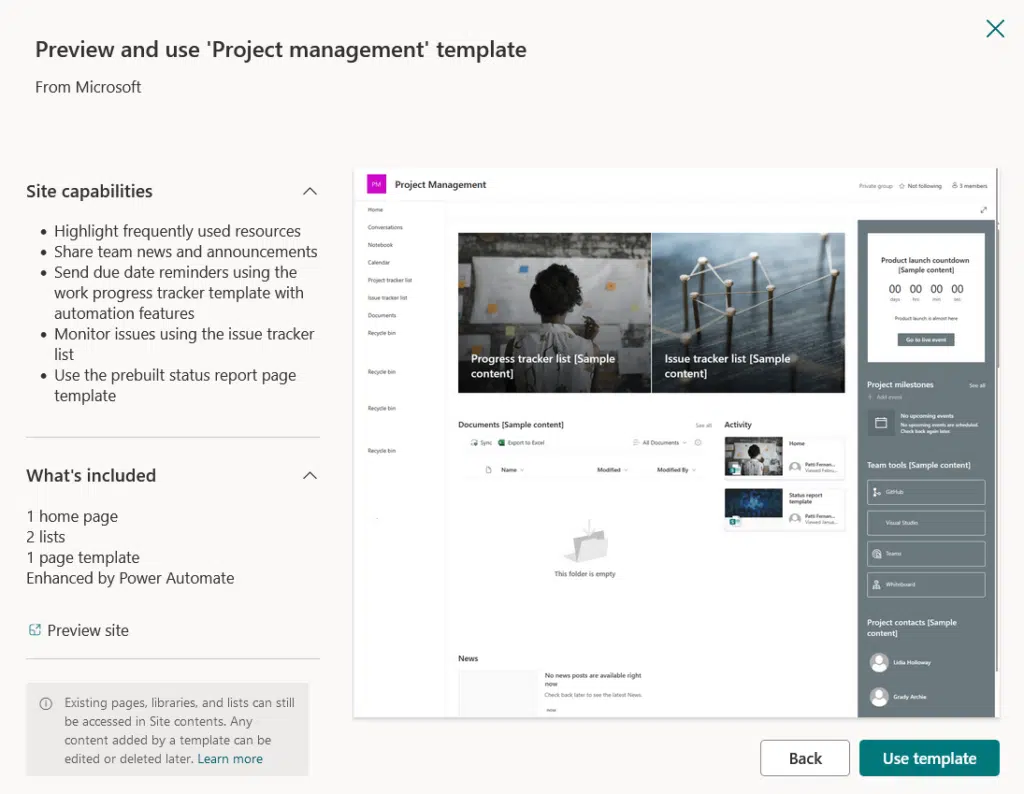
Use that template, and from there, all you need to do is provide some information about the site like its name and description.
👉 Related: How to Use SharePoint as Project Management Office (PMO) Portal
Assigning User Permissions and Access Levels
Managing user permissions in SharePoint ensures the right people have access to the right information.
In a nutshell, there are three site permissions:
- Owners: Full control to manage the site, content, and settings.
- Members: Can edit and upload content but cannot alter site structure.
- Visitors: Read-only access for users who need to see information but not make changes.
In your site, you can easily change it by hitting the gear icon on the top-right corner of the page, and then go to site permissions.
This is what you will see:
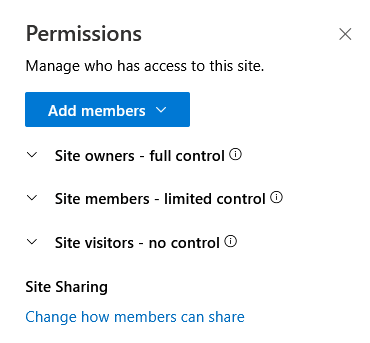
You can add members through here and set up their site permissions from the get-go.
You can also freely change the permissions of current members of the site, assuming you’re the admin or an owner.
👉 Related: SharePoint Groups & Permissions Explained: How Permission Levels Work
Create Document Libraries for File Storage
A document library provides a reliable way to store and manage project files in one place, keeping everything centralized.
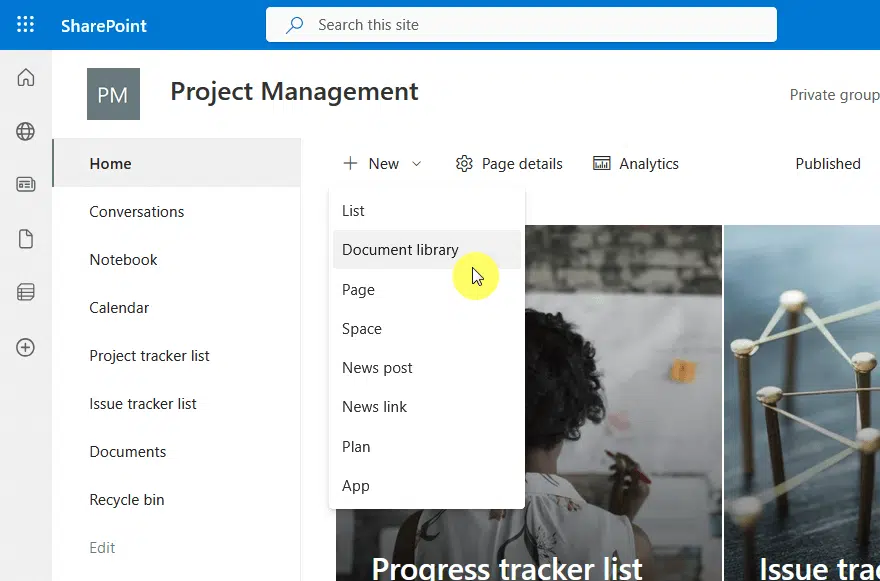
To do this, click the “New” button on the project management site’s home page, and then click the “Document library” option.
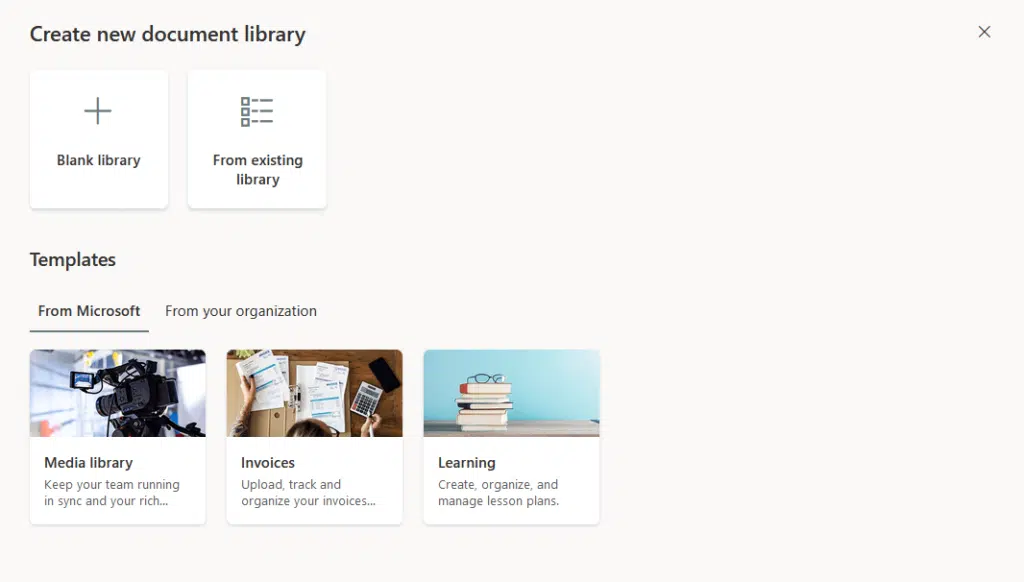
Technically, you can create a new blank library, create one from an existing library, or start from a template.
But if this is the first time you have used SharePoint, then you will have to start with a blank library or use a template.
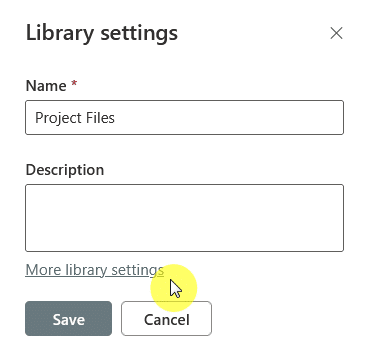
From there, what’s left is to name the library and optionally, add a description and show it in site navigation for easy access.
Once created, your library is ready to store and organize project files.
👉 Related: How to Create a Document Library in SharePoint Online
Version Control for Documents
Version control ensures your team always works with the most up-to-date files by tracking changes made to the documents.
To enable it, open the document library, click the gear icon, and then choose “Library settings” from the dropdown.
On the next page, click the “More library settings” link.
Nice!
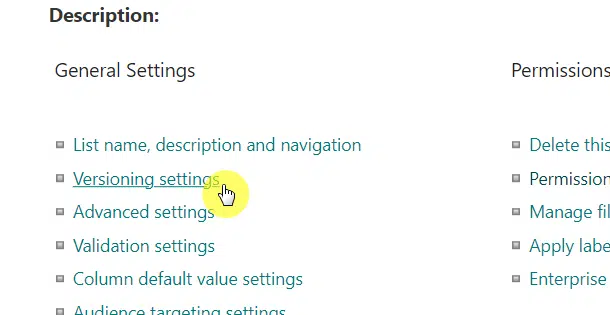
You will arrive at a page that contains different document library settings grouped by category.
In the general settings, click the “Versioning settings” option:
As its name suggests, this is the page where you can control different versioning settings like:
- Document version history
- Version time limit
- Version count limit
It looks like this:
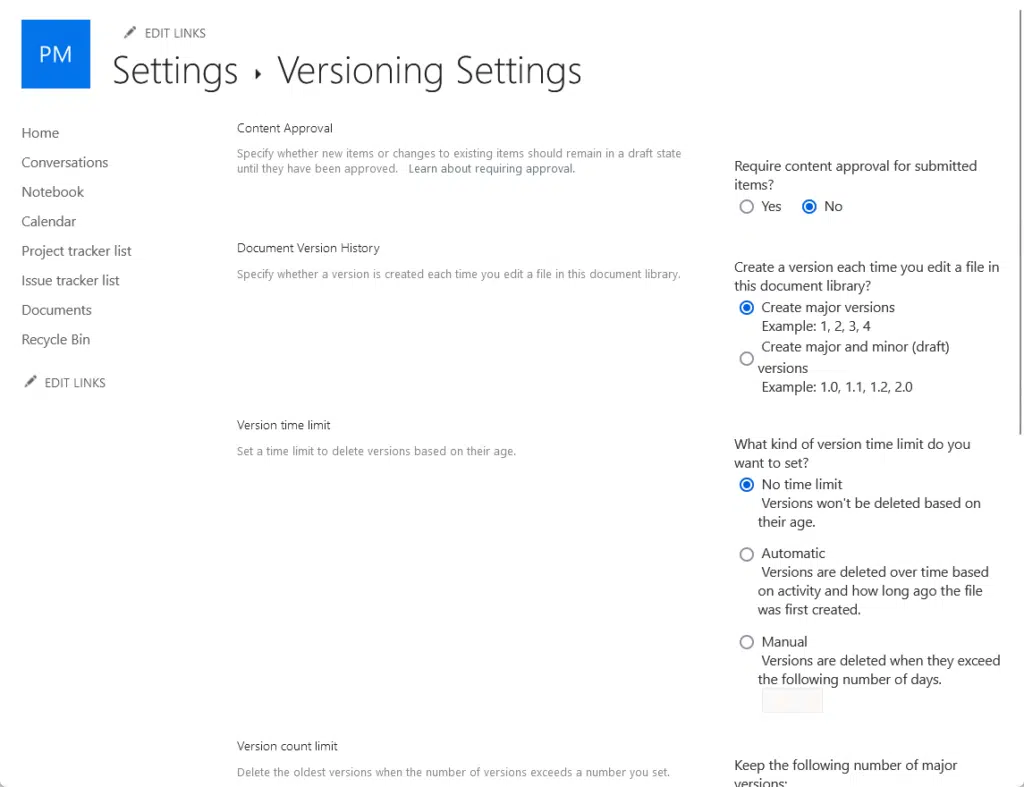
By default, document libraries record the major versions, but you can also enable both major and minor (draft) versions.
With version control, your team can confidently collaborate without worrying about overwriting important data.
👉 Related: SharePoint Version Control: The Strongest Feature?
Tasks and Timelines
If you have used the project management template when creating the site, a project tracker list is also created.
Let me show you:
But if you have used another template, you can still create this list yourself quite easily.
Just click the “New” button and then “List” from the site’s home page:
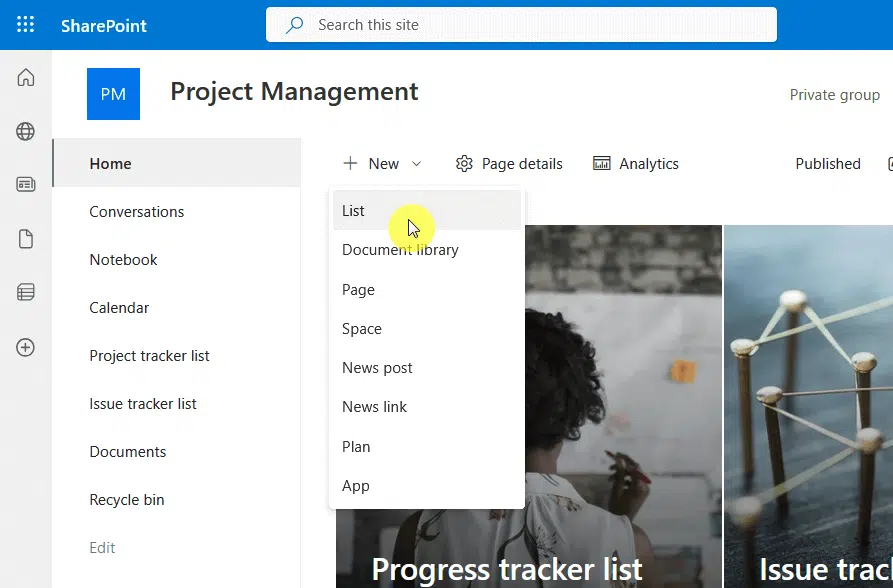
You can also find that option on the site contents page.
Now, after clicking that button, you will be able to create a new list from different options.
But if you want the project tracker list, there’s a work progress tracker list in the templates.

Like with the document library, all you have to do is name the list, and optionally the description and site navigation option.
Inside the task, you can assign responsibilities to team members like:
- Setting task owners
- Including deadlines
- Put priority levels
You can do this by adding columns to the list and populating the list with tasks.
👉 Related: How to Create a List in SharePoint Online (For Beginners)
Implementing Workflows and Automation
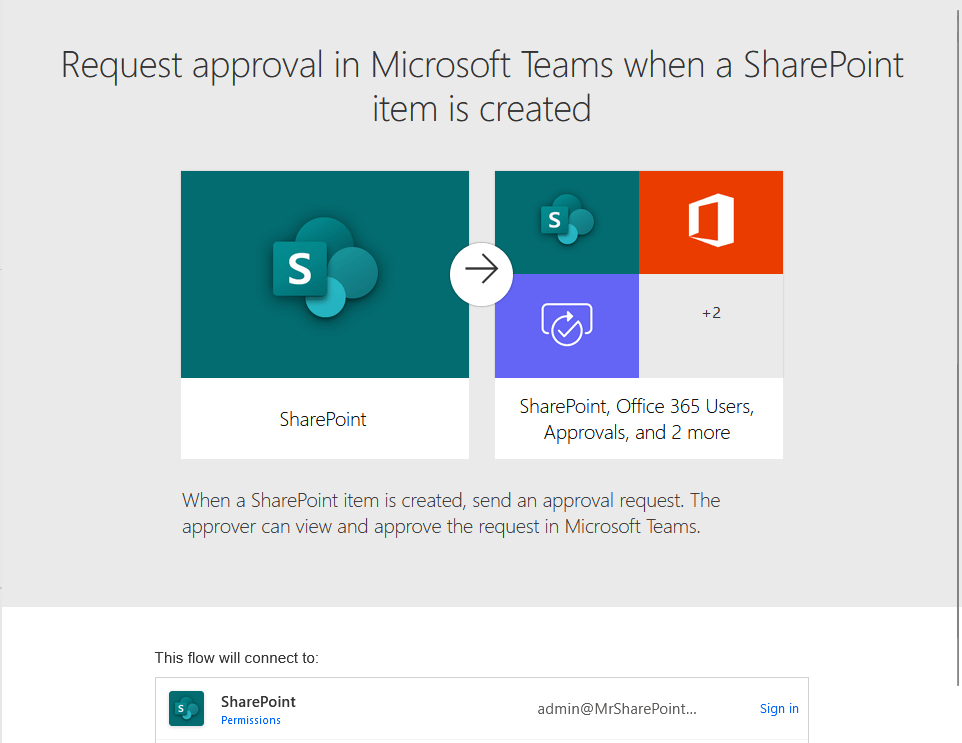
Workflows and automation simplify project management by streamlining repetitive tasks and improving efficiency.
This makes use of Power Automate integration, where there are ready-to-use flows in lists and libraries that you can use.
Other examples include:
- Setting up an approval chain
- Automating notifications
- Tracking progress
You can automate routine tasks like updates or reminders, and even specify the trigger actions using rules.
All these make project management more efficient, where tasks are completed on time with minimal manual intervention.
👉 Related: How to Create a Workflow in SharePoint Online
Do you have any questions about using SharePoint for project management? Let me know below.
For any business-related queries or concerns, contact me through the contact form. I always reply. 🙂


