

Last Updated on February 20, 2025
Want to know more about site permissions?
In this guide, let’s talk about site permissions, the default permission groups, how to manage them, etc.
Let’s get started.
Table of Contents:
Site Types and Permission Structures
As you may know, SharePoint has different site types, each with unique permission structures.
Here they are:
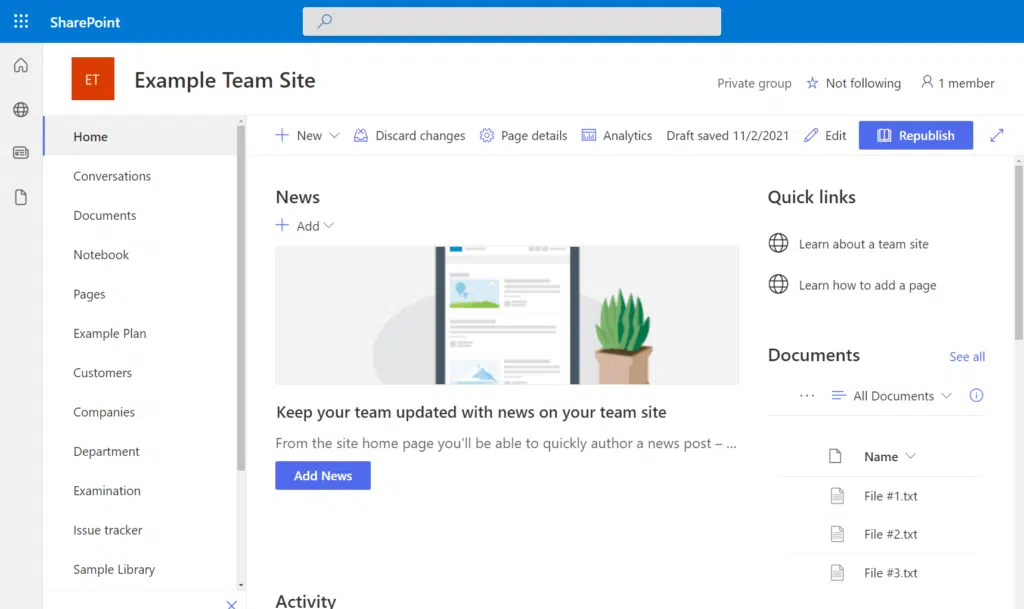
1. Team Sites
As its name suggests, team sites are created for collaboration, and they’re usually connected to Microsoft 365 groups.
Its key features include:
- Microsoft 365 group integration
- Predefined permission roles
- Collaboration focus
One important thing to note here is that when a team site is created, a Microsoft 365 group is also made.
Group owners control membership, while members can edit content (visitors, when added, have read-only access).
Now, since permissions are directly tied to the Microsoft 365 group, managing access is more simple here.
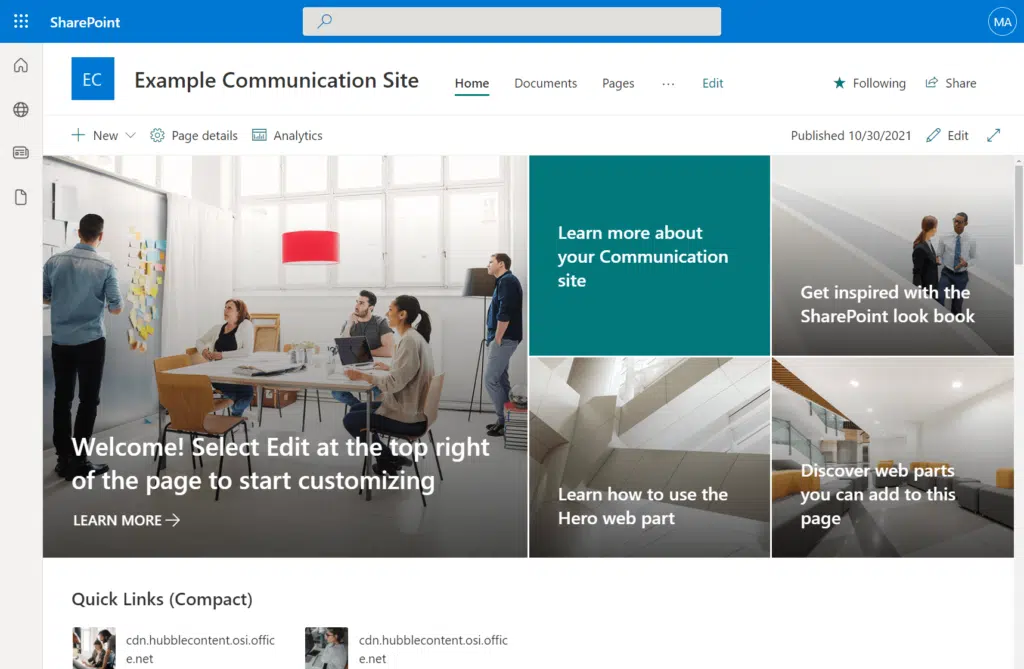
2. Communication Sites
Meanwhile, communication sites are made for sharing information with a broader audience, like the whole organization.
But unlike team sites, they’re not linked to Microsoft 365 groups and can’t be linked to one.
Key features of communication sites include:
- Standalone permissions
- Limited contributors
- Best for company news, reports, and informational pages
Since these sites focus on sharing rather than collaboration, most users are visitors with view-only permissions.
They also have standalone permissions as they’re managed through SharePoint groups and not Microsoft 365 groups.
3. Hub Sites
Although not a site type per se, hub sites are like groups of related sites under a common structure.
They help organize content and provide a consistent user experience.
Its key features include:
- Centralized navigation
- Consistent branding (uniform look and feel)
- Each associated site keeps its own permissions
But unlike team and communication sites, hub sites don’t have their own unique permissions.
Each connected site though manages access separately, which allows flexibility while maintaining a structured organization.
Sign up for exclusive updates, tips, and strategies
I’ve touched on groups earlier, but the short of it is that SPO has built-in permission groups to control access more easily.
Let’s talk about them more here:
1. Owners
As you can guess, owners have the highest level of control in SharePoint as they can do almost everything.
Here’s a brief list:
- Add, remove, or change user access
- Change site features, navigation, and design
- Delete or restore content
- Assign new owners
- Enable or restrict external sharing
If you’re an admin, make sure to assign users to the owners group carefully as they have full control over the site.
Also, limit the number of owners to avoid accidental changes or security risks and make sure to audit it regularly.
2. Members
Members have editing rights on the site, but they can’t change site settings or manage permissions.
In short, they can:
- Add and edit content
- Remove files or delete items
- Share documents with others (if allowed)
- Use shared resources
- Use Microsoft 365 integrations
It’s better to assign members to those users who actively contribute to site content.
But if you need stricter control, you can use the “Contribute” permission level instead of “Edit”.
The difference between them is that users with the contribute level can’t manage lists and document libraries.
3. Visitors
The least of them all in terms of permissions are visitors, who only have read-only access to a SharePoint site.
They can:
- View pages and documents
- Download files (if allowed)
- Use search and navigation
- Access shared links (those that have been shared with them)
- Comment (if enabled)
But they can’t make changes to whatever file, content, or document that they have been given access to.
Because of this, visitors are best for users who only need to see information without making changes.
I suggest you assign this role to stakeholders, auditors, and especially to external users who don’t need editing rights.
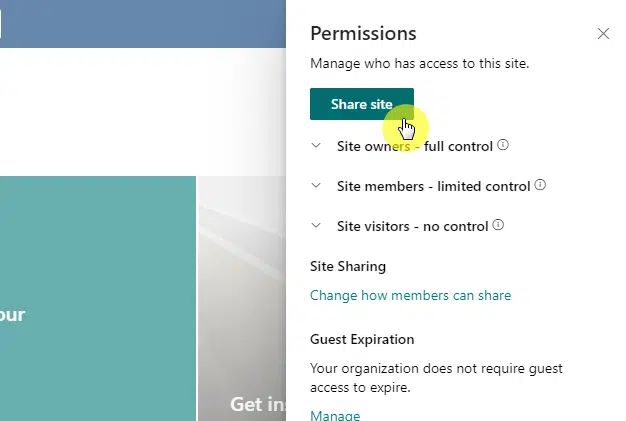
Managing Site Permissions
You can easily manage SharePoint site permissions, and for small changes, you can do it from the modern front-end.
For example, if you simply need to change the roles of a user who already has access to the site, you can do this:
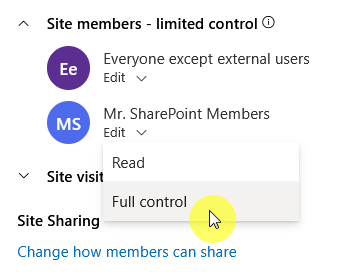
That’s basically giving users in the member group full control over the site, moving them to the owner group.
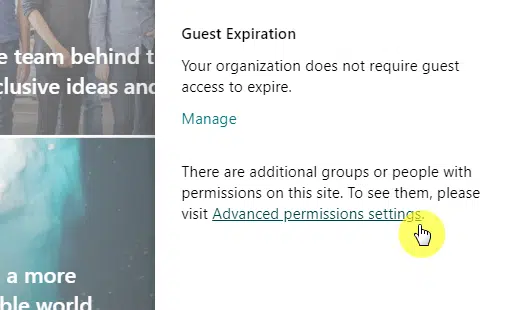
But for more control, you can go to the advanced permissions settings:

For example, if you want to edit user permissions:
Just select the group or user name in the list, and then click the Edit User Permissions button from the ribbon.
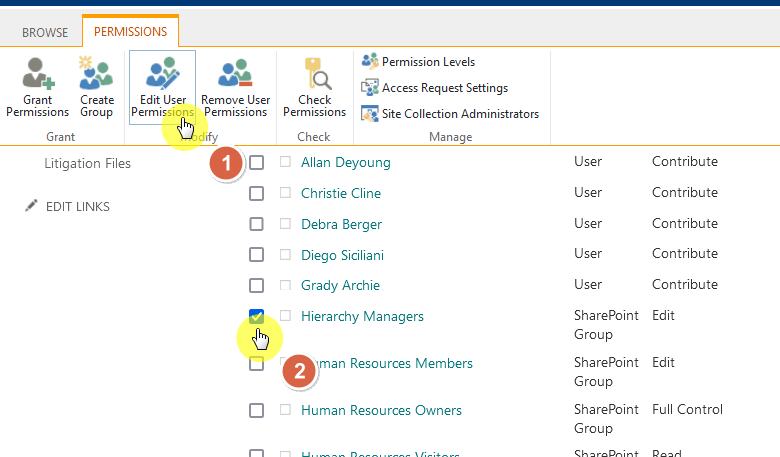
Do you see the other buttons in the ribbon?
They would allow you to:
- Grant permissions
- Create a new group
- Remove user permissions/restrict access
- Check permissions
Again, always consider adding users to groups instead of giving them direct permissions as it can be harder to track.
Using groups instead of managing individual permissions means you just need to change the group’s permissions.
No more doing it individually, which can save time if let’s say you have more than 10 user permissions to change.
I also explained earlier that there are already default SharePoint groups on each site (owner, member, visitor).
But if you want, you can create your own from the advanced permissions settings:
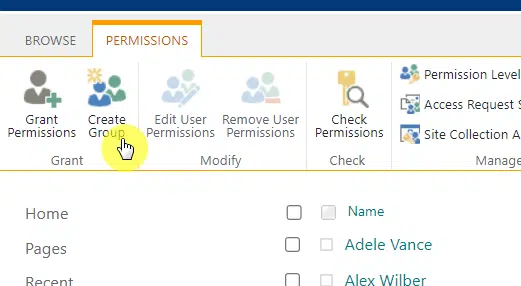
After that, fill out basic details about the group like name, group settings, membership requests, etc.
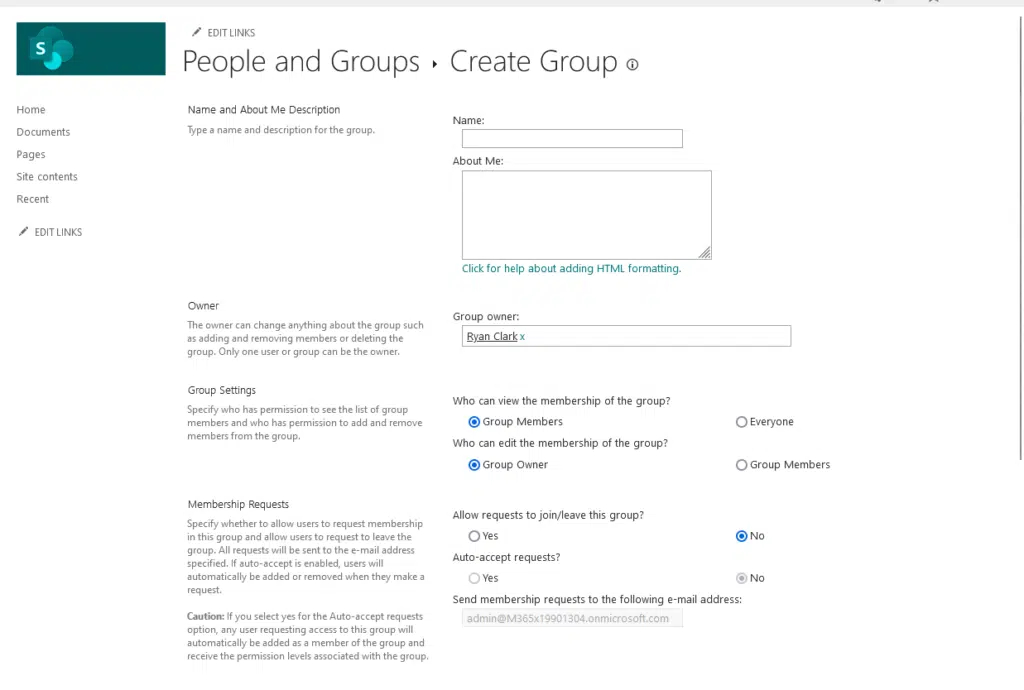
At the bottom, you will be able to specify the permission level that group members will get.
You can check one or more of the levels:
- Full control
- Design
- Edit
- Contribute
- Read
- Restricted view
There are checkboxes before each permission:
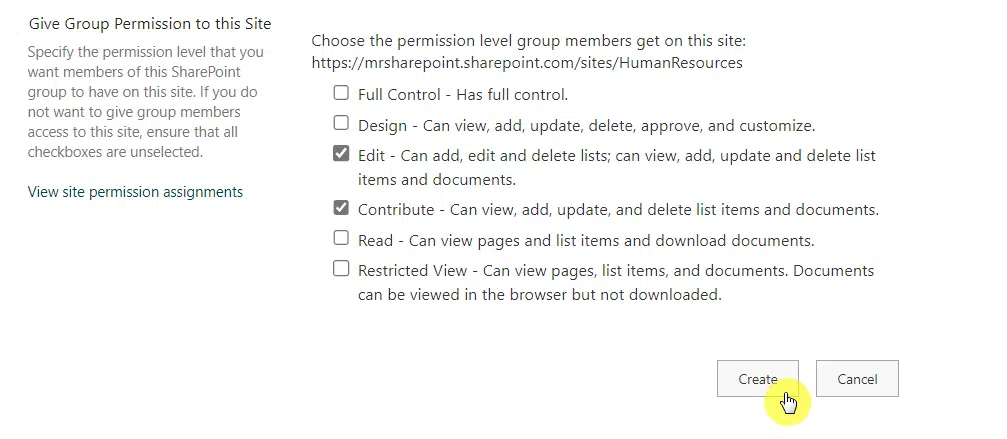
To change the permissions of the group, you can follow the steps in the previous section.
External Sharing and Guest Access
Lastly, I want to touch a little about external sharing and guest access.
Here’s how this works:
- You can enable/disable external sharing
- When enabled, users can share a link for sign-in
- There are also anonymous links that don’t need sign in
- You can set expiration dates for the shared links
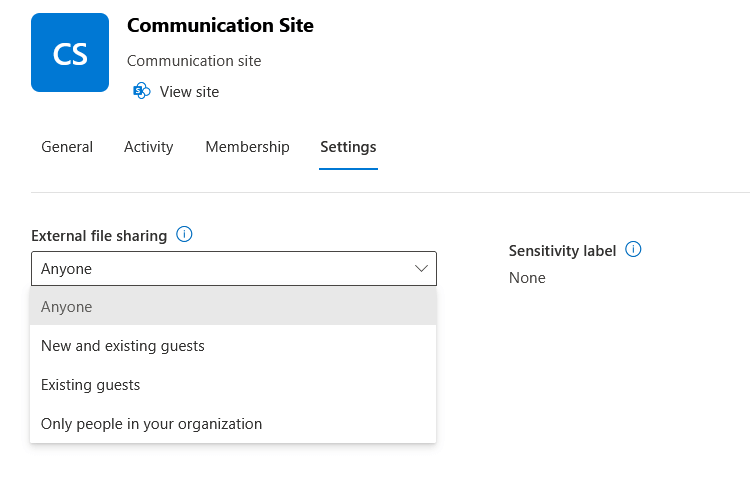
In the SharePoint admin center, you can easily change the external file-sharing settings of a specific site:
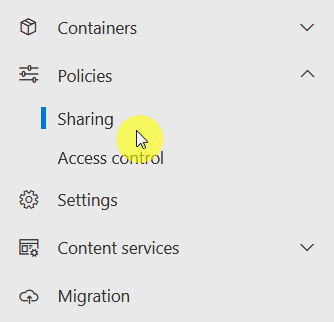
But if you want to set it for the whole tenant, you can set the sharing policies for the whole tenant to be least permissive.
It will affect both SharePoint and OneDrive:

For external access, I suggest you don’t use anonymous links for sensitive content so you can track who viewed what.
Do you have any questions about site permissions in SharePoint Online? Let me know below.
For any business-related queries or concerns, contact me through the contact form. I always reply. 🙂


