

Last Updated on March 14, 2025
Want to learn how to set up a team site easily?
In this guide, let’s talk about how you can easily set up a SharePoint team site as a beginner.
Let’s get started.
Table of Contents:
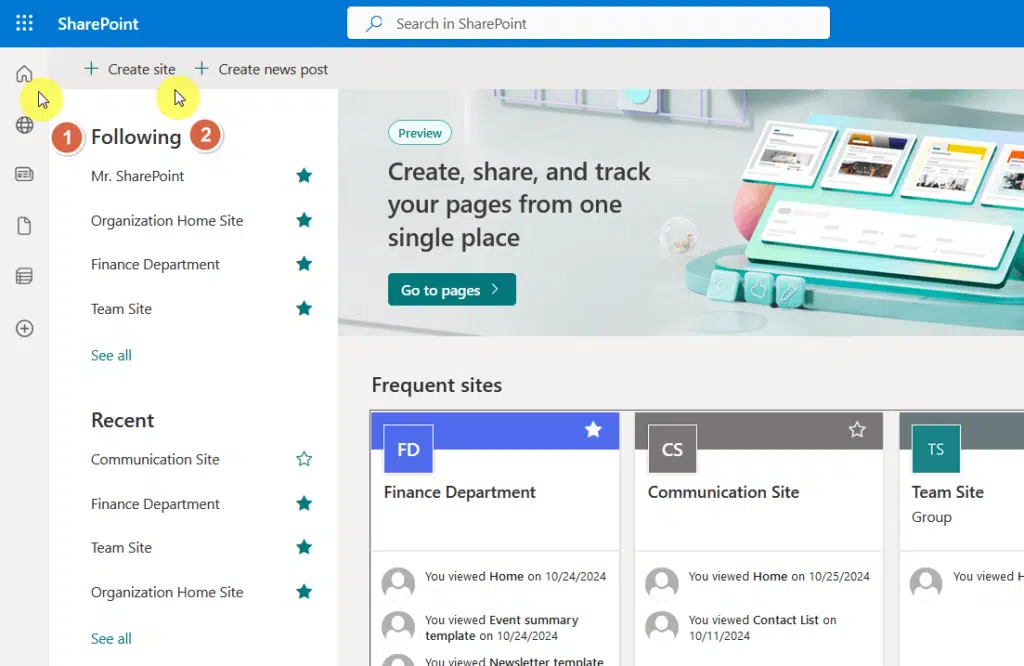
The first step is to generate the site, which you can easily do by going to the start page represented by the home button.
Click the Create site button:
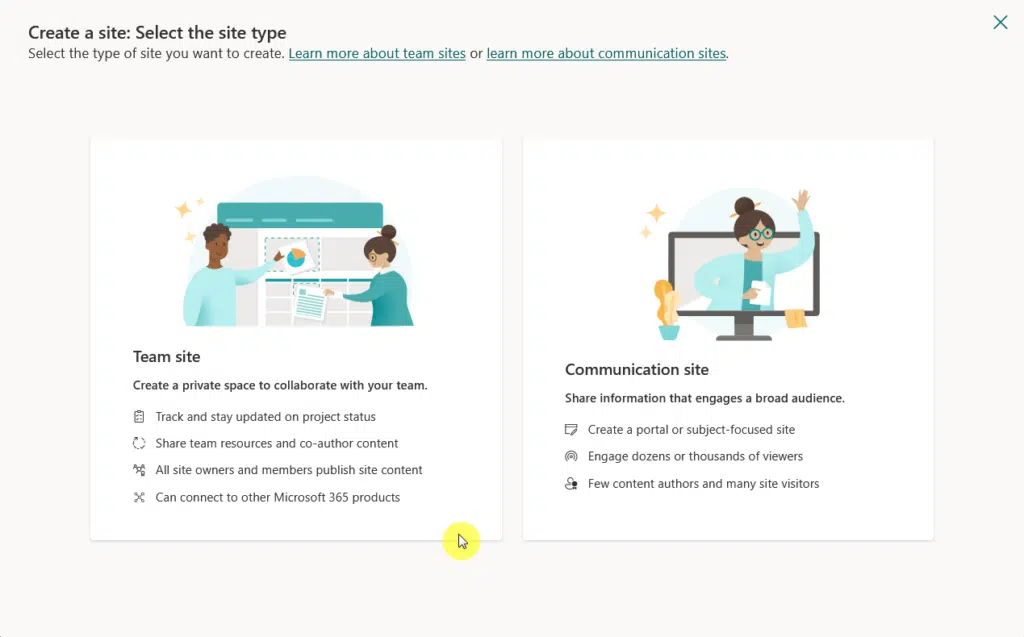
There are 2 types of modern sites in SharePoint:
- Team site
- Communication site
Since we’re talking about creating a team site, select the Team site option in the site classification section.
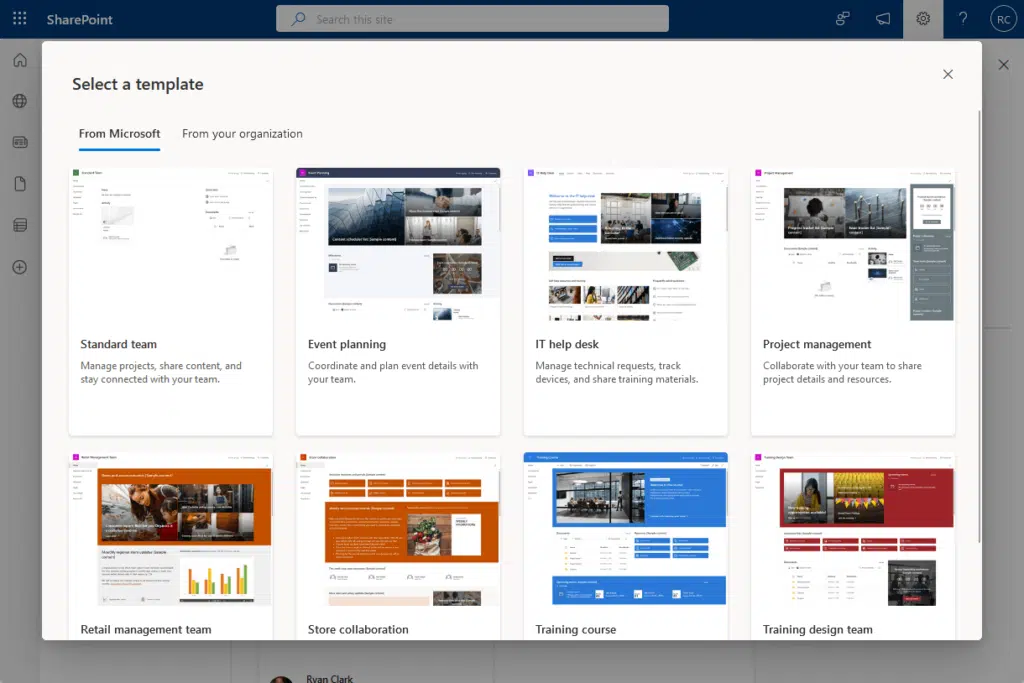
After that, you will be able to select a template for a team site.
Just select the template that’s best suited to your needs; you can always customize it or replace it later on. 🙂
After selecting the template, you will have to provide some details about the site, including the site name, description, etc.
On the actual, though, you only have to enter the site name and, optionally, the description, since the rest would be filled automatically.
You can manually edit them, though, if you like.

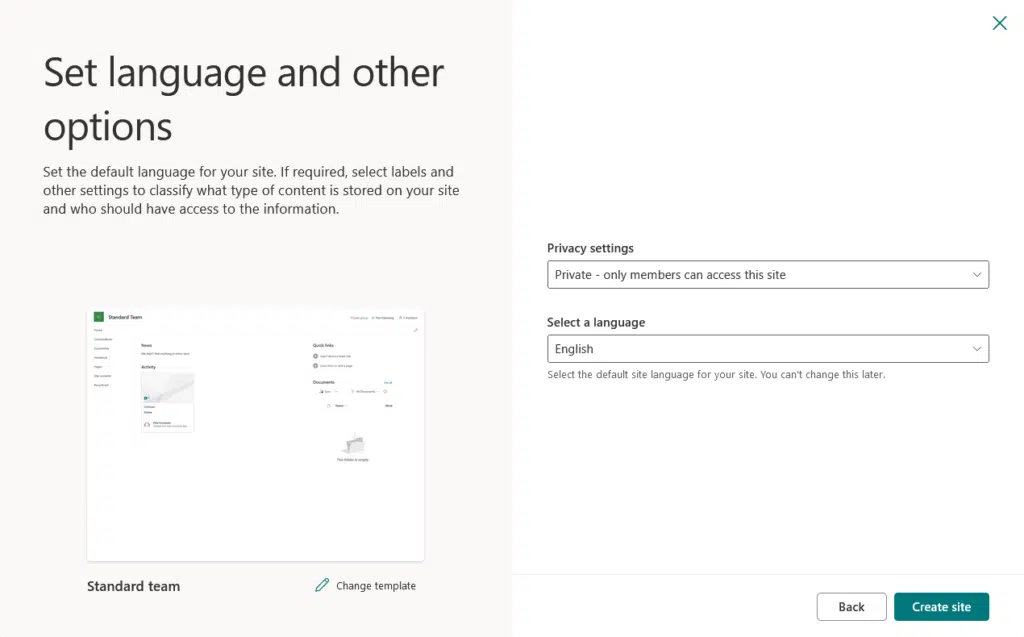
After that, you will need to select the privacy settings and the default site language.
Choose private if there are no non-group members that need to visit the site; otherwise, choose public to make it open.
Once you make your choice, click the Create site button:
After that, just wait for a few seconds while SharePoint Online generates your team site (you will be redirected there automatically).
Sign up for exclusive updates, tips, and strategies
Step 2: Add Team Members
Now that you have a site, the next step is to add team members.
On the team site’s front page, you will see a member count in the top-right corner of the page; click that button.
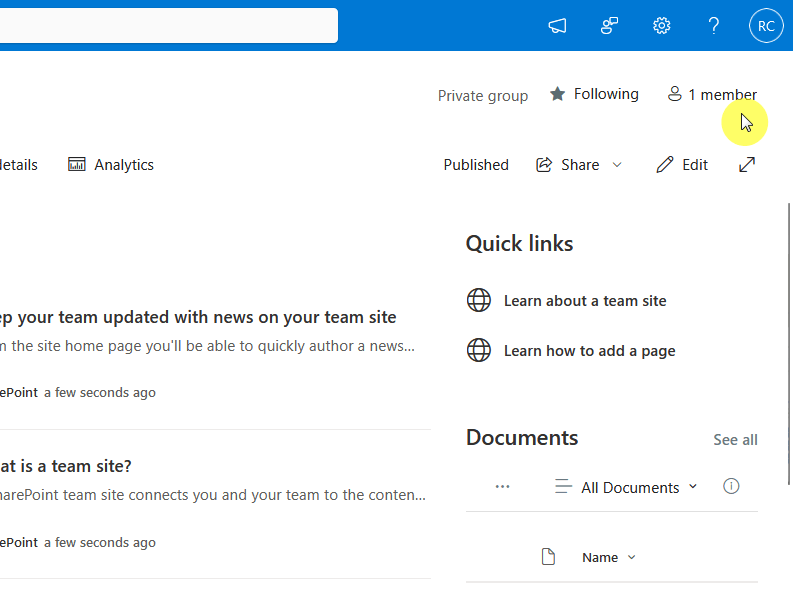
This is a shortcut to the group membership page on the side panel.
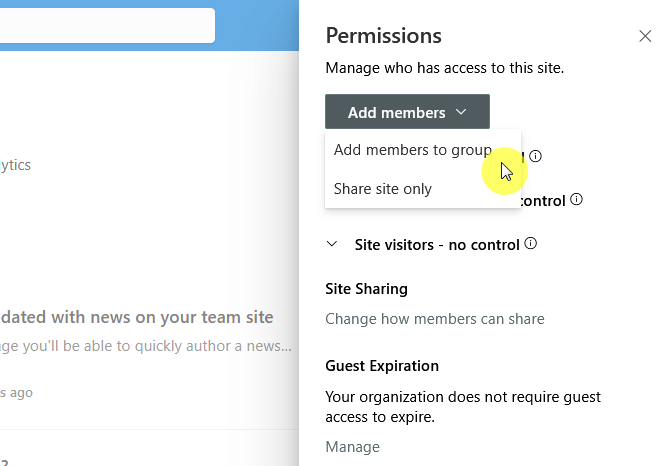
You can also get here through the gear icon on the top right, then to Site permissions, and then add members to the group button.
On this screen, you will see here all the users and groups who are members of the group.
In the previous screen, Site permissions, you can see everyone, including groups, that has access to the site.
Anyway, you can add a team member here through the Add members button:
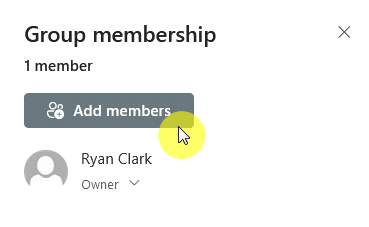
Then, simply enter the name of the team member you want to add and then choose either he be a member or an owner.
By the way, on the Site permissions page, there’s another option to Share site only.
That would enable them to visit the site, but they wouldn’t be able to go to other group resources like calendars and conversations.
Let’s touch a little about designing your team site.
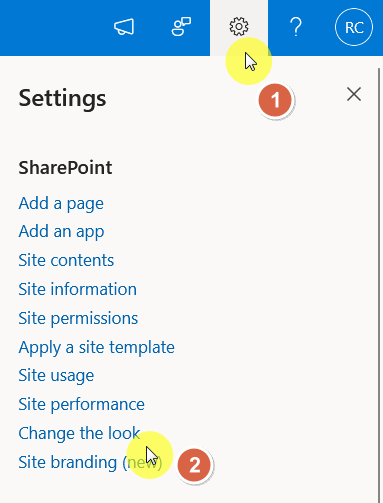
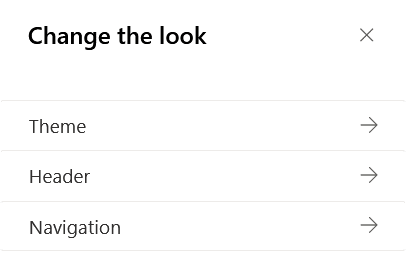
Click the gear icon in the top-right corner, then select the Change the look option:
There are three things you can change here:
- Theme (more on colors, actually)
- Header
- Navigation
If you go to the theme option, you will be able to select a “color” theme, which affects the background, accent, and text color.
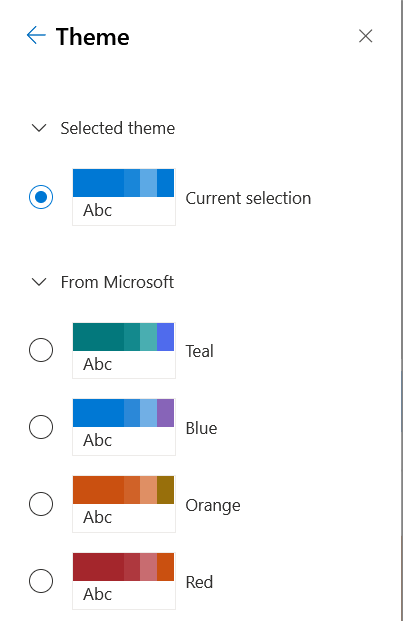
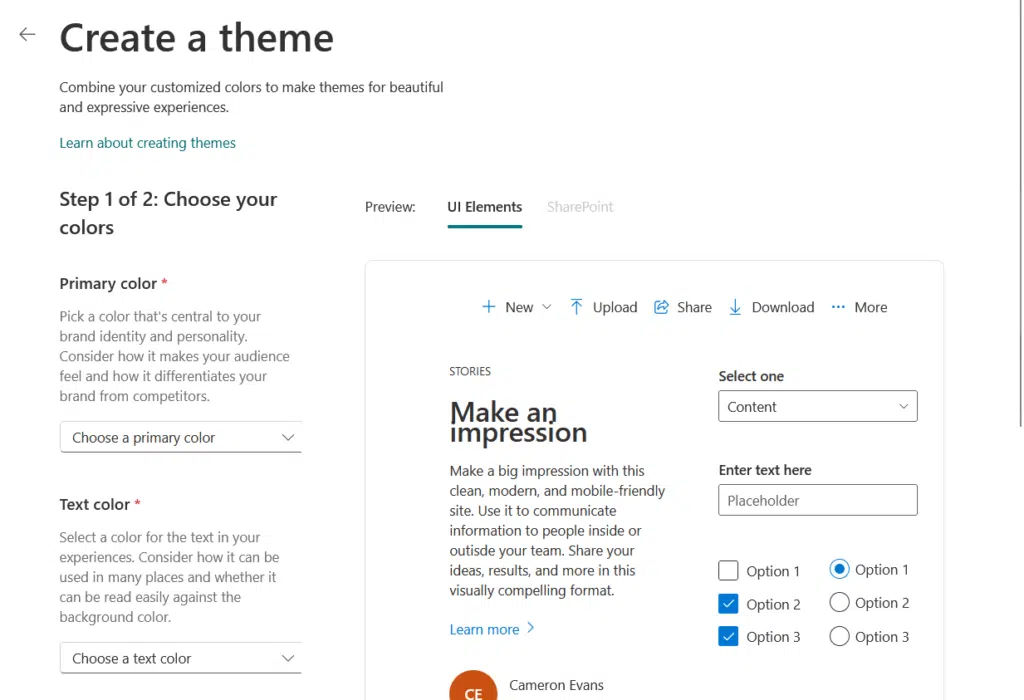
If you want more options, you can head over to Site branding (below the Change the look option).
It’s new, but basically, it will let you create your own combination of colors and fonts instead of selecting from premades.
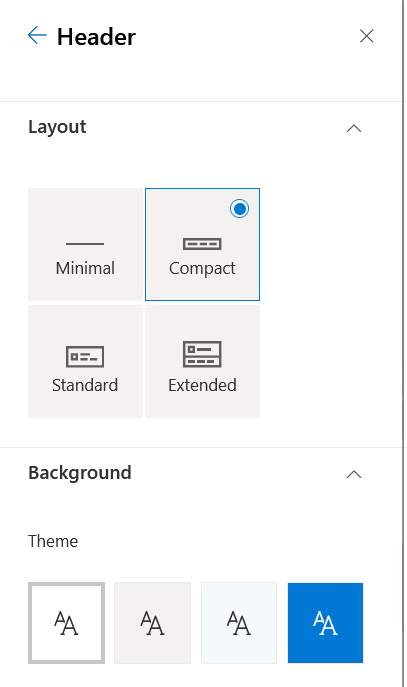
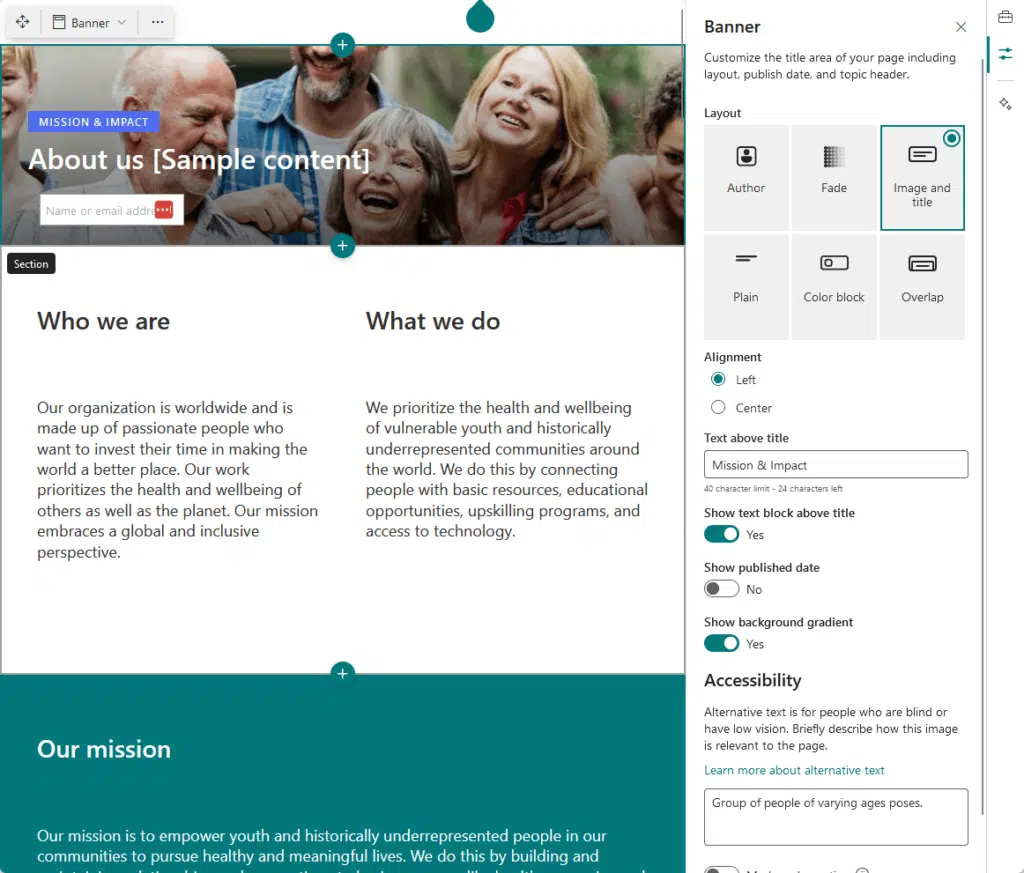
For the header, there are quite a few that you can configure, such as:
- The layout
- Background (presets)
- Site title visibility
- Site logo thumbnail
- Site logo

If you want to change the site logo, take note of the recommended sizes:
- 48×48 pixels or 64×64 pixels for site logo thumbnail
- 64×64 pixels for the SharePoint site logo
The last part is about navigation.
The options here are all about the visibility and the orientation of the site navigation bar, which can be horizontal or vertical.
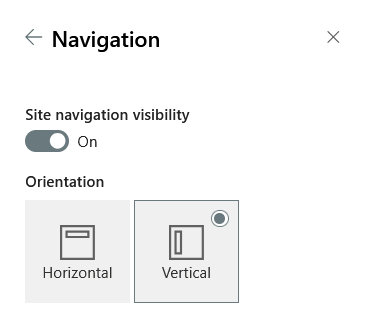
Communication sites have a little extra though with menu style, but their orientation is also locked horizontally. 🙂
Step 4: Create Document Libraries and Lists
Document libraries and lists are some of the vital features in SharePoint Online.
Libraries are where you can store and manage files (Word documents, PDFs, Excel sheets, etc.) like a folder system.
Lists are like spreadsheets or databases inside SharePoint that hold structured data in rows and columns (like Excel).
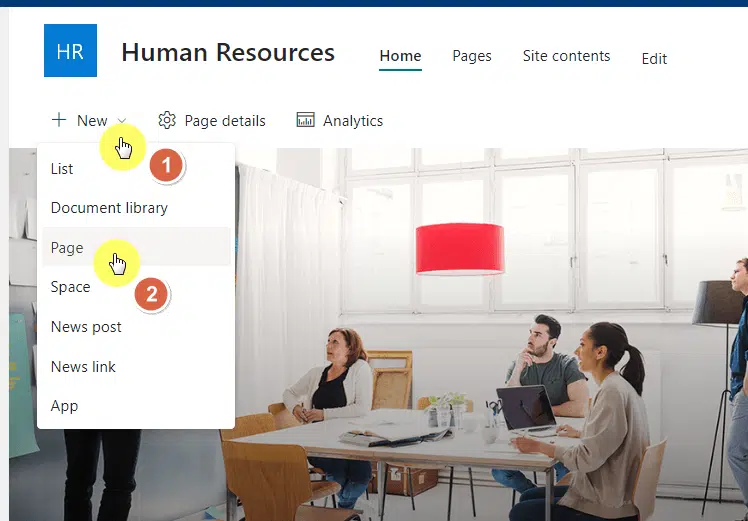
To create a library or a list, go to the site’s home page or site contents, click New, and then Document Library or List.

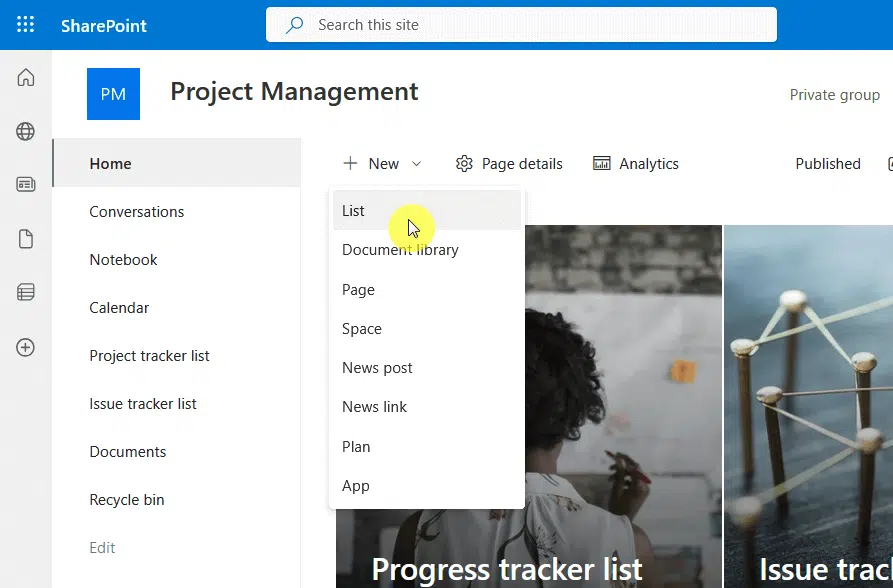
After that, you will see various templates available.
Check out the templates and see if what you want to create is already there, and if yes, better start with that template.
If not, you can always start from scratch with the “Blank” option.
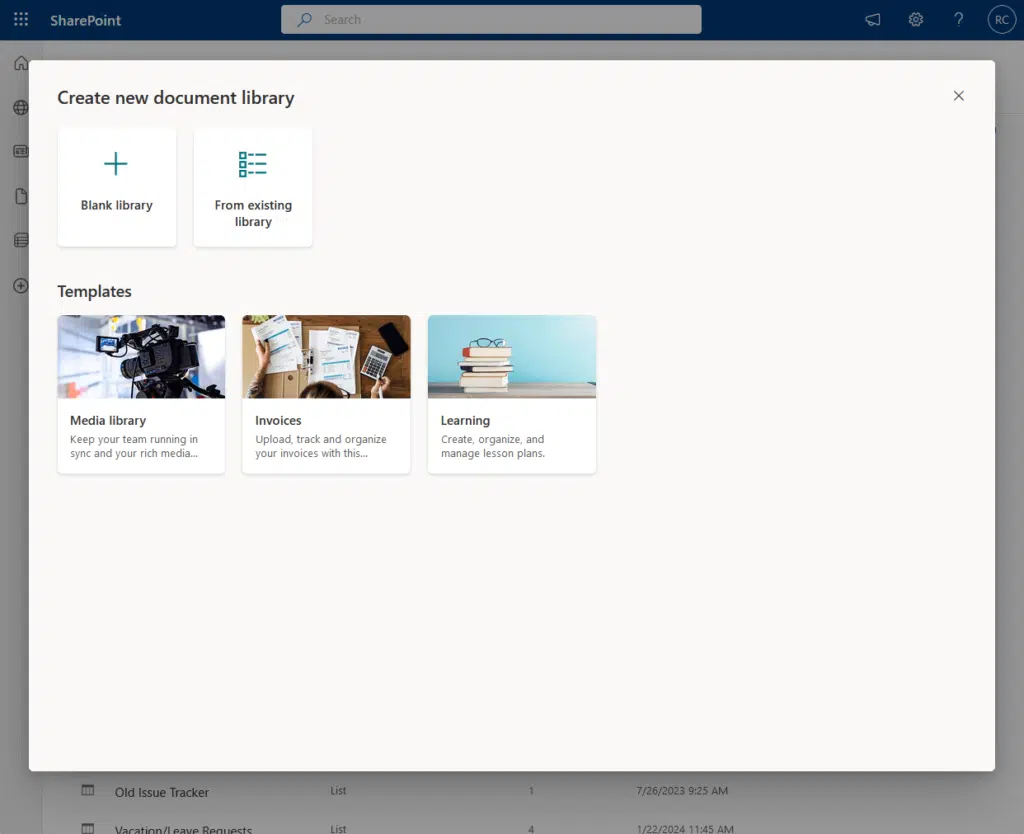
You can also create from an existing list or library, and for lists, you can create one from an Excel or CSV file.
After that, all you need to do is give the new library or list a name and a description.
You will then be able to populate the list or library, and there are different ways to do that depending on what you have.
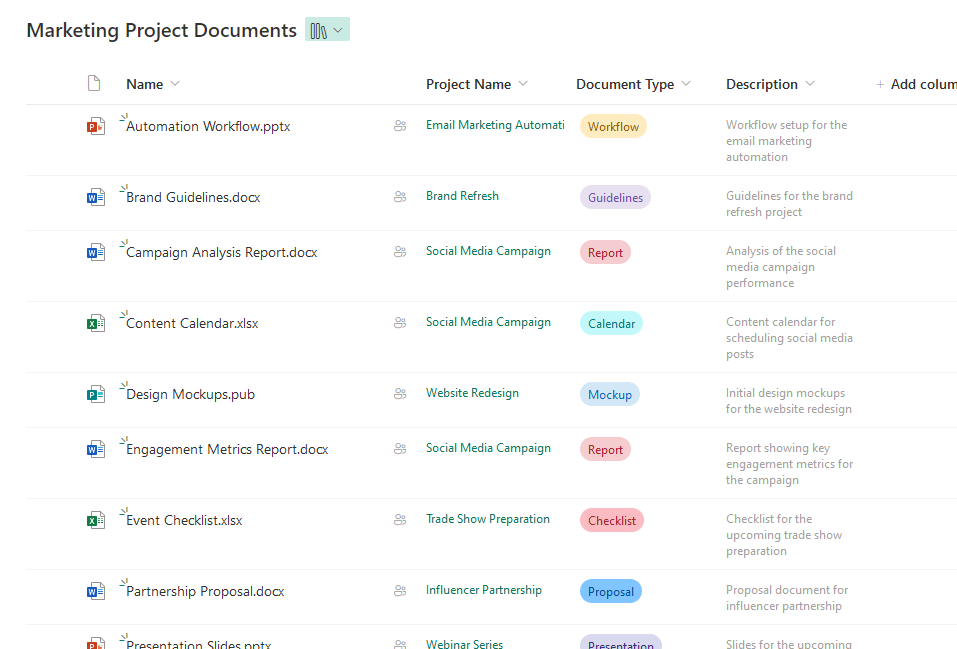
For document libraries, you can:
- Drag a file
- Create a new document from the library
- Upload button
For lists, you can manually enter the list items or create a form where users enter information, which then reflects on the list.
Step 5: Add Pages and News Posts
Pages and news posts are important as they help share information to your team members on the team site.
Now, a page is a static content area used to display important information, while a news post is a dynamic announcement.
Think of pages as permanent web pages, while news posts work like blog articles or announcements for your team.
Thankfully, creating either a page or a news post follows the same steps; click the New button, then click Page or News post.
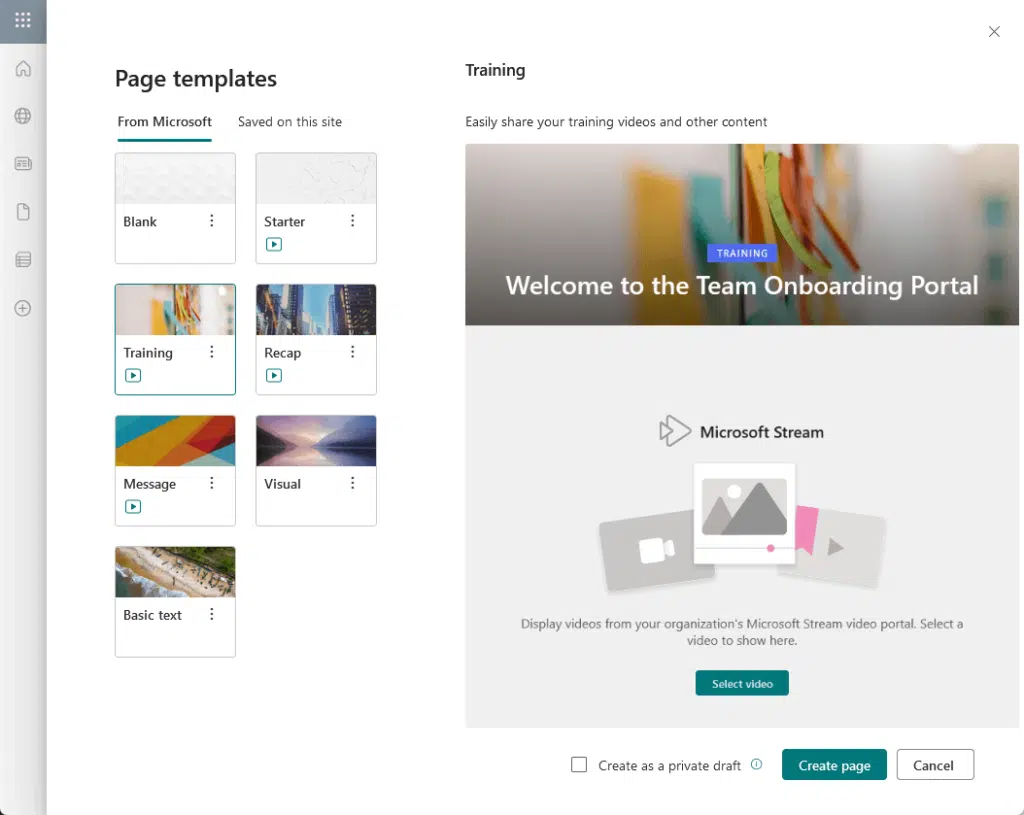
After that, you will be able to see some templates to get started with, and as usual, there’s a way to start from scratch.
Just take your pick and click the Create button at the bottom:
From there, add the page title and the page content.
To make your content spicy, you might want to design it using web parts, and there are so many web parts out there.
Once you’re ready to go, simply click the Publish button on the page or news post to make it live.
For the news post, it might be worth promoting it, like maybe sending it as an email or sharing the page through its link.
There’s a Share button at the top in line with the Publish button. 🙂
Connect Microsoft 365 Tools for Better Collaboration
Lastly, did you know that the benefit of team sites is the fact that they integrate with a lot of Microsoft 365 tools?
You can connect to:
- Microsoft Teams (look at the bottom left side)
- Planner (click “New” → “Plan”)
- OneNote (click “New” → “Notebook”)
If you use these integrations, your team can communicate, share files, collaborate, and manage tasks more efficiently. 🙂
Do you have any questions about SharePoint team site setup for beginners? Let me know below.
For any business-related queries or concerns, contact me through the contact form. I always reply. 🙂


