

Last Updated on March 14, 2025
Confused about SharePoint Online permissions?
In this guide, let’s talk about how you can manage permissions in SharePoint Online.
Let’s get started.
Table of Contents:
Default Permission Levels and Groups
Technically, there are several default permission levels in SharePoint that define what users can do on a site.
The main ones are:
- Full control
- Design
- Edit
- Contribute
- Read
- Restricted view
- Approve
- View only
Admins can also create new permission levels as needed, and these don’t modify or replace the default ones.
Instead, they add custom options to meet specific needs, like a combination of one or more of the permission levels.
Then, there are SharePoint groups, which help by grouping users together and assigning them permission levels.
The predefined groups include:
- Owners (have full control)
- Members (usually get edit permissions)
- Visitors (typically have read access)
The nice thing about groups is that they can help organize and scale permission management by simply adding/removing users.
Sign up for exclusive updates, tips, and strategies
How to Manage Site Permissions
When we say managing site permissions, these involve controlling who can access and interact with a SharePoint site.
These include several actions like:
- Granting and removing access
- Changing permission levels
- Creating custom permissions
Let’s talk about these actions.
Step 1: Go to site permissions
The first step in managing site permissions is to get to the site permissions.
Open the SharePoint site, click the gear icon, then select Site permissions:
You will then see various permission settings here.
Step 2: Add or Remove Users and Groups
From here, you can add users and SharePoint groups to the site through the Share button.
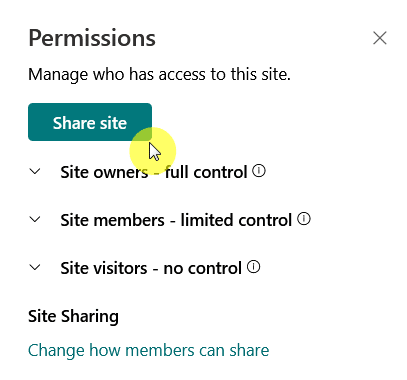
There’s a slight difference between a SharePoint team site and a communication site, but both have an option to share the site.
If you want to remove someone from the site, just open their group, then select the Remove option for that user.
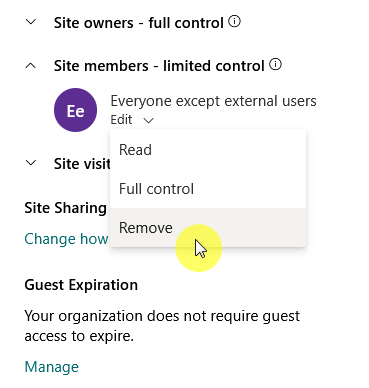
You can also change the user’s group here, like how clicking the Full control will move that user to the Site owners group.
Step 3: Modify Permission Levels
Now, if you want to modify permission levels, you must click the Advanced permissions settings below the panel.
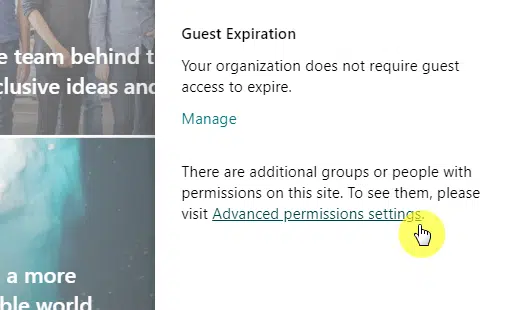
You will then see the names of users and groups that have permission on the site.
If you want to change existing permission levels or assign different ones to users or groups, you need to select them.
There will then be an Edit User Permissions icon in the ribbon:
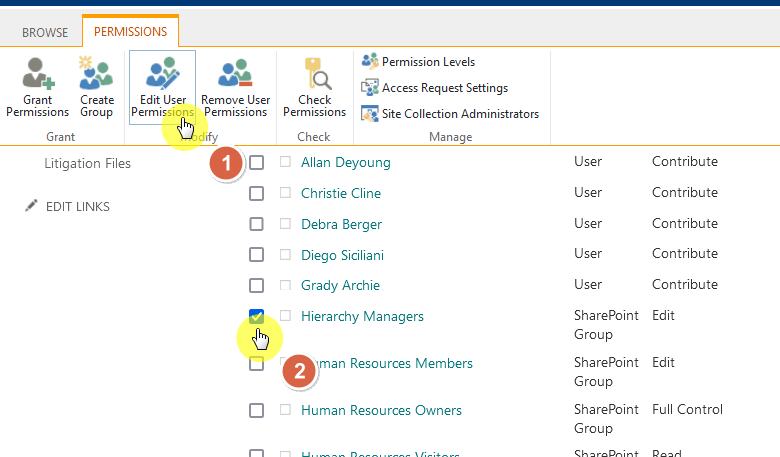
From there, you will be able to select and unselect the permission levels for that user or group, as shown here:

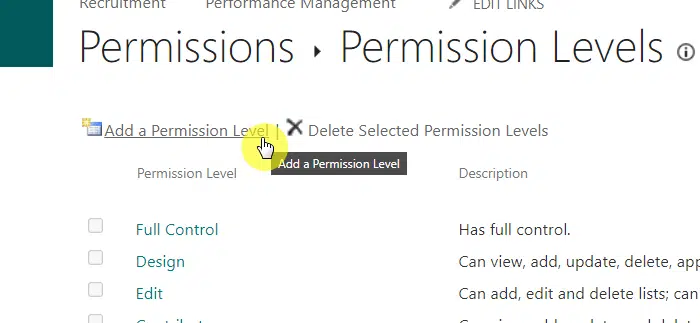
There are more things you can do here, like creating another group, removing permissions, and even adding a permission level.
Breaking and Restoring Permission Inheritance
Permission inheritance basically means that a site, list, or library automatically gets its permissions from the parent site.
It’s useful since it keeps things simple because you don’t have to manually set permissions for every part of the site.
When managing permissions, you can either:
- Keep inheritance (so permissions stay consistent across the site)
- Break inheritance (so specific areas have unique permissions)
The default is to keep inheritance, and breaking it is useful when you need to restrict access to sensitive content.
Breaking Permission Inheritance
For modern sites, you can break inheritance at these levels:
- Lists and libraries
- Folders within libraries
- Individual items or documents
Naturally, you won’t be able to break the permission inheritance of a site collection because each site is its own collection.
For the lower levels, simply go to the list or library settings, then find the permissions for this list (or library).
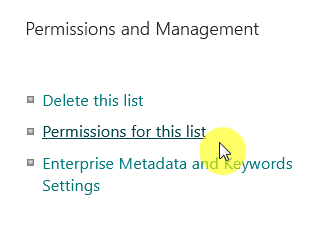
Click on the Stop Inheriting Permissions button to set unique permissions for this specific location or item.
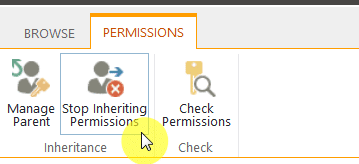
You will then be able to add or remove users/groups as needed, as well as assign different permission levels.
To grant unique permissions, click on Grant Permissions and enter the people with whom you want to share the content.
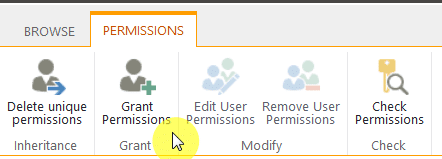
To restore inheritance, just go back to the permission settings for the list, library, item, or document.
The button for stopping inheritance will become Delete unique permissions, click on it to restore permission inheritance.
How to Manage Permissions for External Users
About managing SharePoint permissions for external users …
It’s a little different than usual because it involves external sharing settings, which, thankfully, you can change.
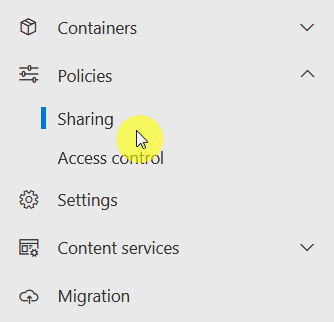
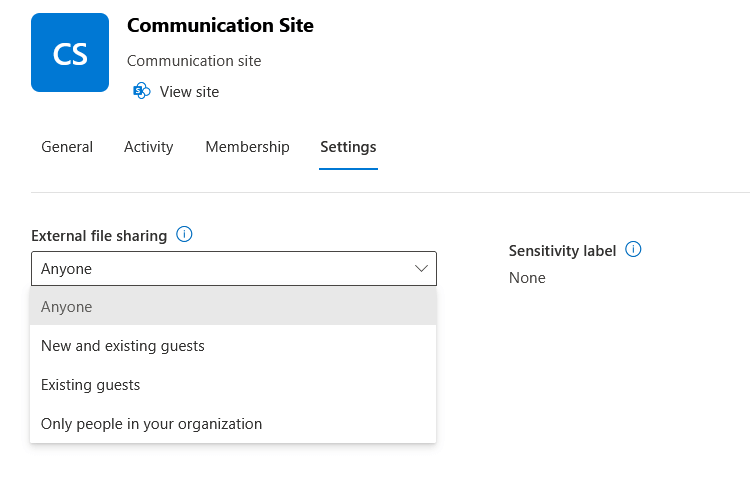
For this, you need to make sure that guest sharing is enabled in the SharePoint admin center’s sharing policies:
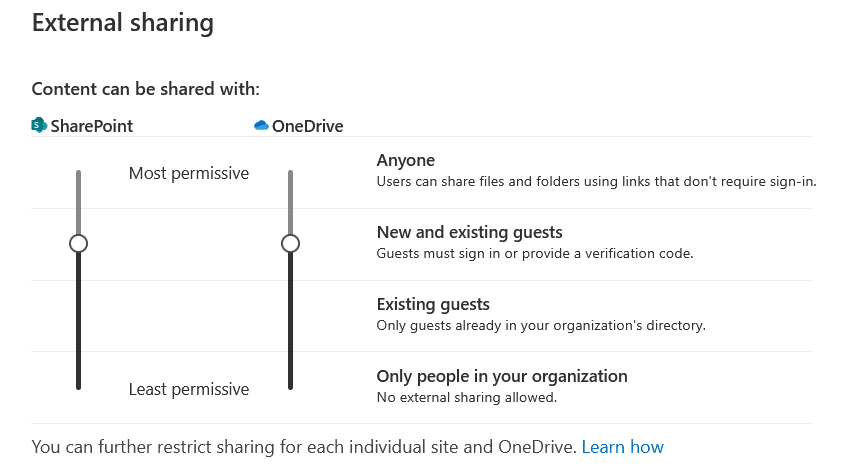
I prefer setting it up to “New and existing guests” than “Anyone” simply because it prevents anonymous user access.
Unlike the “Anyone” setting, this makes sure that external users must sign in before accessing content.
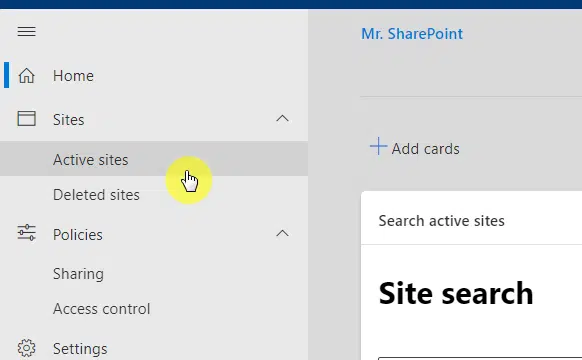
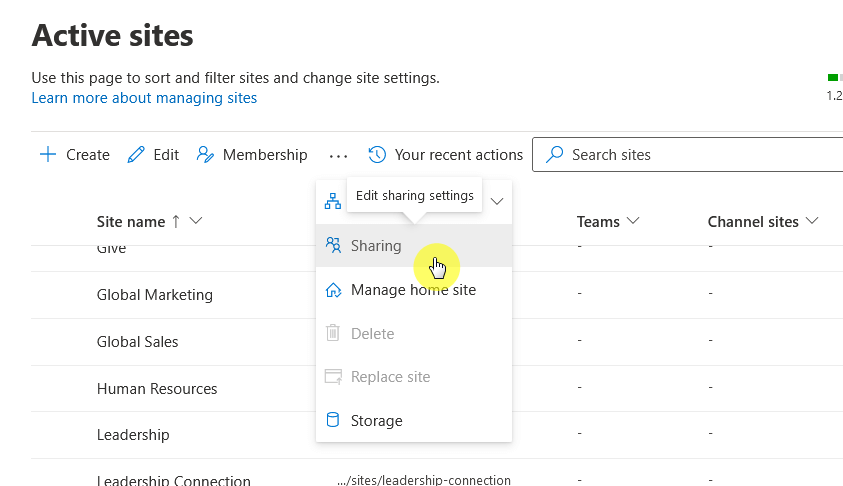
That sets up the whole tenant, but you can also set it up for each site on the admin center’s active sites page.
After that, you will be able to share a document or folder externally through the same methods of sharing with others.
Apply Good Permission Management Practices
Managing SharePoint permissions is all about keeping access organized and secure.
To make this easier, it’s worth observing good permission management practices, like using groups instead of users.
Over time, users may need to get more access than they need, so always schedule a time to review and update permissions.
Do you have any questions about SharePoint permissions management? Let me know below.
For any business-related queries or concerns, contact me through the contact form. I always reply. 🙂


