

Last Updated on December 11, 2024
What does this web part do?
In this guide, I will show you what the “My feed” web part is all about and how to set it up and configure it.
Let’s get started.
Table of Contents:
What is the “My feed” web part?
Basically, the “My feed web” part provides a personalized view of your activities across Microsoft 365 services.
Think of it as your SharePoint news channel, with updates and information that match your work and daily patterns.
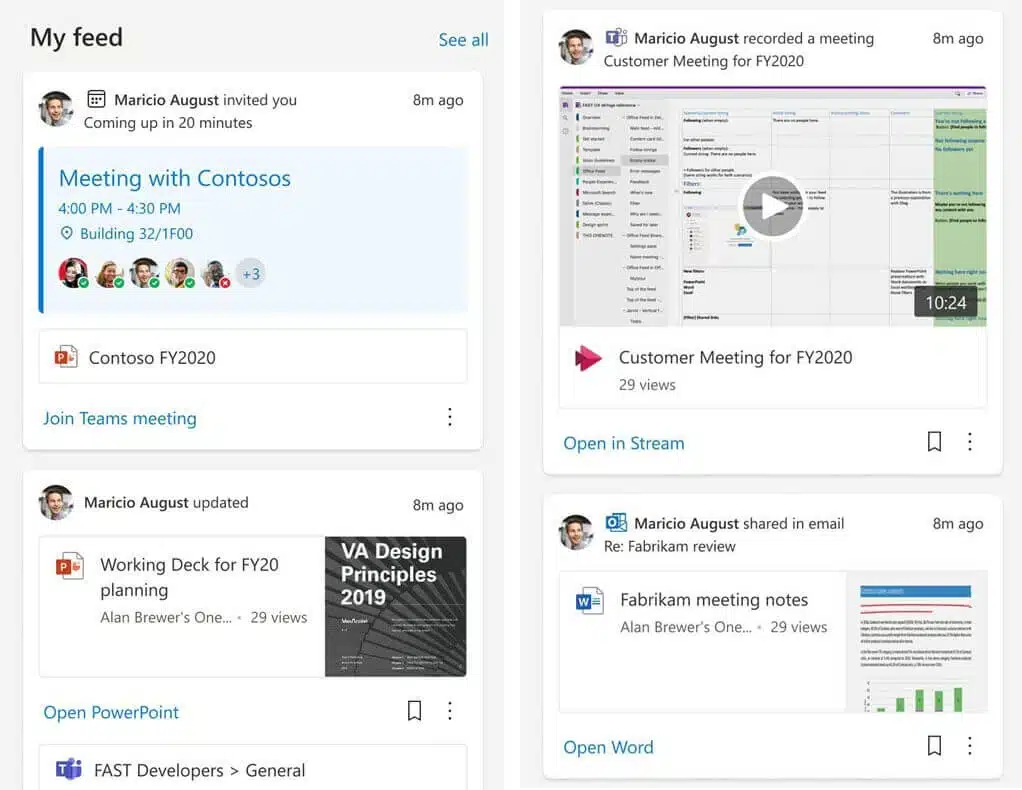
Here are a few things it can show:
- Recent changes to shared documents
- Posts from team communication channels
- Upcoming events on your team’s calendar
For example, if you’re collaborating on a project, this web part keeps you updated on shared documents and team events.
Because of this, you would be able to stay connected and informed, reducing the risk of missing important updates.
Sign up for exclusive updates, tips, and strategies
How to Set Up the “My Feed” Web Part
Fortunately, adding this feed web part is straightforward.
Follow these steps:
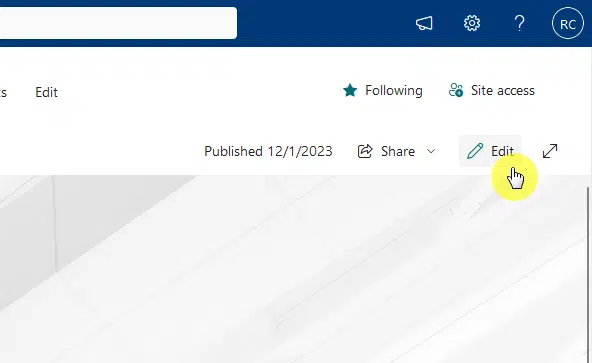
Step 1: Edit the target page
Go to the SharePoint site page first where you want to add the “My feed” web part.
Click the edit button on the upper-right side of the page:
In case you don’t know where the page is, you can find all the pages on your site in the “Site Pages” document library.
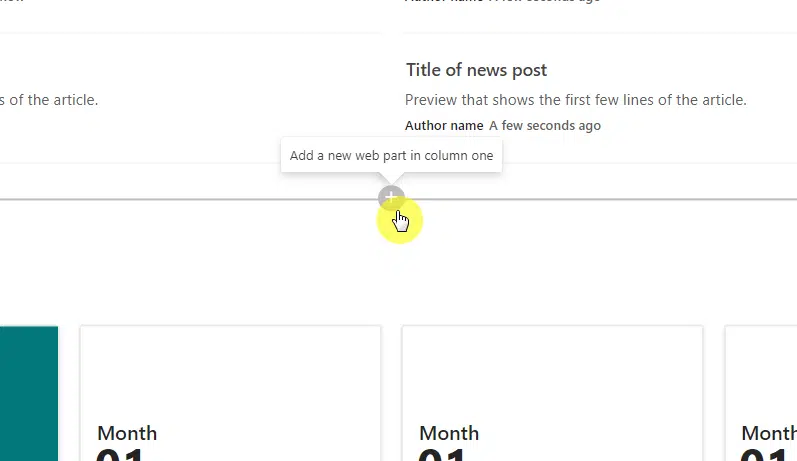
Step 2: Add a new web part
The next part is to go to the page where you want to insert the feed, even between existing web parts.
Usually, the feed is added to the vertical section part, but you can always add it wherever you want on the page.
Hover your mouse on where you want to insert the feed and click on the plus button:
👉 Related: Modern SharePoint Web Parts: List of All Available Web Parts
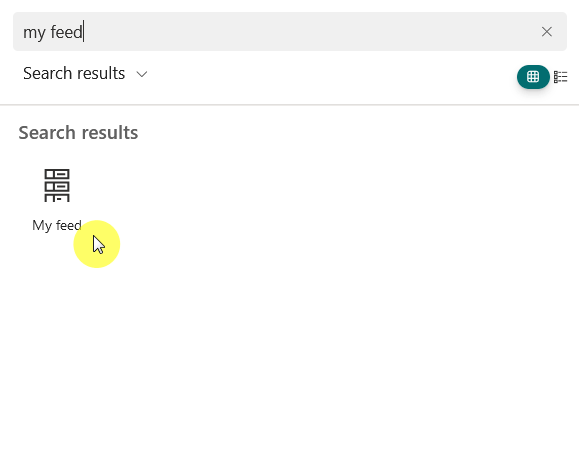
Step 3: Find the “My feed” web part
The web part search box will then appear where you can browse through different web parts you can add.
To quickly find the web part, you can use the search feature and find the “My feed” web part:
Nice! 🙂
The “My feed” web part is now added to the SharePoint Online page, the next stop is to configure it.
How to Configure the “My Feed” Web Part
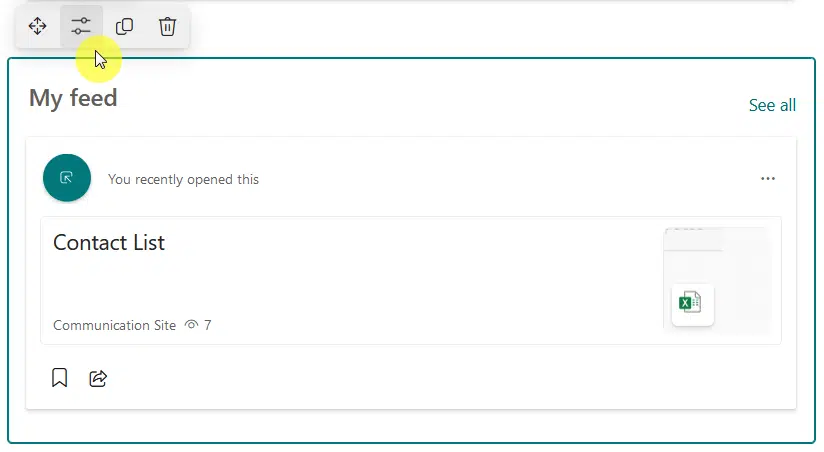
Once the web part is added to your SharePoint page, a preview appears immediately.
To configure it, make sure to select it first and then click on the properties button above the web part:
Unfortunately, there are not a lot of things you can do here since this simply creates a feed on the page.
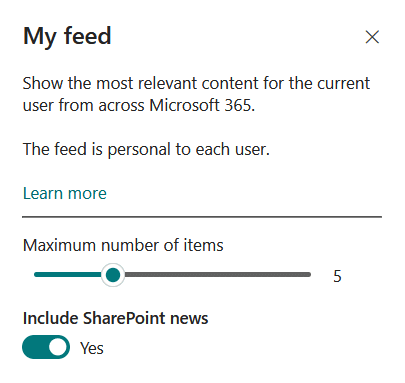
The two things you can do are:
- Change how many items are displayed
- Include or not news posts
Adjust the slider to set the maximum number of items to display and use the toggle to include/exclude news.
Any changes will update instantly in the preview, but to make these changes visible to others, you must republish the page.
While customization options are currently limited, these simple settings help customize the web part to better meet your needs.
Imagine starting your day by logging in and immediately seeing an overview of your schedule.
No need to switch between your email, calendar, and task tools, this web part brings everything together in one place.
Instead of hunting for information across platforms, you get personalized, relevant insights right at your fingertips.
Do you have any questions about the “My feed” web part? Let me know in the comments below.
For any business-related queries or concerns, contact me through the contact form. I always reply. 🙂


