

Last Updated on October 20, 2023
Need to learn how to use Microsoft Lists right within Teams asap?
In this beginner’s guide, I’ll show you step-by-step how to use the Microsoft Lists app without leaving Microsoft Teams.
Let’s get started.
Table of Contents:
What is Microsoft Lists?
Are you familiar with SharePoint Online?
If yes, then you know what a SharePoint list is, right? Then you already have an idea of what the Microsoft Lists app is all about.
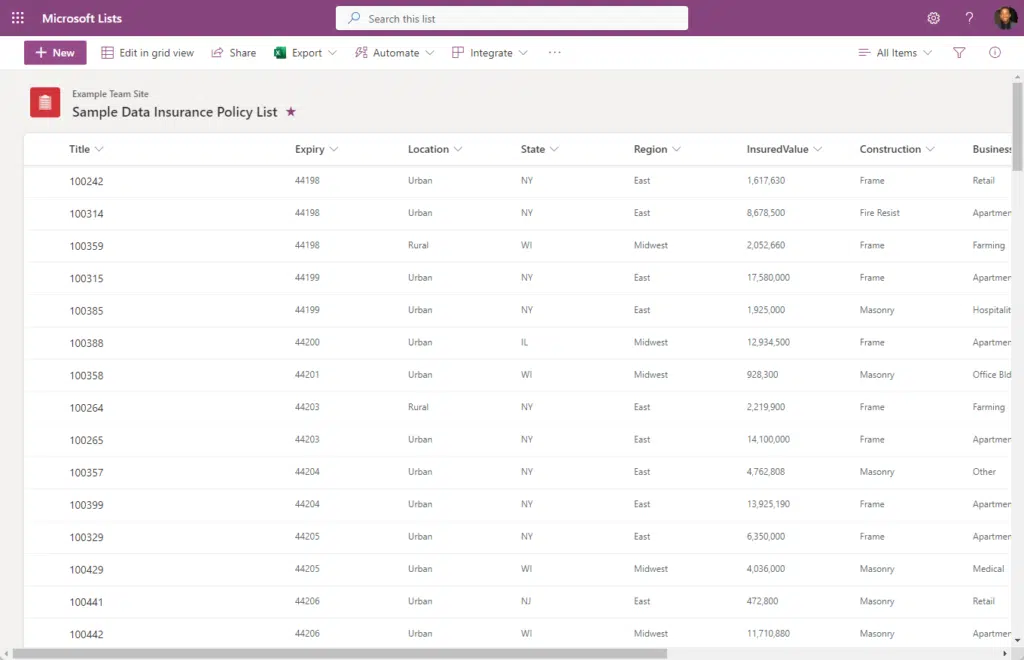
In simple words, Microsoft Lists is like the standalone app of SharePoint Lists that you can use even outside the context of SharePoint Online.
Inside a list, you would see the same interface made of web-based tables or databases with various features.
Note: For a more thorough introduction to Microsoft Lists, check out this article: Introduction to Microsoft List: The Modern SharePoint Lists.
Sign up for exclusive updates, tips, and strategies
How to add Microsoft Lists to Microsoft Teams?
Microsoft Teams is a great digital collaborative work environment that Microsoft positions as an app hub.
Ever since the pandemic started, Teams users have ballooned to 270 million — from 20 million users before 2022.
Note: For a complete list of all Microsoft tools, check out this article: Microsoft 365 Tools Overview: The Ultimate Guide.
As a chat-based workspace, Microsoft Teams will allow you to add Microsoft apps and third-party apps to it.
By default, Lists is already added to Teams (which is why you can add a Lists tab into a channel right away).
But in case your organization changed the settings, I’ll show you how to add the Lists app to the Teams app.
Add the Lists app to Teams
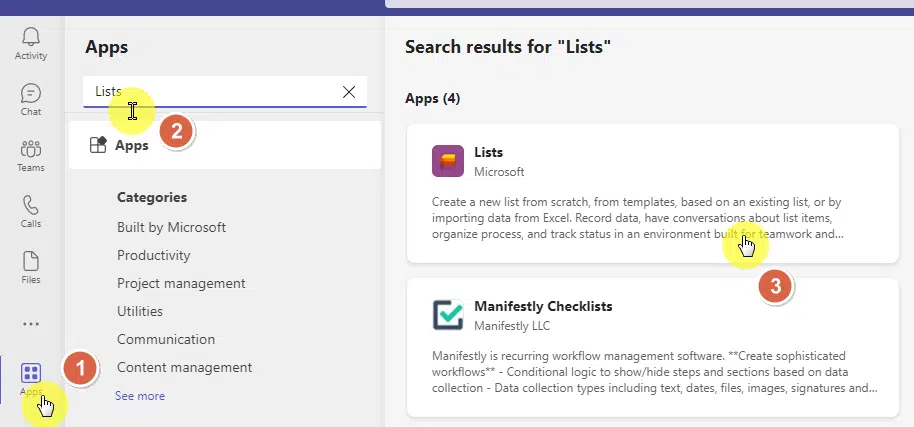
Get to the Microsoft Teams desktop or web client.
Then, go to the apps tab and search for “Lists” in the Teams app store.
Click on the Lists option as shown below:
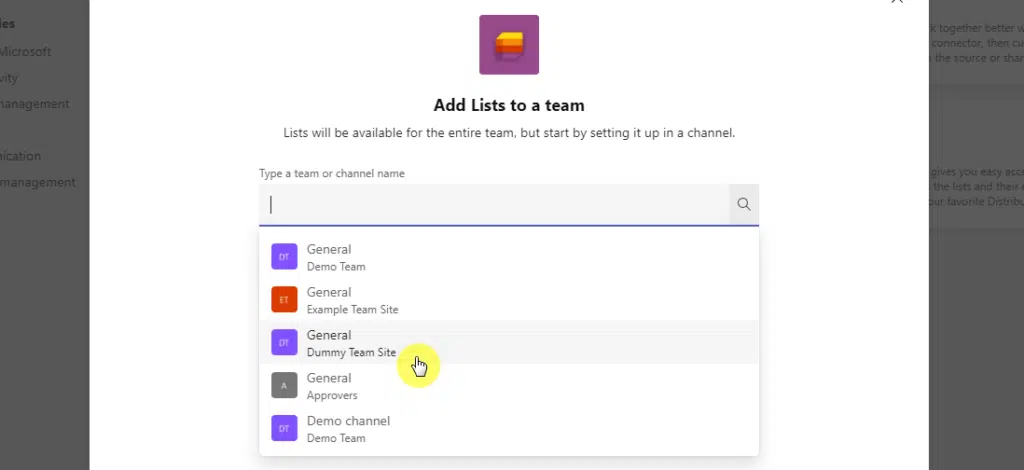
On the dialog box, click the add to a team button:

At the next screen, you will have to type a team or channel name to add the Lists app.
You can also click on the form to see a list of teams that you have in the tenant.
Don’t forget to click the set up a tab button to continue.
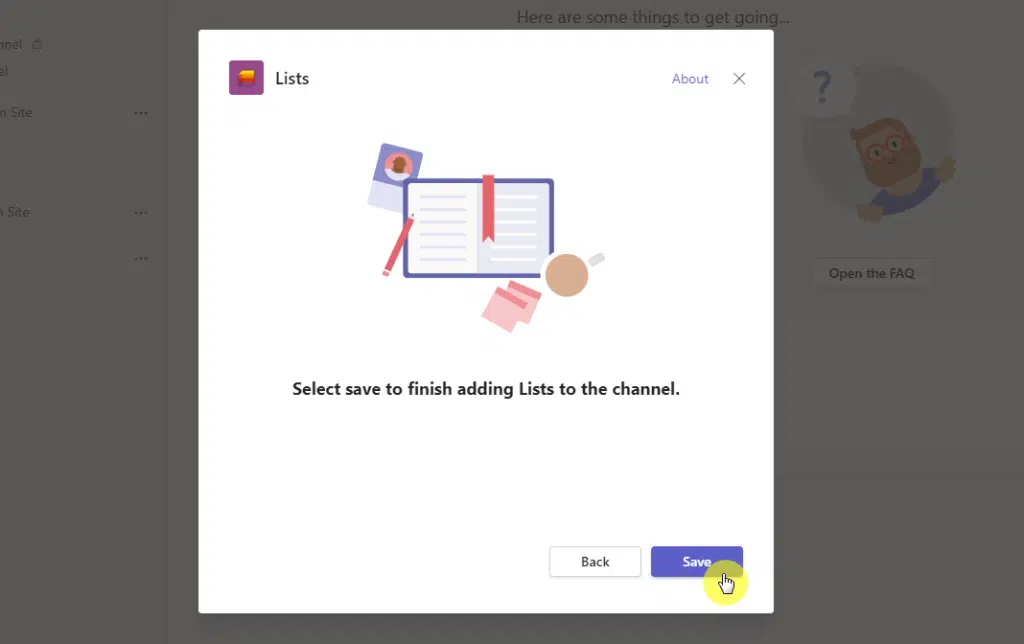
Microsoft Teams will then bring you the Teams channel.
Confirm your decision by clicking the save button on the dialog box:
Add the Lists app as a tab
Once the Lists app is activated in Teams, you can add it as a tab in all the channels in all the teams within our organization.
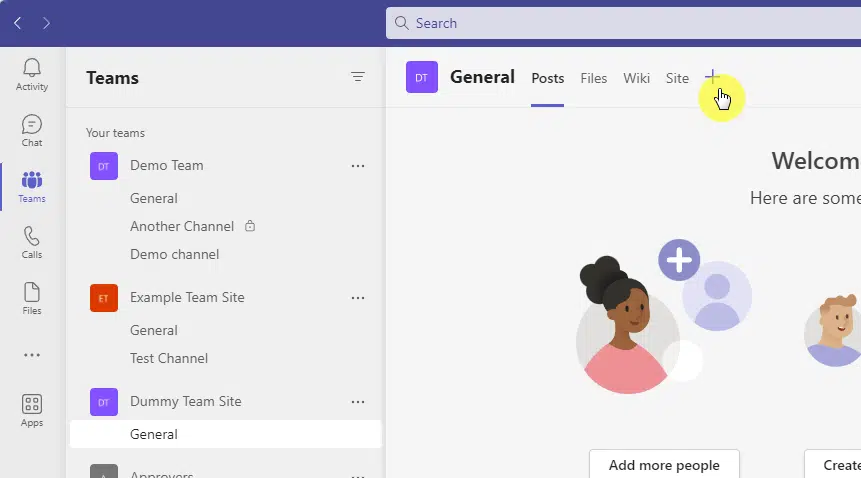
Go to a Teams channel and click the add button in the tab bar:
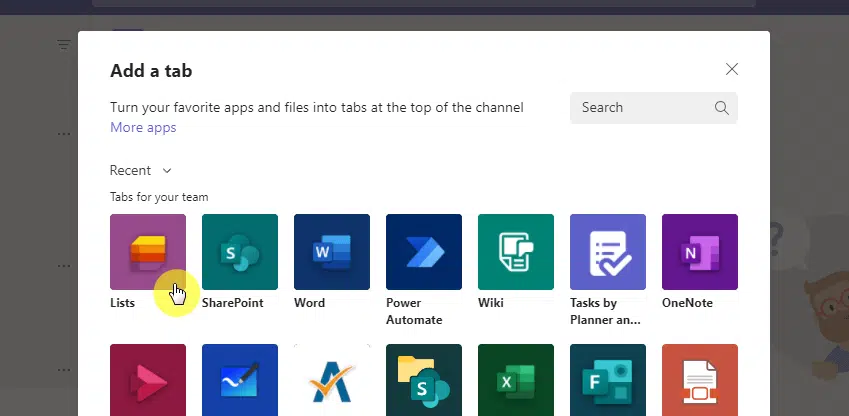
On the dialog box, find the Lists app.
You can also use the search function on the upper-right side to search for the app.
Click the Lists app button to proceed:
You will then see a similar window from the last section where you must confirm your decision to add Lists to the channel.
Click the save button to continue.
Note: For a detailed tutorial on Teams, check out this article: Microsoft Teams Tutorial: Become a Teams Expert Quickly.
How to use Microsoft Lists in Microsoft Teams
Now that you have the Lists app in the Teams channel, how do you use it?
Here are the things you can do with Lists right inside Teams:
1. Create a new list
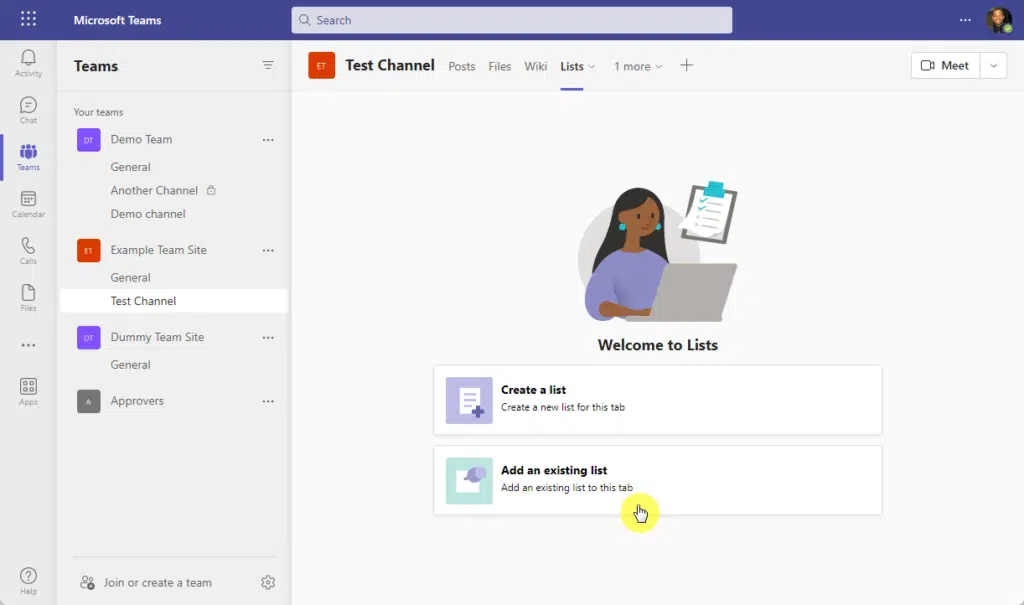
Right after adding a Lists tab in the channel, you will see two options:
- Create a list
- Add an existing list
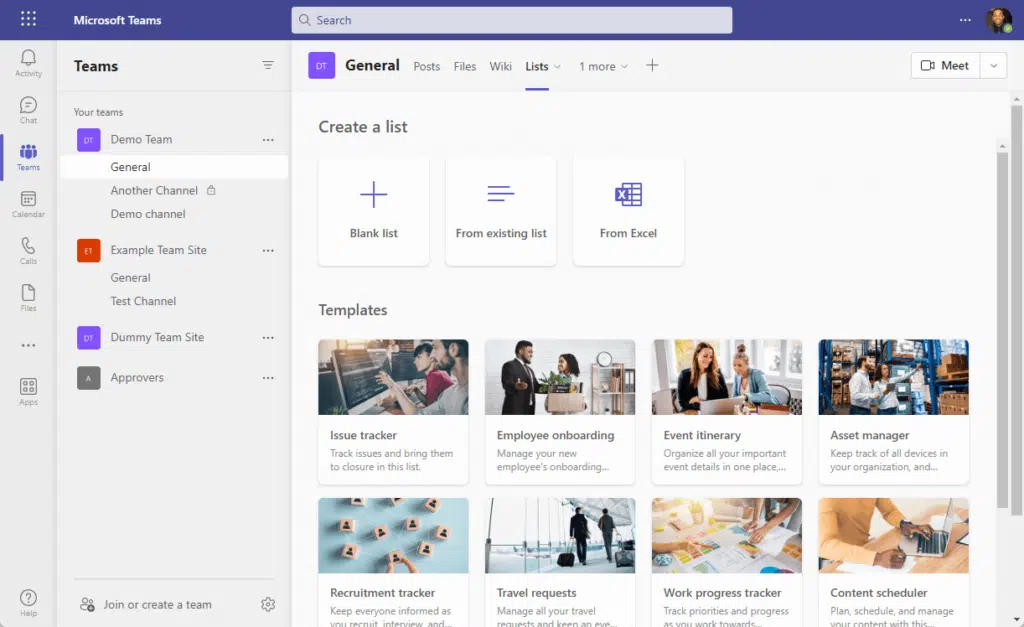
Click on the first option to create a new list:

There are four options to create a new list:
- Blank list
- From an existing list
- From Excel
- From a template
Related: Microsoft Teams Pre-Built Templates: The Beginner’s Guide
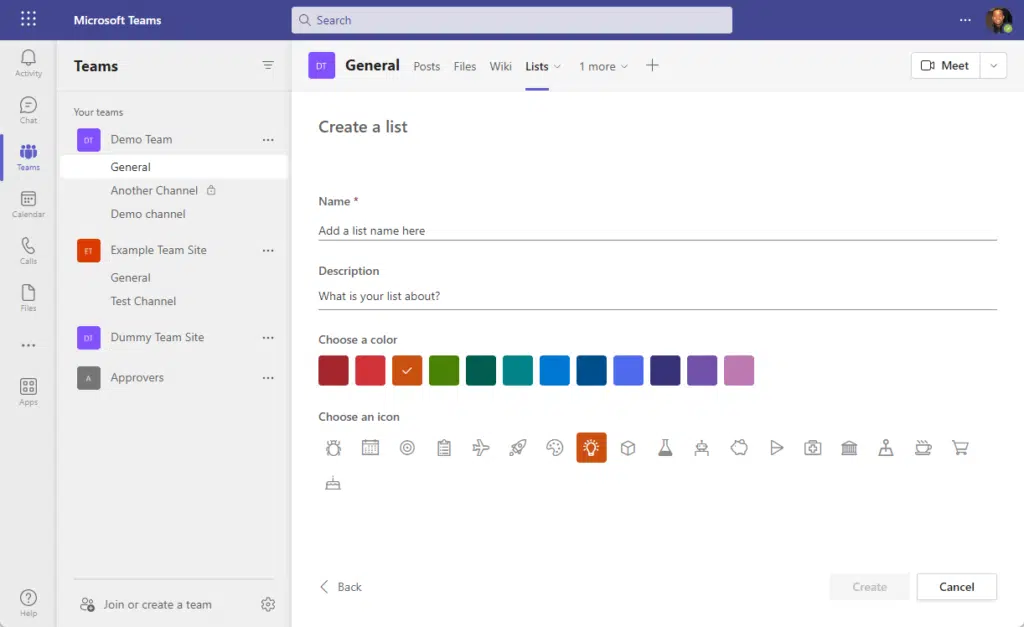
When you create a blank list, you will have to provide a name, color, and icon for the new list.
Then, you will have to enter the column headings yourself (metadata) — basically starting from scratch.
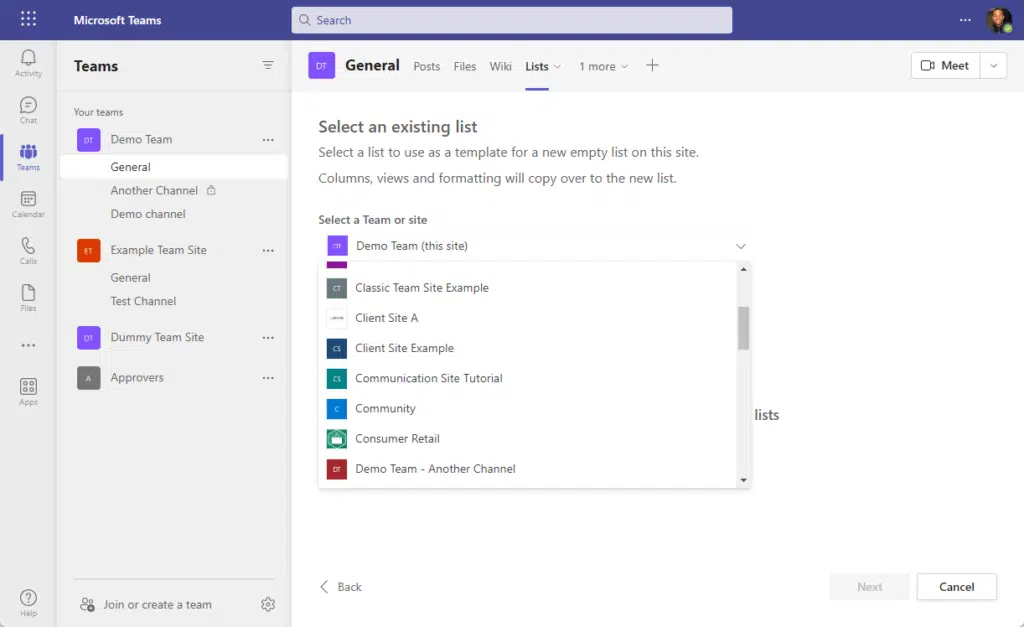
If you opt to create from an existing list, you will have to select a team or a SharePoint site where the list resides.
From there, you will be able to rename the list, give it a description, and assign it an icon.
Note: For more information on this, check out this article that explains the same thing: Duplicate SharePoint Lists: How to Create a Custom List.
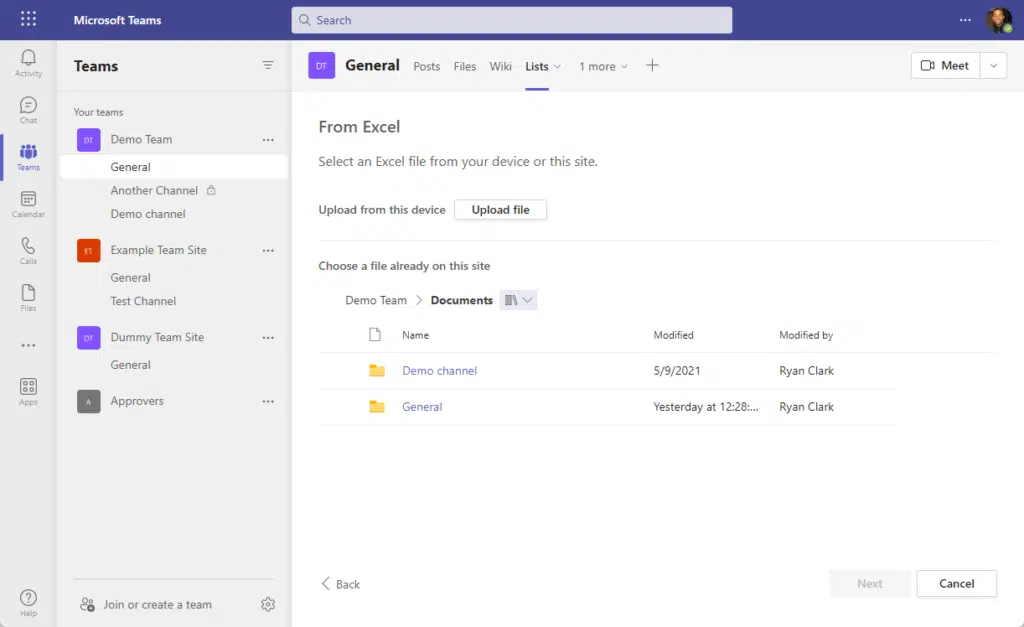
If you go with the Excel spreadsheet route, you will have to either upload the file or choose a file that already exists on the site.
The site depends on which team you are as a team has a corresponding SharePoint site that was created as part of the Microsoft 365 group.
Note: For a more thorough explanation, check out this guide: How to Import Excel Table to SharePoint Online List.
If you want to take it easy, you can always start out from a template — all you have to do is click on a template.
Examples of templates you can start from include:
- Issue tracker template
- Employee onboarding
- Work progress tracker
- Expense tracker
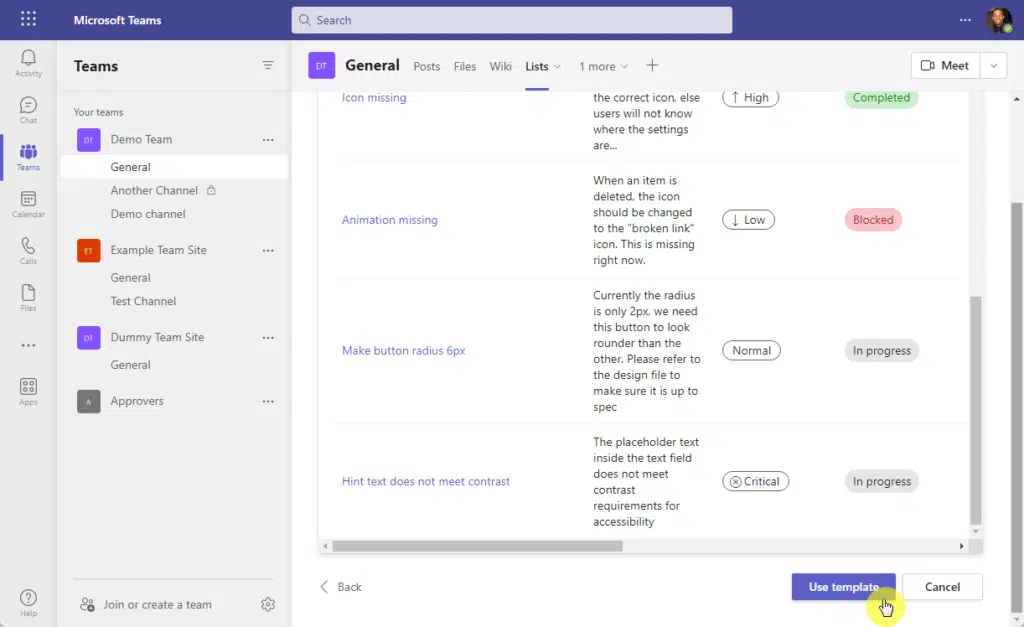
When you select a template, you will be able to see a preview of it.
If you’re sure about it, simply click on the use template button after selecting a template to preview.
2. Add an existing list
Creating a new list from an existing list and adding an already existing list is different.
When you add an existing list, that list is already there on the site and you only want to be able to access it within Microsoft Teams.
If you remember, this is the second option inside the Lists tab:
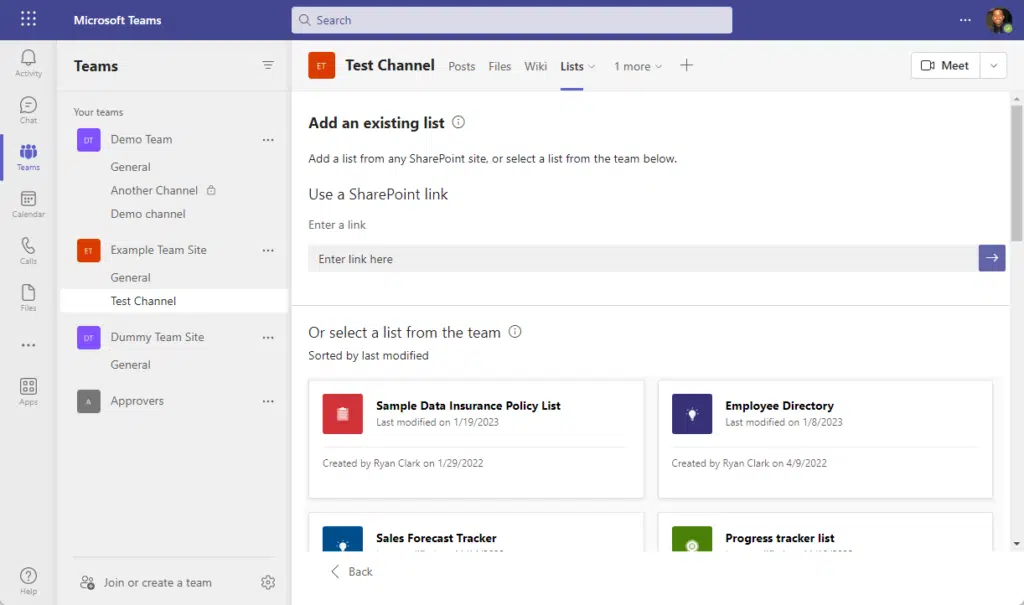
On the next page, there are two ways to add the list to the tab:
- Use a SharePoint link
- Select a list from the team
Right after that, Microsoft Teams will open the list inside that same tab.
If the list is big, it might take a few seconds for it to load (so don’t panic if it seems like the screen froze).
3. Add a new entry to the list
Following the first two sections, you now have a new list or have added an existing list to Microsoft Teams.
Fortunately, using Lists within Teams feels the same when you use the standalone Lists app or when you use it within a SharePoint site.
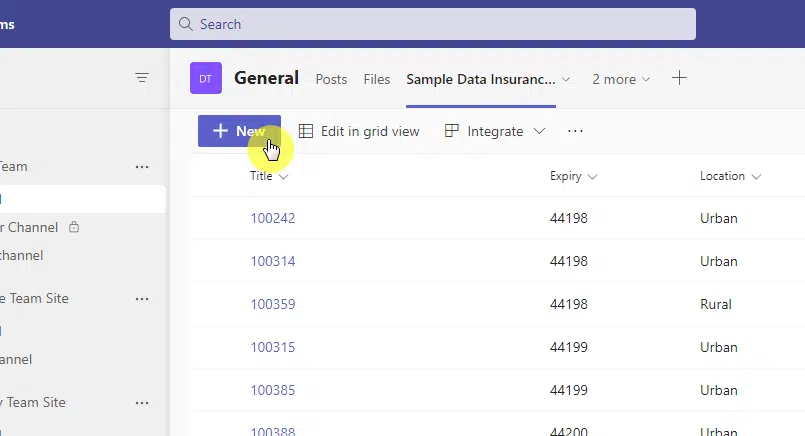
If you want to add a new entry to the list, simply click on the new button on the left corner of the command tab:
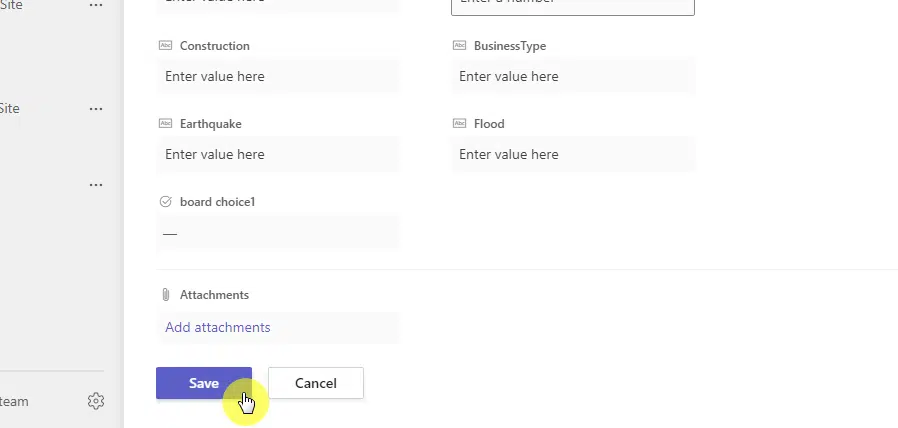
On the next screen, you will see forms that correspond to the metadata columns in the list.
Fill up those forms (watch out for the required ones, if there are any) and click the save button.
Note: For more info on metadata columns, read this guide: How to Use Metadata in SharePoint: The Beginner’s Guide.
4. Edit list entries
But what if you need to edit current list entries? It’s simple.
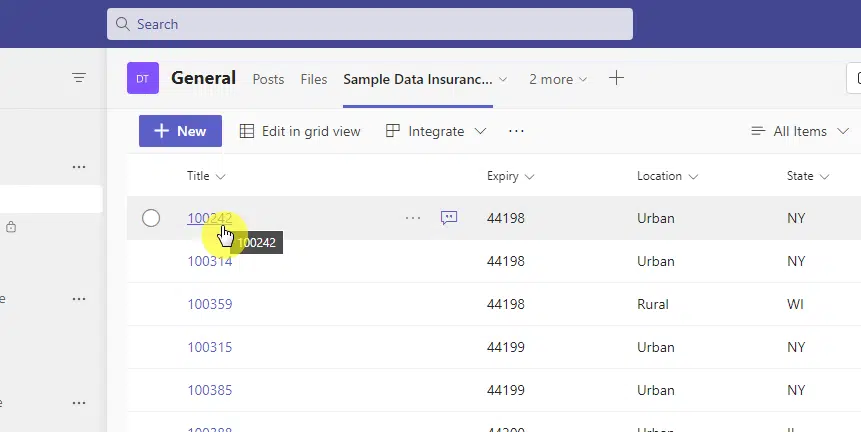
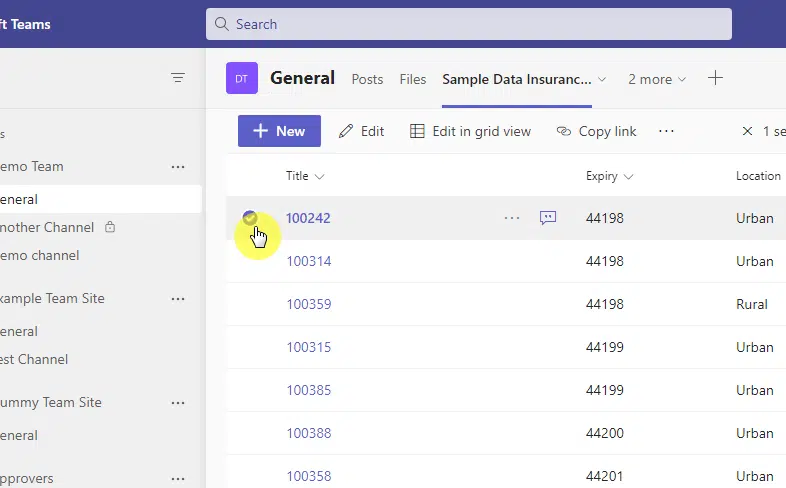
Inside the list, you will see that all the entries in the title column are colored blue — which means they can be clicked.
Click the item title to test it out:
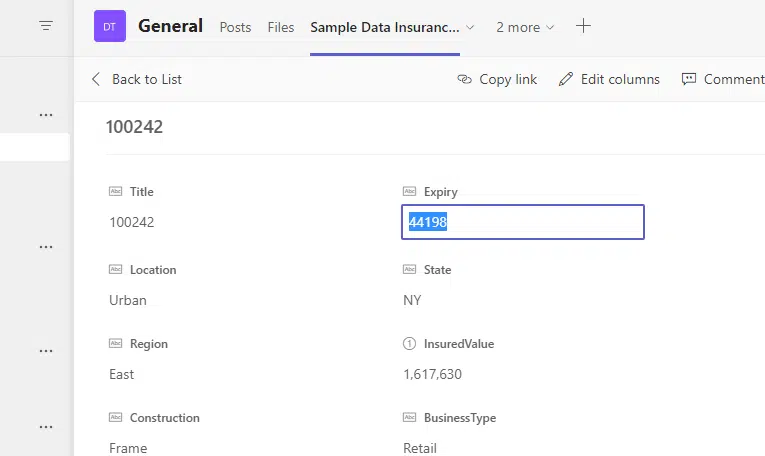
On the next screen, you will see the same page when you add a new list item, except that the forms are filled out.
If you want to edit metadata, click on the form, make the changes, and click outside that form to save the changes.
There is another method where you can make a change to a list item.
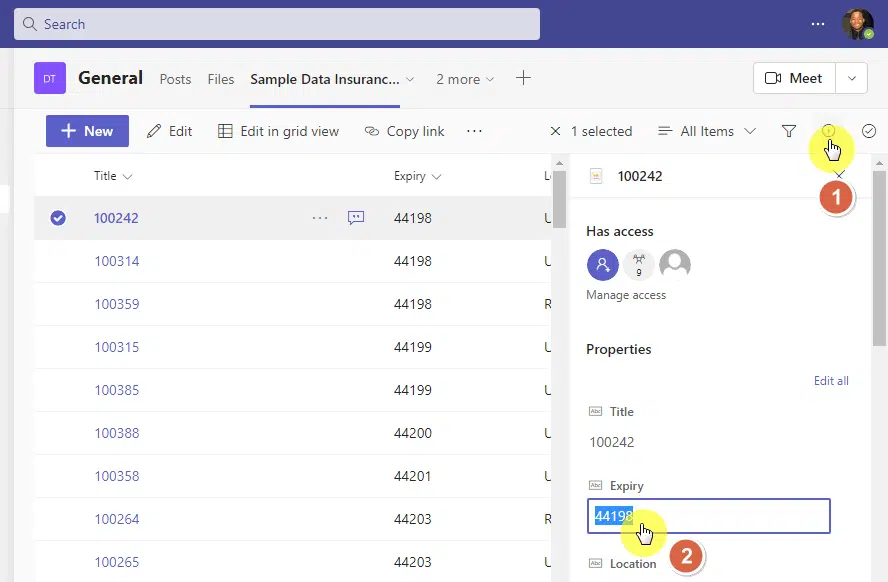
Select a list item through the check button on the left side of the title (and don’t click the list title for this one).
While the item is selected, click the info button on the command bar and you will see the properties of that item.
You can then click on the form of the detail you want to edit. Similar to the previous method, click outside to save the changes.
If there are a lot of items that you need to change, there is a quick way where you can edit many of them.
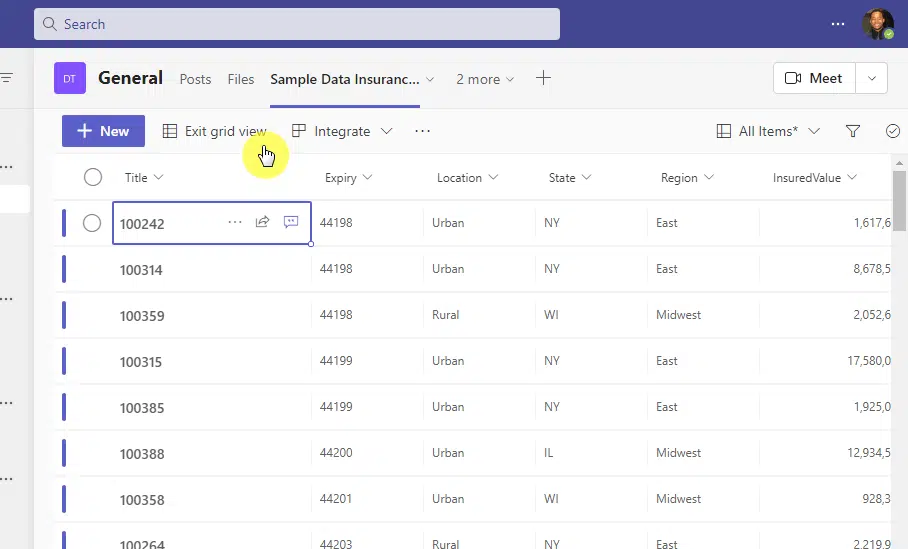
Simply click the edit in grid view button from the command bar:
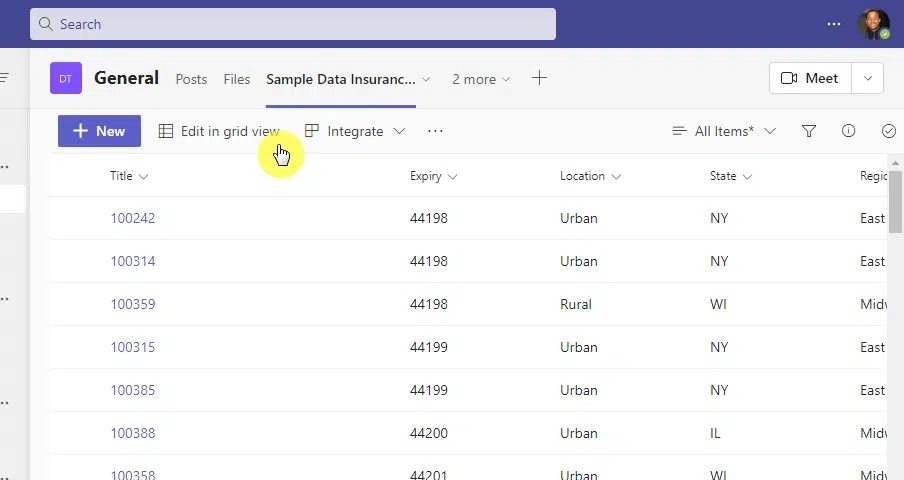
All the cells will be available for you to edit by simply clicking on them.
As usual, clicking outside the cell or form will save the changes you made.
Once you’re done editing, you can go to the normal view by clicking the exit grid view button from the command bar.
5. Start a conversation
Did you know that you can start a conversation with your team on a specific item?
For this, go to the details page of a list item by clicking on its title:
On the next screen, click the conversation tab from the command bar:
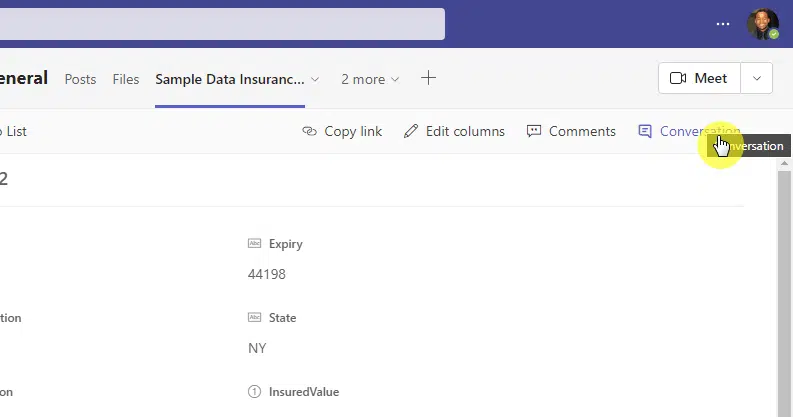
It will then open a panel on the left side where you can start a conversation about the list item with users in the channel.
Like this:
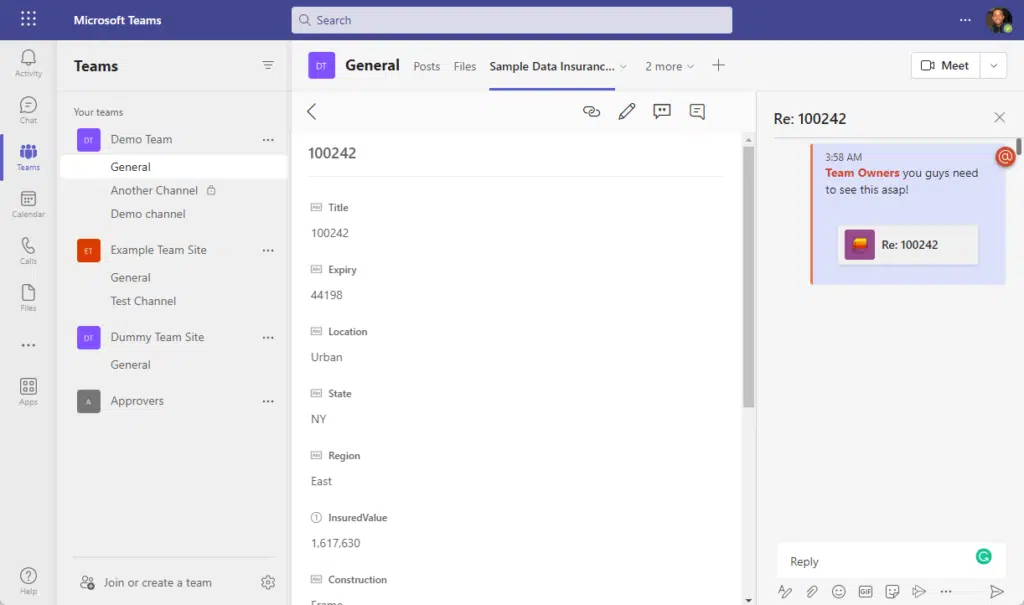
Naturally, the conversation you started from that panel will show up in the posts tab in the channel.
This way, users don’t have to manually find the list item that you meant in the message since Teams will attach it automatically.
6. Manage list item access
If you want to change the access settings of a specific list item, you can also do so within Teams (though it’s limited only).
For example, you can provide a link to a specific user outside the channel to allow him access to that specific list item.
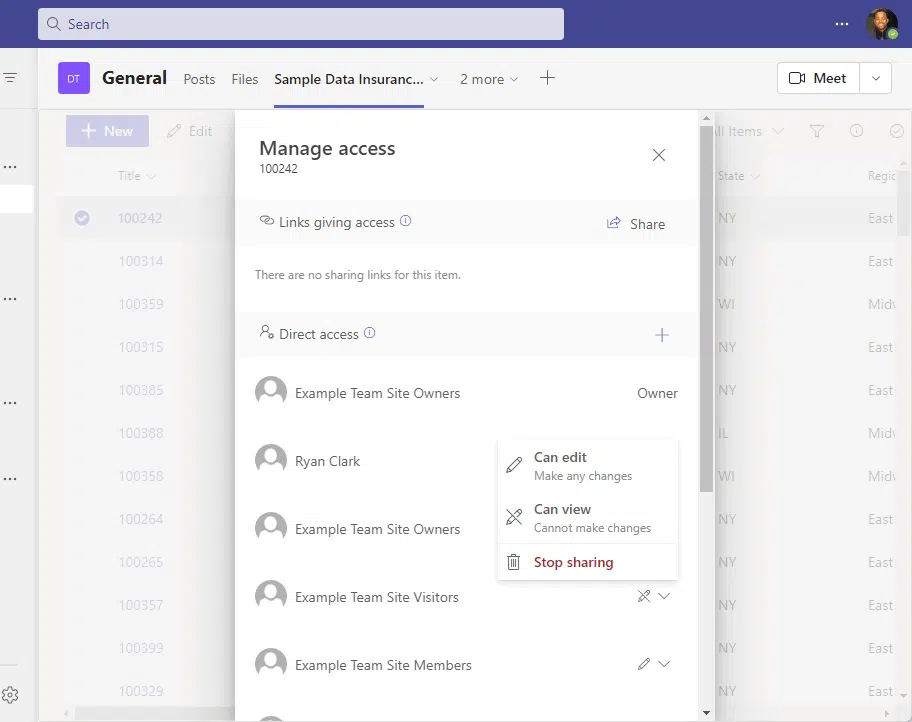
To do that, hover over a list item and click the three dots > manage access option:

There are a few options available to you here:
- Share a link to the list item
- Provide direct access to that item
- Manage access for site visitors and members
If you scroll further down, you will see a link at the bottom that will take you to the advanced settings.
Take note though that the advance settings page is in SharePoint — so the link will take you out of Microsoft Teams.
7. Manage list access
There is also a way to manage the access settings for the whole list.
Without selecting a list item, click the info button to open the details pane and click the manage access link:
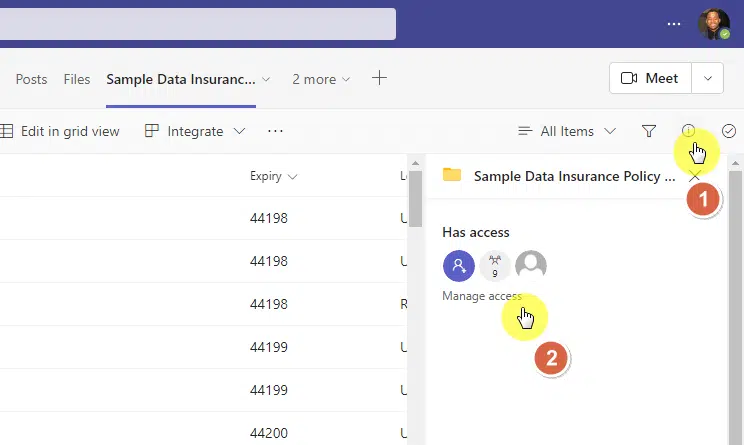
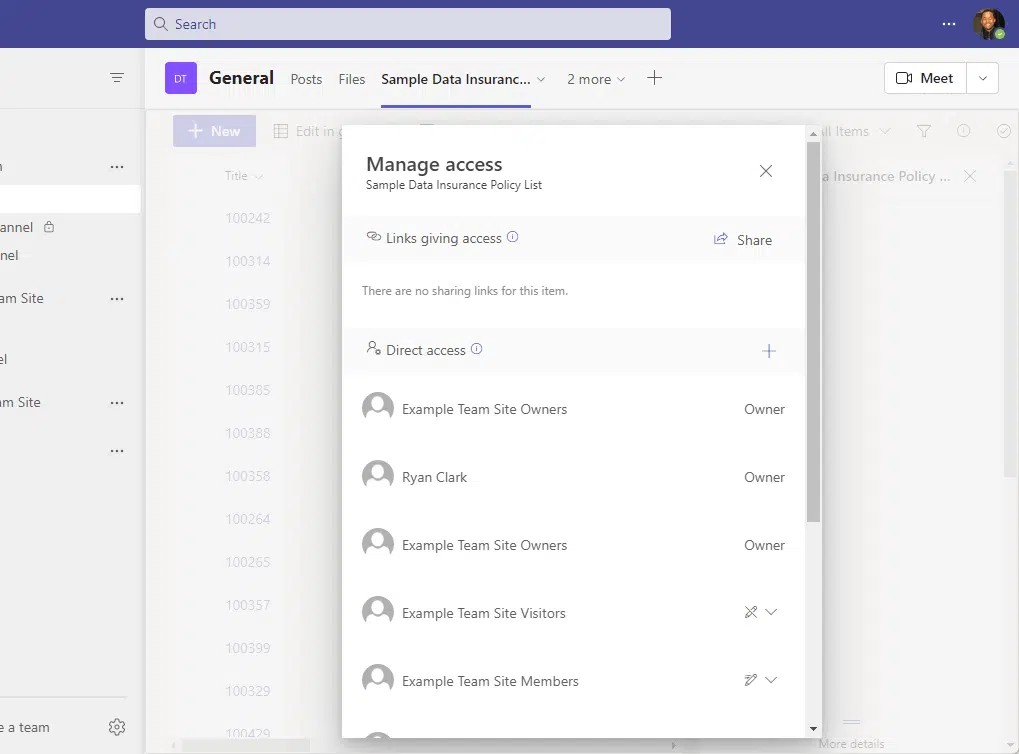
You will then see a similar dialog box that will allow you to manage access to the whole list.
This time, however, you won’t see a link in the box for advanced settings.
Related: Microsoft Teams Best Practices Guide: Focus and Management
Using Microsoft Lists in Microsoft Teams
That’s it. There are a few more basic options available like filtering and view options accessible from the command bar.
Take note that you can also integrate the list with Power Apps. However, this will require you to install Power Apps in Teams.
Related: Creative Ideas for Microsoft Power Apps: Sharepoint-Ready?
I covered most of what you need to know about using Lists in Teams. But feel free to drop any questions you have.
For business inquiries, kindly send me a message using the form on this page and I’ll get back to you as soon as possible.


