

Last Updated on August 2, 2022
Are you thinking of using SharePoint as a means to store or save your images online?
Well, it’s not completely a bad option. However, make sure to only store images that are useful in your organization.
Otherwise, you will end up with a bloated document library that might eat up most of your organization’s resources.
In this article, I’ll show you the different options on how you can store images in SharePoint and answer some common questions regarding the topic.
Let’s get started.
Table of Contents:
Before anything else, I need to tell you important things regarding using SharePoint as a storage for your images.
- Metadata of the images: Whenever you store a photo in SharePoint, the system usually saves the file’s metadata too like size, date created, etc. when available.
- Version History: Whenever you change something related to the image file (like the name), you create a new copy of the image, which affects the resources.
- File names: Many of the images have device-generated names, so changing the names to something that makes more sense can help (especially when you need to find those images later on).
- File format: Though SharePoint can save an image in different formats, you need to pay attention to this if you’re dealing with older or less common formats.
- File size and resolution: Naturally, the lower resolution the smaller the file size is. Pay attention to this and find the right balance to avoid images eating up a lot of your resources.
Sign up for exclusive updates, tips, and strategies
With that, let’s get to the different options currently available:
1. Save directly to a modern document library
Why not use one of modern SharePoint’s most basic features?
Well, this makes sense, especially for those who were using the platform way before. The document library that came with the classic experience was bad at handling images.
But the modern document library has changed and it can now handle images quite well:
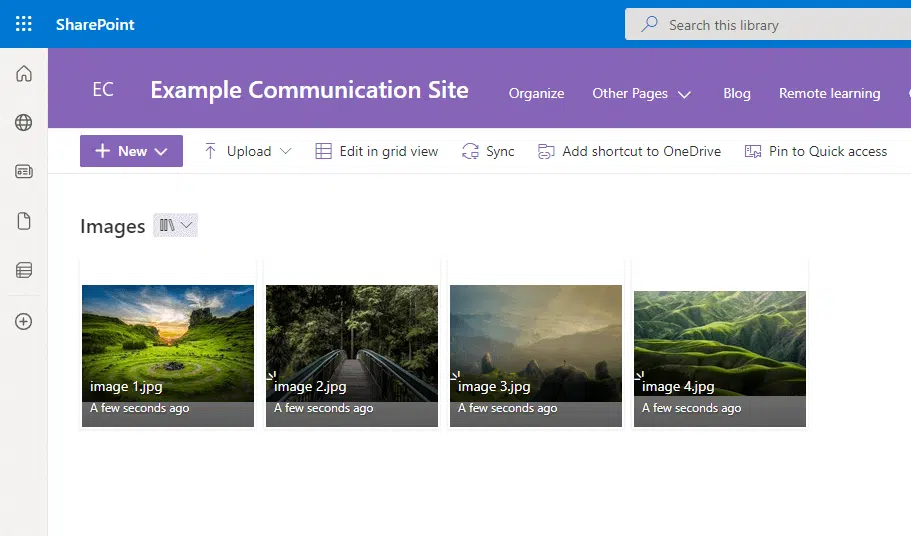
The downside here is that you may have to manually change the view to tiles since the default view is always in the list view.
Besides that, the new document library is quite awesome (thanks to modern experience in SharePoint).
This is the method I highly recommend too. Even if you need to create metadata, you can easily do that in a modern document library.
2. Create a separate picture library
Before the modern library came into being, the picture library is the feature of choice if you want to upload images in SharePoint.
Here is how it looks:
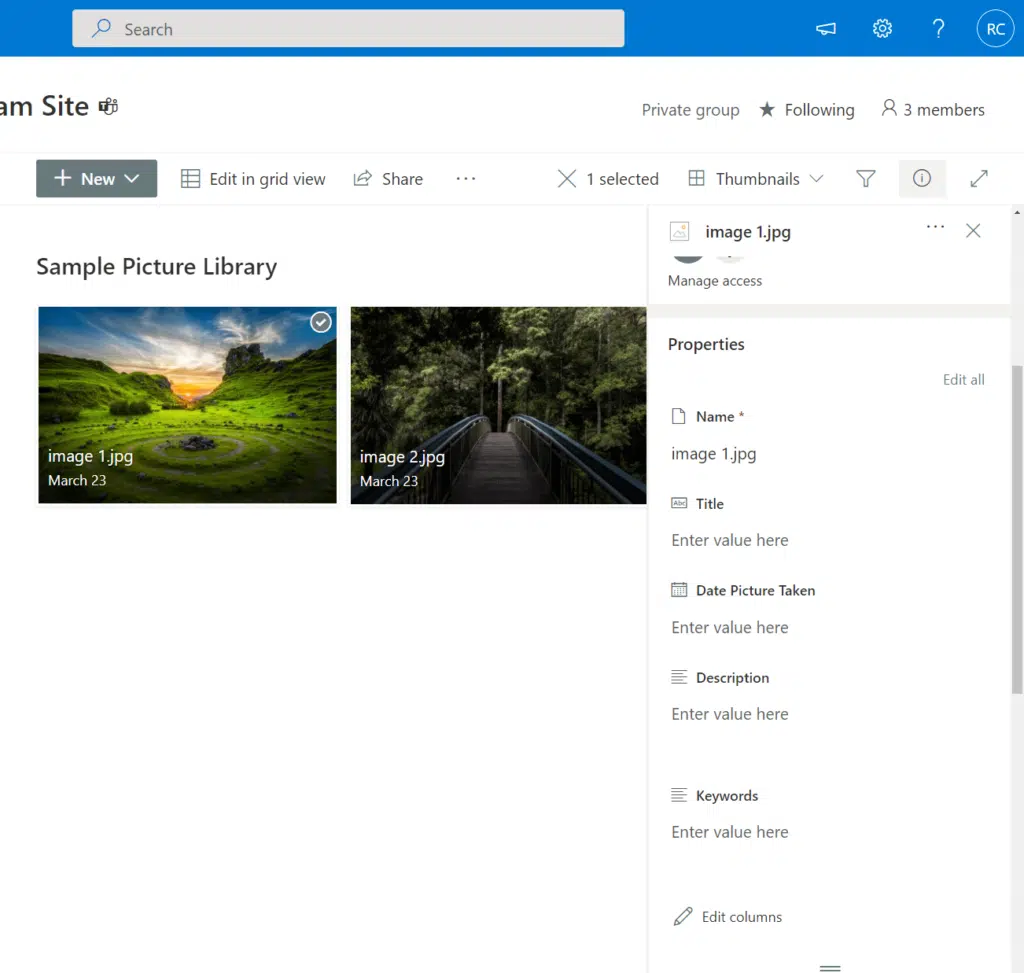
On a side note, it’s almost completely unnecessary now. Though there still are a few perks to using this over the new document library:
- The view by default is in “thumbnail view”.
- Metadata related to images like the “date picture taken” are automatically generated.
Well, this is also a good choice, though you need to take a few extra steps here though to create a picture library (unlike with a modern document library).
Note: The picture library is one of the basic types of document libraries in SharePoint. Check here to learn more about document libraries.
3. Insert an image to a page
Did you know that when you upload an image to a SharePoint page, it automatically saves that image?
Well, anytime you upload an image through the “image” and the “image gallery” web parts, the system saves the image to the site assets library.
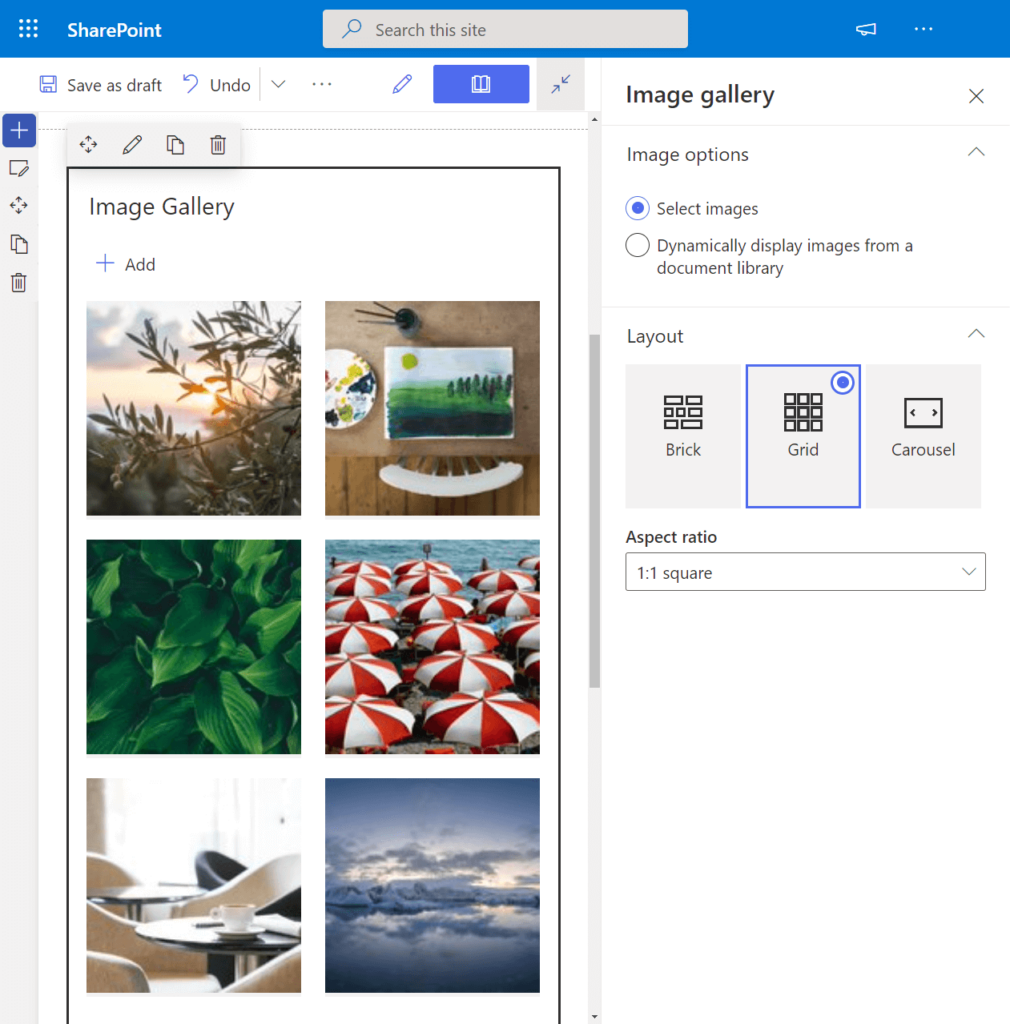
This library is another type of document library in SharePoint. This is where assets used to create new pages end up.
In case you need to find it, you can easily see it when you get to the site contents page:

This makes it easy for anyone in the organization to reuse the images around instead of reuploading them every time they’re needed.
The downside here is that you can’t expect any sort of organization in this library since the system simply uses this to save the images used on a new page.
Here are answers to common questions regarding this topic:
Yes, you can easily store images in SharePoint. But take note to only save images here that are needed for the organization.
Otherwise, you’re better off using your personal OneDrive account as storage for your pictures. That way, the images don’t eat up the precious resources of your organization.
If you upload an image on a new page, then the images are stored in the site assets folder. Otherwise, you can choose which document library to store your images.
SharePoint does have a type of document library that’s specifically made for images. However, modern document libraries are now sufficient to handle your needs.
Anyway, do you have more questions on how to store images in SharePoint? Please share it below.
For inquiries and other concerns, kindly use the site’s contact form and I’ll get back to you as soon as possible.


HI, why visitors of our page cannot see images? 😦
Right-click, copy the image location, and see if it’s in a location the visitors cannot access.