
Last Updated on March 26, 2025
Worried about data risks in SharePoint?
In this guide, let’s talk about the steps you can take to secure your SharePoint Online.
Let’s get started.
Table of Contents:
1. Set Up Access Controls First
This matters because if you don’t control who can access what from the start, everything else you do later is kind of pointless.
If someone has way too much access, or worse, the wrong person has access, they can accidentally (or intentionally) leak info.
Check who has access to what
Start by reviewing your default permission settings, as a lot of SharePoint sites are created with broad access.
Click the gear icon (⚙️) in the top right corner of the site that you want to check, then click the “Site permissions” option.
At the bottom of the panel, click the “Advanced permissions settings” link:
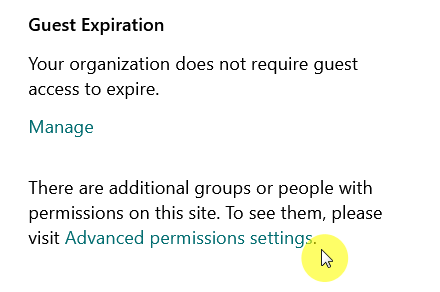
From there, you will see the default groups:
- Owners
- Members
- Visitors
You will also see on this page if there are any custom permissions created or if extra users have been added.
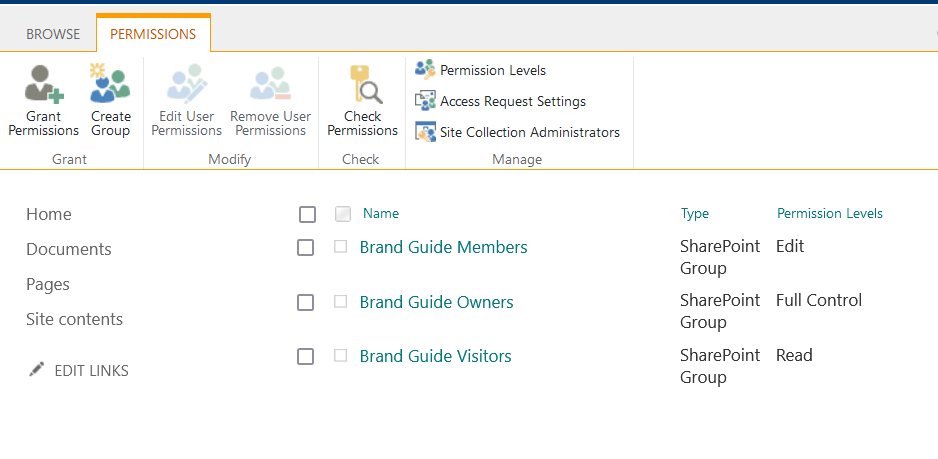
This is the page where you can manage, review, or clean things up in terms of permissions for the whole site.
Groups can make permission management easier compared to just assigning permissions to individual users one by one.
By using groups and setting the right permissions:
- You control who can read, edit, or share content.
- You reduce human error by keeping SharePoint permissions tight and consistent
- You make it easier to manage and review access over time.
You can do it right inside the advanced permissions settings by selecting the group and editing its user permissions.
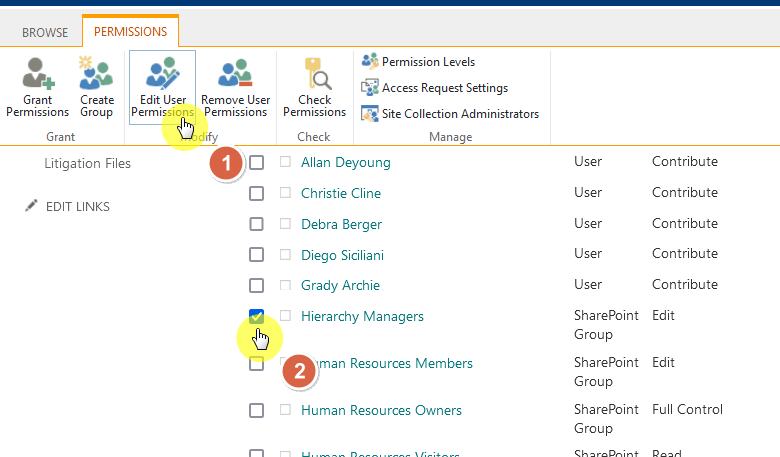
This will then open the edit permissions page for that group that you selected.
You will then be able to choose the permission level that you want to include or exclude for that group on the next page.
It looks like this:

If you click on the group name on the previous page, you would also be able to add or remove people from the group.
For example, if someone joins your marketing team, you can add them to the marketing members group (if you made one).
It keeps things neat and scalable, especially when you’ve got a lot of users. 🙂
Limit access at the list, library, and file levels
As you know, not everything needs to be open to everyone.
You might have a general site everyone can access, but a document library with HR files should only be seen by HR.
Limiting access would:
- Keep sensitive data locked down.
- Reduce the risk of someone editing or deleting the wrong thing.
- Help you meet compliance standards, especially for personal or financial info.
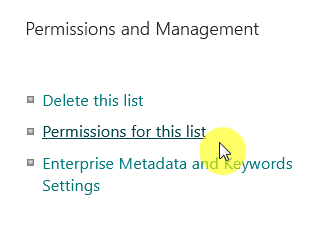
For lists and libraries, go to their permissions page, which you can access from the gear icon (⚙️), then to list or library settings.
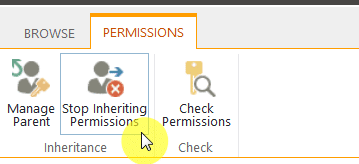
Go to the permissions for this list/library, and there you will find the “Stop Inheriting Permissions” button in the ribbon.
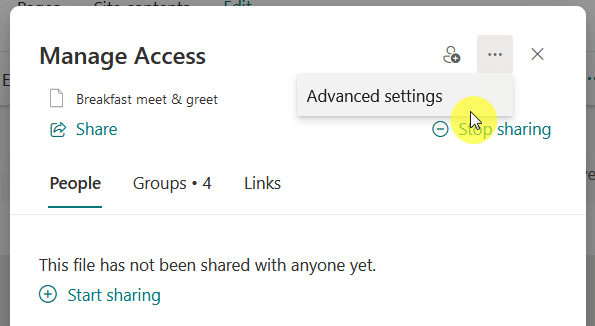
For items and documents, you can right-click on them and select the “Manage access” option from the context menu.
Then, click the three dots (…), go to the item’s advanced settings, and then click the “Stop Inheriting Permissions” button

If you’re wondering why to do this first, that’s because everything in SharePoint inherits permissions from the site.
That’s okay for general stuff, but for sensitive content, it’s too broad, and you don’t want every person to access everything.
When you stop inheriting:
- You break the connection to the site’s general permissions.
- You can apply tighter, more specific rules.
- Only the people you explicitly add will have access.
If you don’t break down access like this, you’re trusting everyone to behave perfectly, and that’s just not realistic in a big team or company.
Sign up for exclusive updates, tips, and strategies
2. Manage External Sharing Settings
This part is important in securing SPO because external sharing is one of the easiest ways for data to leave your organization.
Let’s say someone shares a link to a file with “Anyone with the link can view”:

That link could end up forwarded around, even to people outside your company, and you lose control at that point.
This is why it’s important: if you don’t manage external sharing, your internal data security settings won’t matter much.
Someone could bypass them just by sending a public link. 🙁
Check which sites enable external sharing
What’s nice here is that you can disable external sharing, and there’s even a way to check which sites have it turned on.
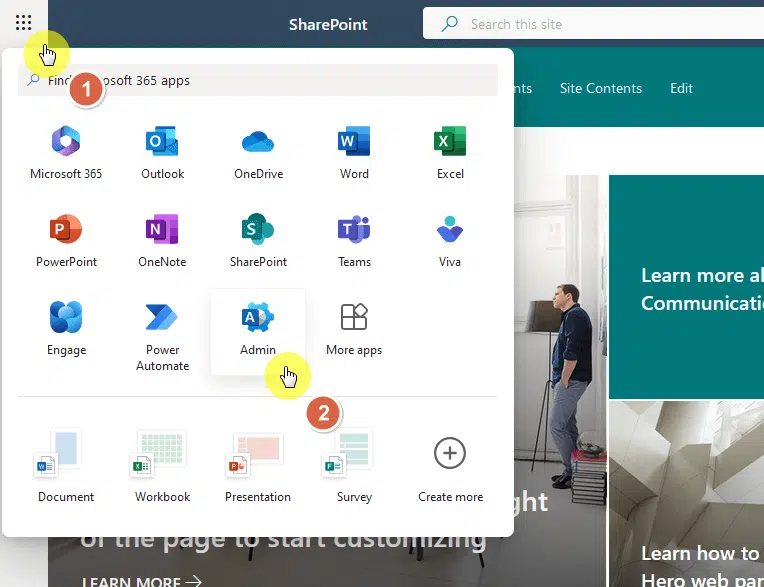
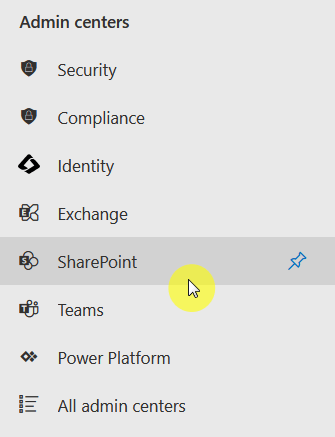
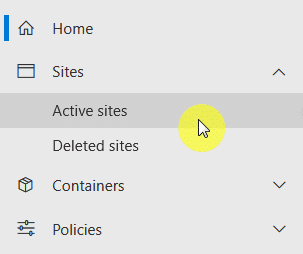
Start by going to the Microsoft 365 admin center, then to the SharePoint admin center, and then go to the active sites list.
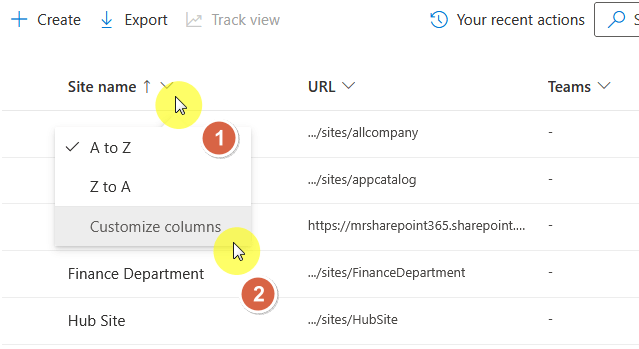
Then add the external sharing column if it’s not already showing, so you can quickly scan which sites have more open sharing policies.
If it’s not there, click on one of the column headers, then click the “Customize columns” button:
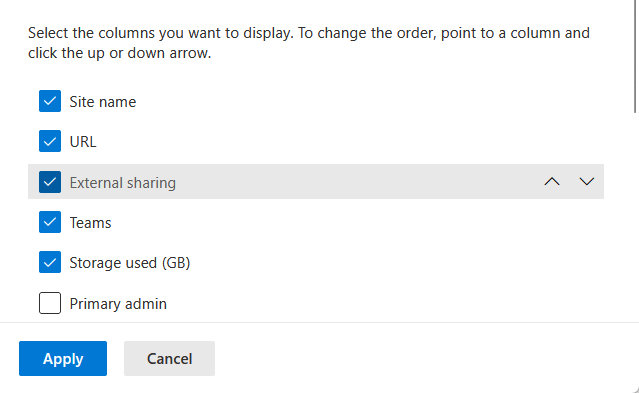
Make sure that external sharing is selected, and if you want to see it faster, move it up the queue by pressing the up (⬆️) button.
Click the “Apply” button after that:
Once you know which sites have it enabled, you should then be able to disable it on that SharePoint site if you prefer.
Disable external sharing if not needed
First off, did you know that you can disable external sharing for the whole tenant?
If we’re talking about advantages, you practically reduce your risk across the board with this one setting, no surprises.
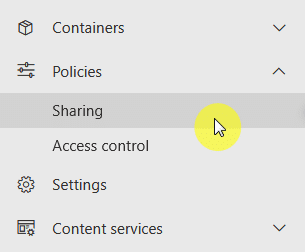
To do that, just go to Policies > Sharing in the SharePoint admin center:
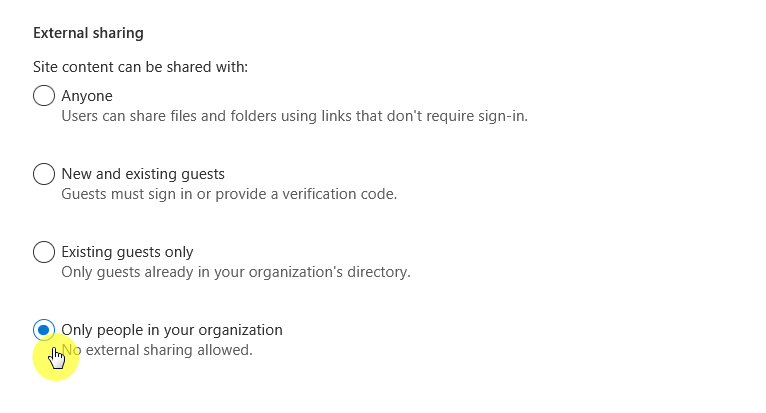
Then set the sharing level to “Only people in your organization” using the slider, which will then:
- Block all external sharing
- Overrides sharing settings on individual sites
It looks like this:

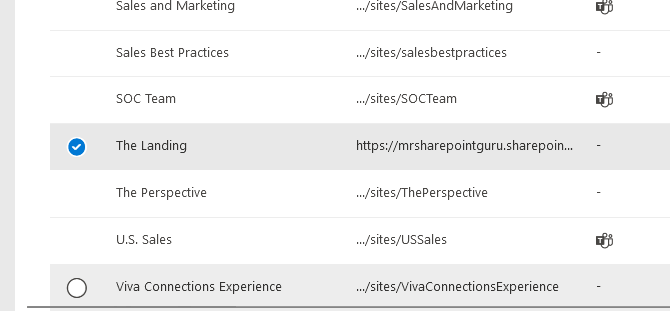
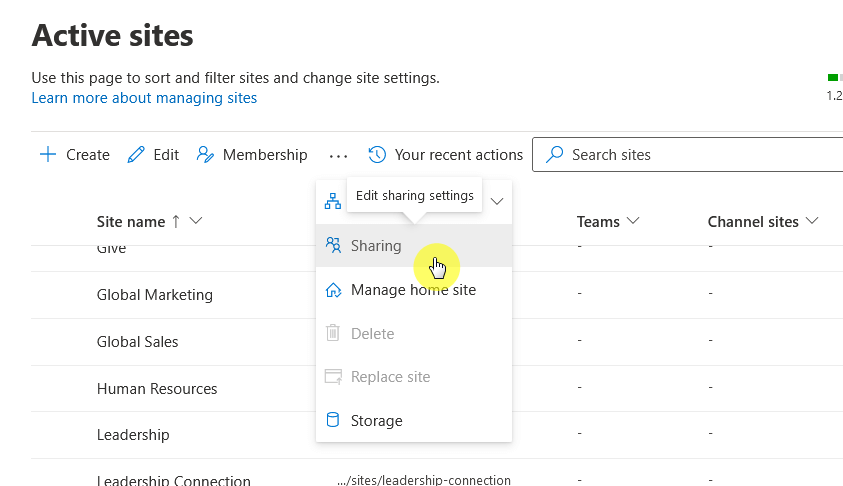
If for specific sites only, go back to the active sites page and then find the site you want external sharing to be disabled for.
Select the site, then click “Sharing” from the toolbar, and then set it to a lower level or “Only people in your organization”.
Turning off external sharing for individual sites gives you flexibility without losing control across your whole SPO environment.
As you’re thinking, some teams may need to work with vendors or clients, while others don’t, so this supports various use cases.
But remember that tenant-level external sharing settings always override site-level settings.
They’re important because once you share a link, especially with people outside your org, you kind of lose control over it.
It could get forwarded, saved, or even exposed later, so setting up expiration dates and passwords adds a protection layer.
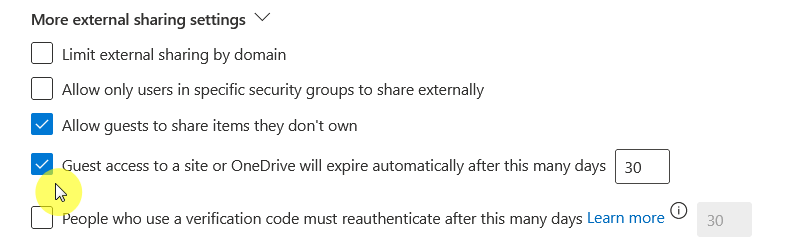
What’s nice is that you can automatically set expiration dates for guest links as an admin, just go back to the sharing policies.
Actually, you can put a blanket policy so guest access to a site or OneDrive will automatically expire in a few days:
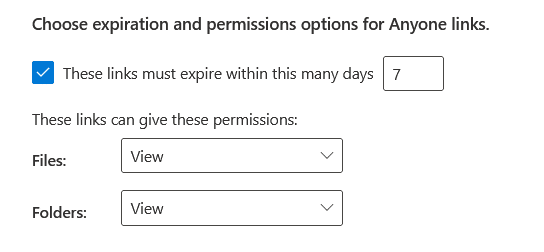
For anyone links, go below that to the section where you can “Choose expiration and permissions options for Anyone links”.
Set the number of days the links must expire, and you can also change the permissions of the links, like turning them to “View”.
You can also do it manually when sharing a library, list, document, or list item as a user inside the SharePoint Online site.
In the more settings part of the link settings, you can set the expiration date as well as set a password for the shared item.
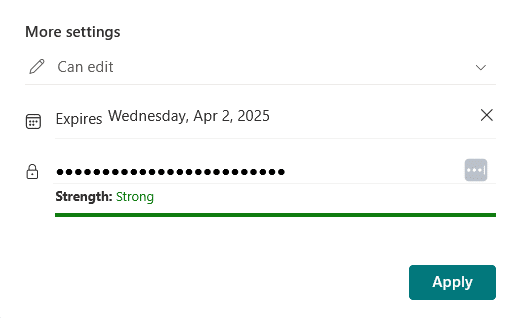
This will let you customize the expiration per file or folder, even if an admin didn’t set a global policy, which is nice for users to have.
It’s a quick way to limit long-term exposure, especially when you’re sharing something temporarily.
3. Turn On Multi-Factor Authentication (MFA)
Turning on MFA helps secure SharePoint Online because it adds a second layer of protection when users log in.
It’s not just about typing a password anymore, users also have to confirm their identity with something else.
Here’s why it helps:
- Passwords can be guessed or stolen, especially weak ones.
- It blocks most common attacks, like phishing and credential stuffing.
- It protects all Microsoft 365 apps, not just SharePoint.
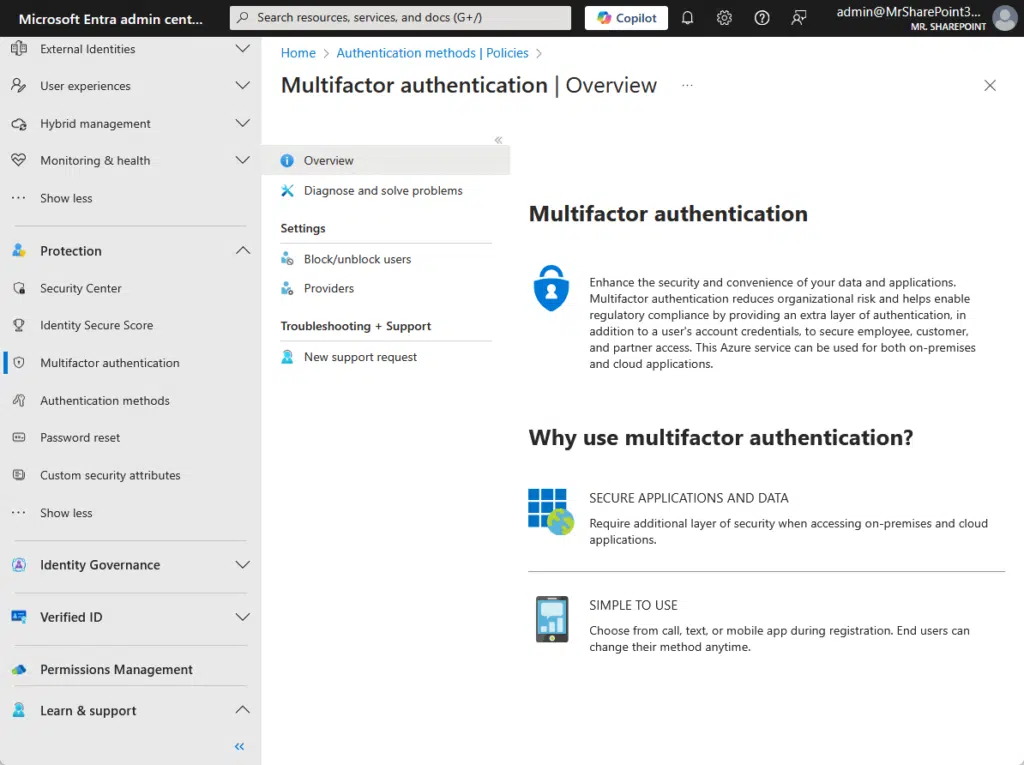
The bright side here is that Microsoft implements security defaults in Microsoft Entra ID to enhance security across organizations.
When enabled, it will require all users to register for and use MFA, specifically through the Microsoft Authenticator app.
There’s also the new mandatory MFA for all user accounts accessing the Microsoft 365 admin center (started on February 3, 2025).
So, in a way, the key here would be to not disable the security defaults in the tenant.
Other things you can do
I initially wanted to put more here, such as:
- Enabling data loss prevention (DLP) policies
- Monitor and audit all activity
- Train your users on SharePoint security basics
DLP policies would help secure SharePoint Online by watching what kind of content gets stored or shared.
But take note that it’s only for specific licenses, which include:
- Microsoft 365 E5/A5/G5/E3/A3/G3, Microsoft 365 Business Premium, SharePoint Online Plan 2, OneDrive for Business (Plan 2), Exchange Online Plan 2
- Office 365 E5/A5/G5/E3/A3/G3
- Microsoft 365 E5/A5/G5/F5 Compliance and F5 Security & Compliance
- Microsoft 365 E5/A5/F5/G5 Information Protection and Governance
Meanwhile, auditing is a maintenance activity and would help you see what’s happening, not just what you think is happening.
Well, Microsoft 365 has auditing tools, but out of the box, they’re not super deep unless you’re on higher-tier plans.
There’s basic auditing in Microsoft Purview, while the advanced audit features like longer data retention require higher plans.
I would say that the default logging is decent, but not ideal for complex environments or regulated industries.
I recommend you check out third-party monitoring tools and permission management tools with better/deeper features.
Do you have any questions about securing your SharePoint Online? Let me know in the comments.
For any business-related queries or concerns, contact me through the contact form. I always reply. 🙂


