
Last Updated on November 17, 2023
Need to create a shortcut to your shared folders and files in OneDrive?
In this guide, you will learn how to create a shortcut to a shared folder’s tile on OneDrive, and how to manage shortcuts like renaming, moving, and deleting.
Let’s get started.
Table of Contents:
Understanding OneDrive File Sharing
Microsoft OneDrive is not only a simple storage solution, but it’s also a powerful collaboration tool.
One of its most compelling features is the ability to share individual files and folders with others.
This can be done easily using OneDrive mobile apps or through your desktop.
Here’s what you need to understand about OneDrive file sharing:
- You can share files or folders with anyone, even external users or those without a OneDrive account.
- Shared files can be viewed, edited, or downloaded, based on the permissions you set.
- You can revoke access to a shared file at any time, giving you complete control over who can see your files and when.
Related: How to Use OneDrive: The Ultimate Beginner’s Guide
Sign up for exclusive updates, tips, and strategies
Navigating to a frequently accessed shared file on OneDrive can be time-consuming.
But there’s a quick solution — creating a shortcut.
Here are the steps:
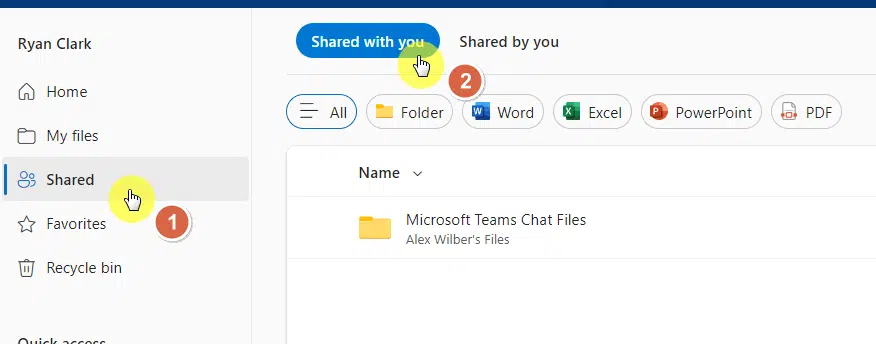
In your OneDrive:
- Go to the shared page
- Make sure you’re in the shared with you tab
If you have more than one folder to create shortcuts for, just repeat the steps for each folder.
Step #2: Create the shortcut
Now there are two ways to achieve this.
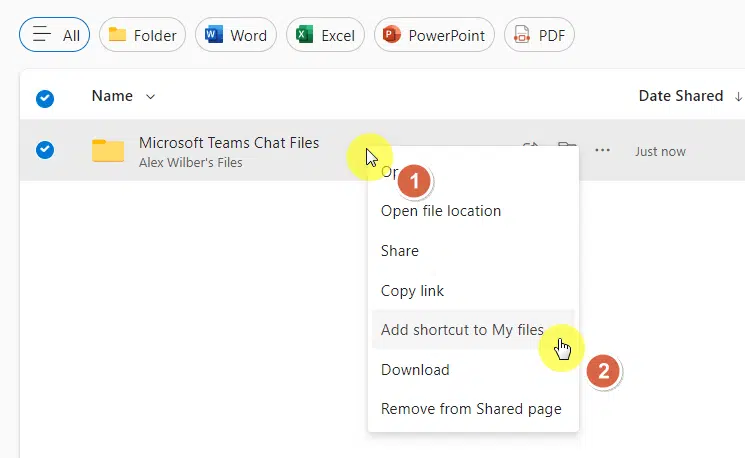
The first one:
- Right-click on the folder/file
- Click add shortcut to my files
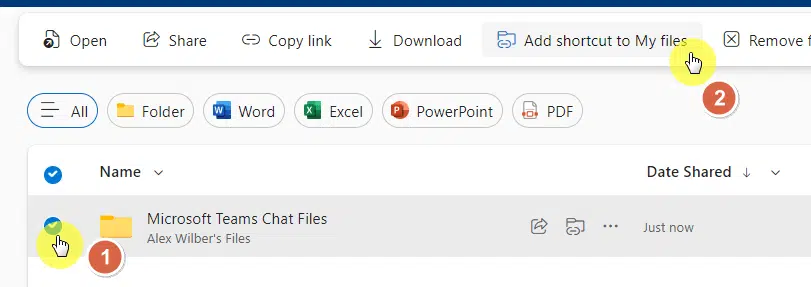
The second one:
- Select the folder/file
- Click the add shortcut to my files button
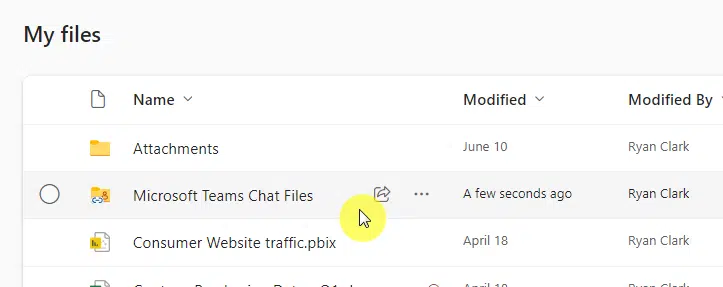
Step #3: Check the shortcut’s location
The shortcut will be created on the my files page.
This shortcut acts like a bridge to your shared file, enabling quick access with a simple double-click, much like using Windows file explorer.
Confirm its creation by checking your my files page (you can open file explorer if it’s synced):
This shortcut acts like a bridge to your shared file, enabling quick access with a simple double-click.
Remember that the shortcut is just a path to the file — any changes you make to the file through the shortcut will be reflected in the actual shared file on OneDrive.
Related: How to Share OneDrive Access With Another User (No Hack)
Managing Your OneDrive Shortcuts
Creating a shortcut is just the first step.
It’s equally important to know how to manage these shortcuts to keep your digital workspace organized and efficient.
Related: How to Share Files on OneDrive With External Users (Guide)
Renaming Your Shortcut
Renaming shortcuts can help you remember what each one is for.
Here’s how to do it:
- Right-click on the shortcut
- Select the rename option
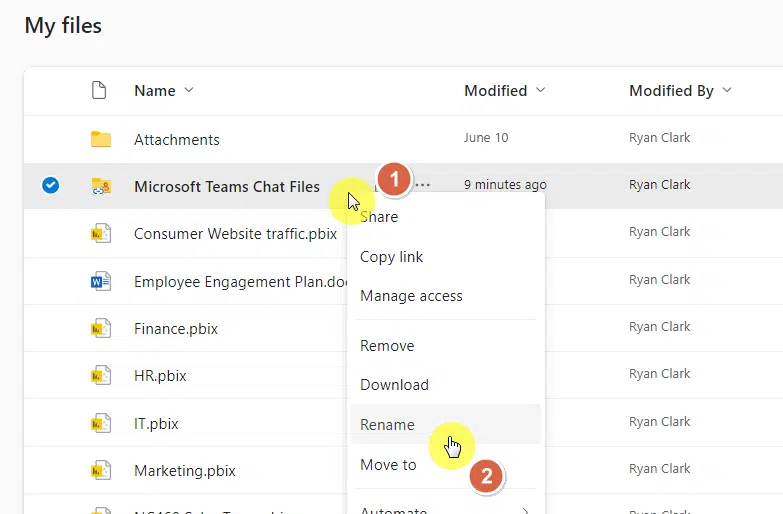
You can also select the shortcut and click the rename button on the command bar.
What to do next:
- Enter your preferred name
- Hit the rename button
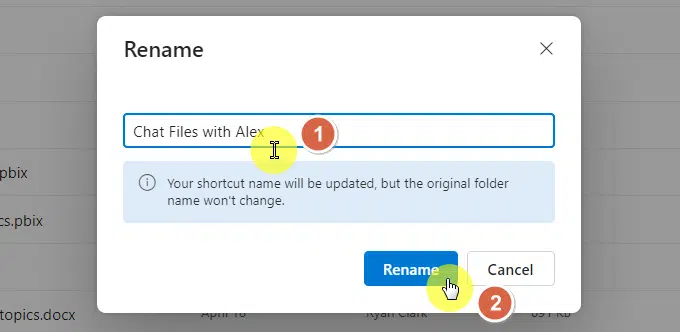
That’s it! Your shortcut now has a new name, providing a quick reference for what it leads to.
Moving Your Shortcut to a New Location
You might want to move your shortcuts to different locations for better organization.
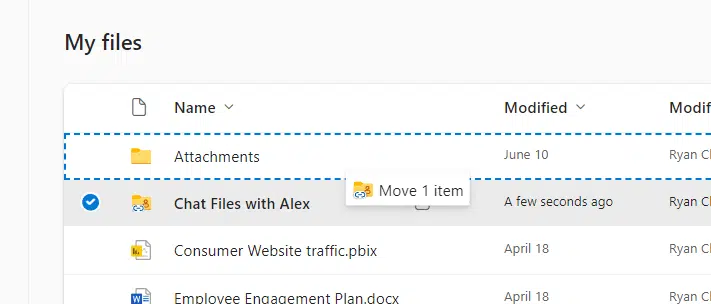
This process is as simple as drag-and-drop:
- Click and hold the shortcut
- Drag it to its new location and release
You can also:
- Right-click on the shortcut
- Click the move to option
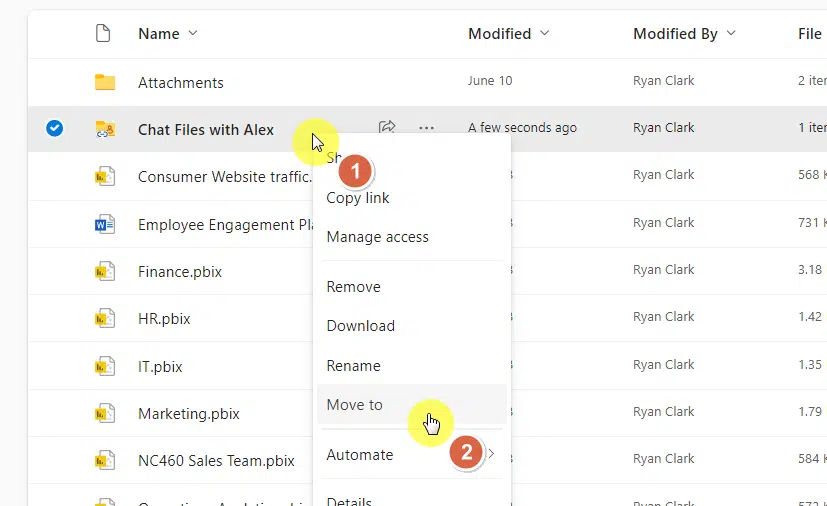
All that’s left is to choose where you want to move the shortcut and you’re done.
Now your shortcut has a new home, making it even more convenient for you to access.
Deleting a OneDrive Shortcut
If you no longer need a shortcut, you can remove it to keep your digital space clutter-free.
Note that deleting a shortcut does not delete the original shared file.
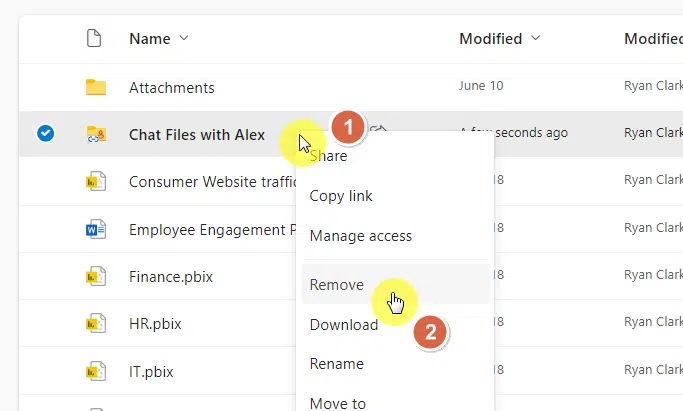
Here’s how to do it:
- Right-click on the shortcut
- Select the remove option
Related: OneDrive Deleted: How to Restore Someone’s OneDrive Account
As with most actions you can do, there is also a remove button in the command bar.
With that, your shortcut is now deleted, leaving your space more organized.
If you need to access the file again, you can always create a new shortcut following the steps outlined above.
Everything clear on creating a shortcut to your shared files and folders? If not, you can always drop your questions below.
If you want to send me a message for business-related matters, kindly use the contact form on this page and I’ll get back to you asap.


