

Last Updated on April 21, 2024
Want to change your job title on your Outlook card?
In this guide, let’s talk about how to change your job title in Outlook and why you need the IT admin or HR for that.
Let’s get started!
Table of Contents:
Check Your Microsoft Account
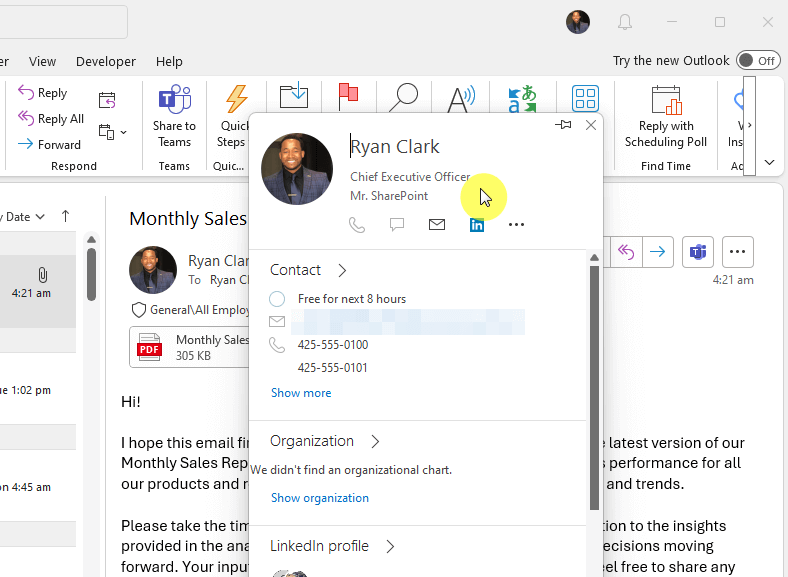
Before everything else, let’s settle first that what we’re talking about is the Outlook card and not the email signature.
It’s what you see when you hover a user/sender/recipient on Outlook:
Related: How to Add Signatures in Outlook 365: Beginner’s Guide
With that out of the way, there’s an easy way to check (from Outlook) if you can actually edit your job title.
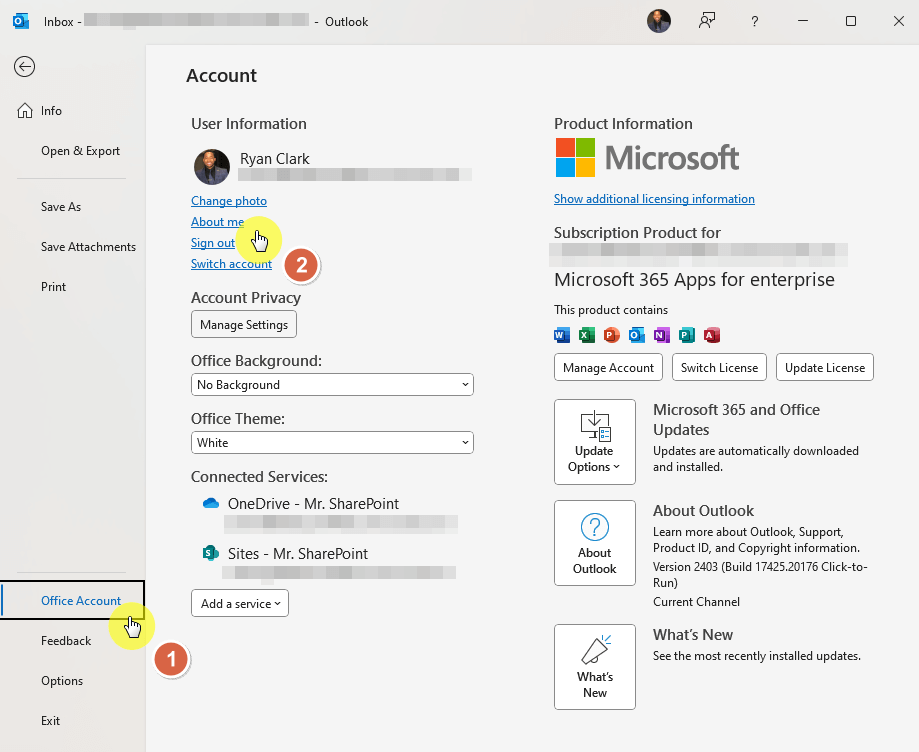
Go to the file tab > office account > click the about me button (old Outlook):
If you’re using the new Outlook:
- Click on your name as a recipient/sender of an email
- Press the update your profile button

Any of these buttons will bring you to Delve, where you can update your profile (or actually, add some information).
But as you can see, you won’t be able to update either your name or your job title:

Because of this, you need to contact your IT department or HR department so they can make the changes for you.
If you’re one of them, then read on. 🙂
Sign up for exclusive updates, tips, and strategies
Changing Job Titles as an Admin
If you can access the Microsoft Entra admin center, then you can make those changes yourself.
Step 1: Access Microsoft Entra admin center
The short of it is that Entra is now the new Azure AD.
Specifically, it comes with three components:
- Azure Active Directory
- Permissions management
- Verified ID
You can read more about it in the following article:
Related: What Is Microsoft Entra: Secured Access in a Digital World
If you want to access this, simply visit the Microsoft 365 admin center:
- Expand the admin center options
- Click the “Identity” option (the name might change in the future)
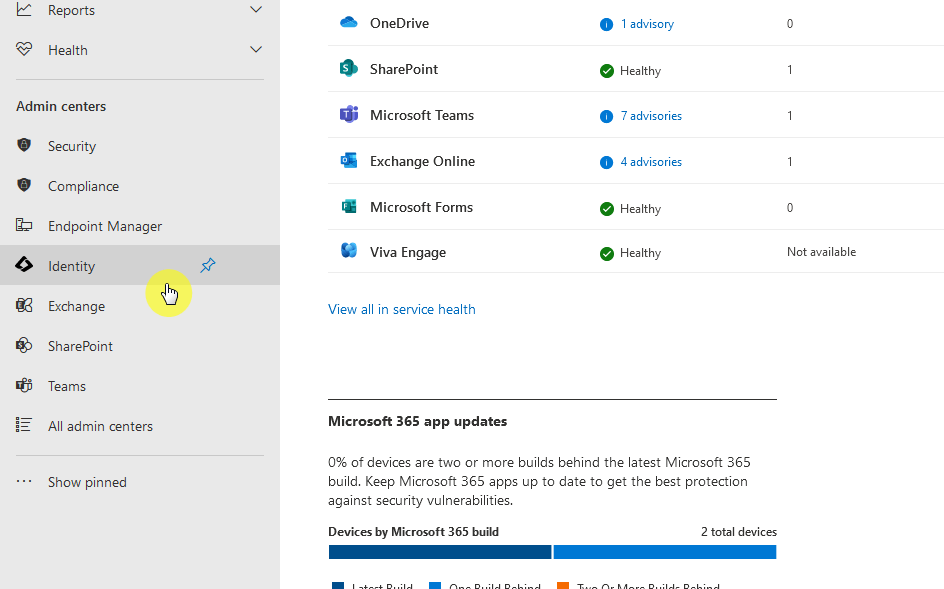
This will now bring you to the Microsoft Entra admin center.
Step 2: Edit the user’s properties
For this next step, you need to get to the all users page:
- Expand “Identity” from the left panel
- Click the all users option
Find the name of the user (it can be you) and click on it:
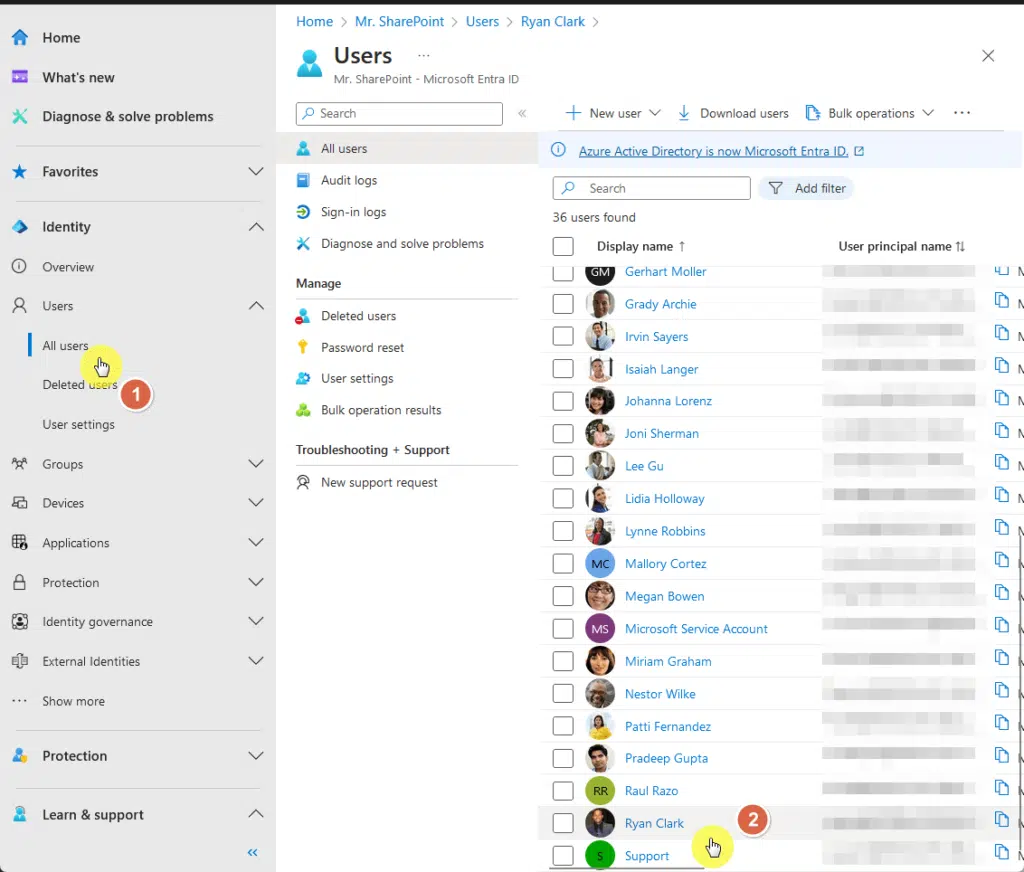
That will open the profile information of that user and will land you in the overview tab by default.
Step 3: Enter the job title
From here, you need to go to the properties tab:
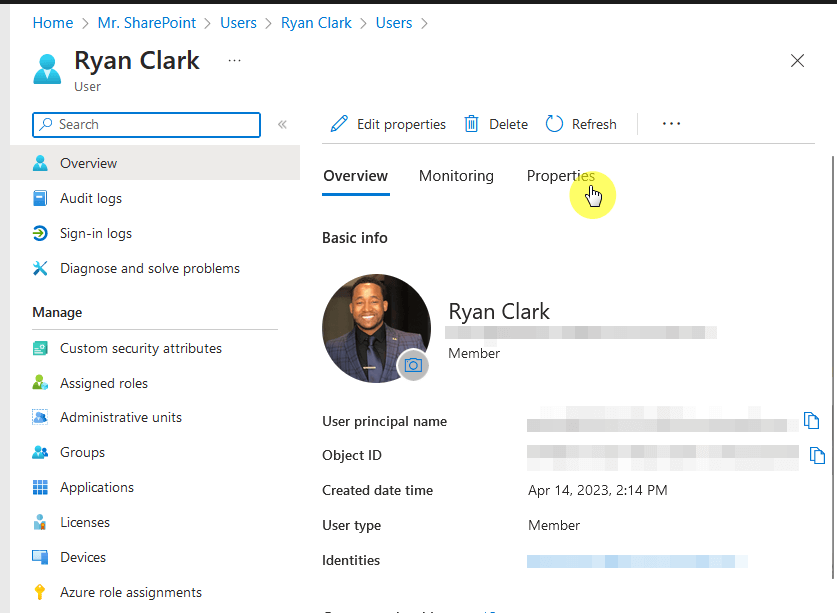
In this tab, you can see different user information — identity, contact information, job information, etc.
Here’s what to do:
- Go to the job information category
- Click its pencil button to edit the information
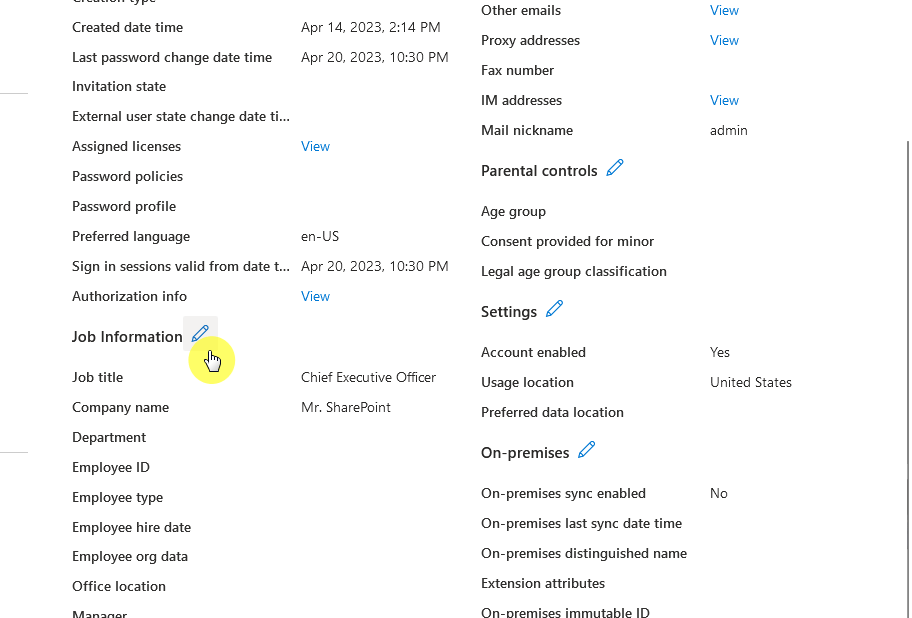
This will now bring you to another page where you can freely edit the job information.
- Make the necessary changes
- Click the save button
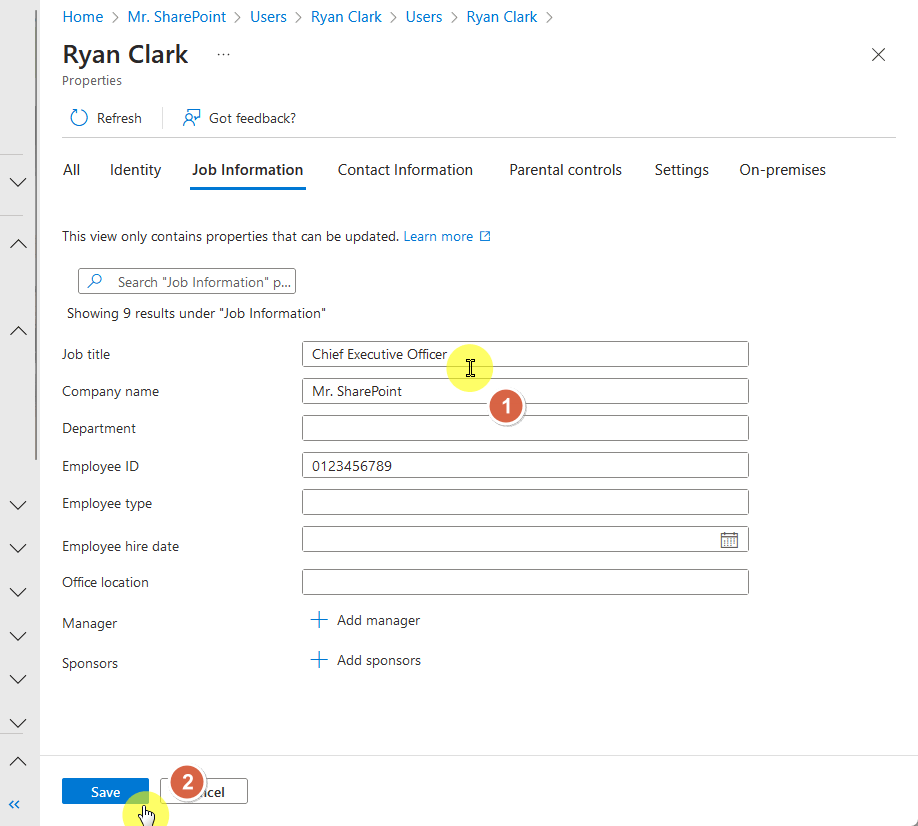
The changes should then be reflected immediately across Microsoft 365.
If it doesn’t change the card in Outlook yet, you (or the user) may have to restart Outlook once for it to update.
Got any questions about changing the job title in the Outlook card? Feel free to leave a comment below.
For business inquiries and concerns, kindly reach out using the contact form here and I’ll get back to you asap.


