

Last Updated on November 20, 2024
Want an email signature in Outlook?
In this beginner’s guide, I will walk you through the steps in adding your own signature in an Outlook email — both in the desktop app and in the online version.
Let’s get started.
Table of Contents:
Why use a signature in Outlook 365?
Having an Outlook signature is more than just the looks. It has a lot of professional benefits to it.
For one, having a signature makes your emails nicer in addition to creating a professional image of you.
Other benefits include:
- Easily identify you
- Recognize your role/position
- Quick access to your contact details
Signatures are also customizable.
You can use your company’s logo or include links to social media profiles.
When done right, an email signature can leave a lasting impression while keeping your communication efficient.
Sign up for exclusive updates, tips, and strategies
How to add a signature in Outlook 365 (Desktop)
Adding a new signature is definitely easy.
In fact, you may have already seen the option for it in the options or settings page of Outlook.
Step #1: Go to Outlook options
Open the Outlook desktop app and click file from the ribbon:
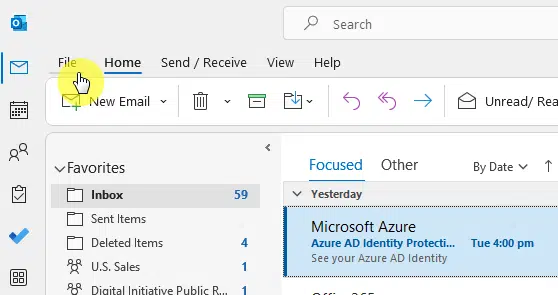
That will bring you first to the account information page.
Now click options from the left part:
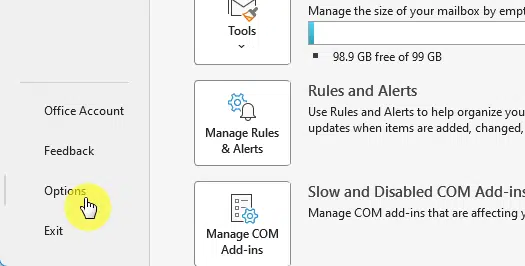
This will open the Outlook options window.
Step #2: Create your signature
From there, go to the mail tab > signatures button:
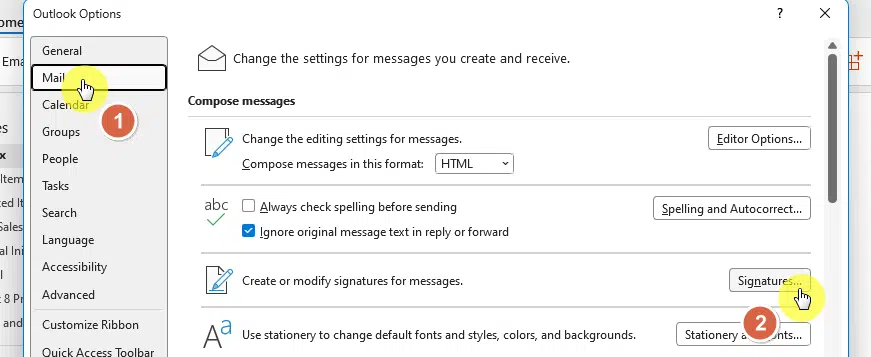
Another window will open the signatures and stationery window.
If this is the first time you created a signature in Outlook 365, then you won’t see any signature you can edit.
To create a new signature, click the new button:
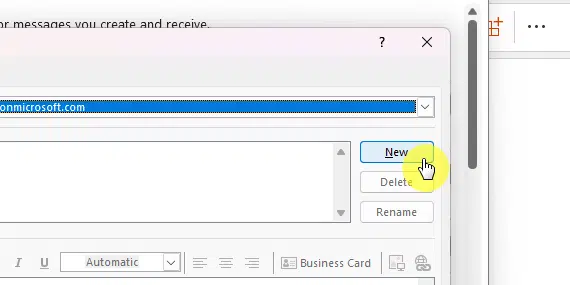
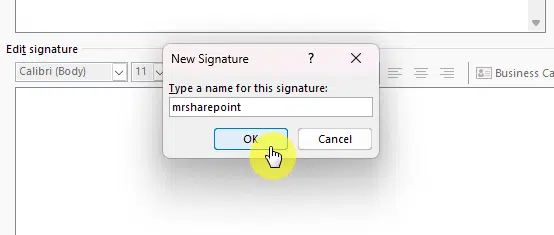
In the new signature dialog box, enter a meaningful name for your signature.
Click the ok button after that:
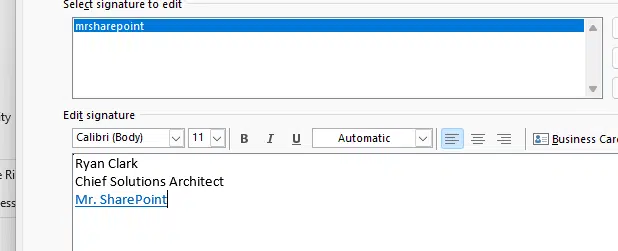
After that, you will automatically go back to the previous window and the new signature name will be automatically selected.
The edit signature box below it will be enabled and you can then enter your signature there:
Using the formatting options, you can:
- Change the font, font style, font size, and font colors
- Change the alignment of the signature
- Include a business card
- Insert a picture
- Link your signature externally
There is a save button as well as a button to get signature templates.
Step #3: Set up the default signature
Unfortunately, you will have to add the signature manually as a default in new messages and replies/forwards.
There is a dropdown menu at the bottom to change the default signature — click ok once you’re done:
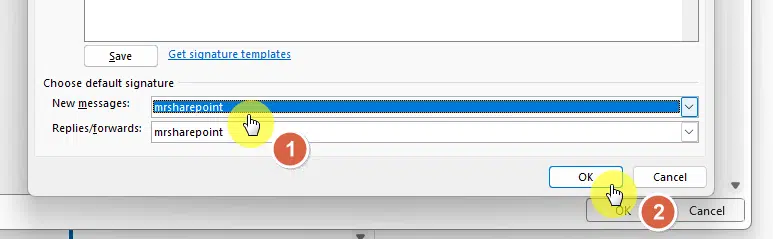
If you have multiple signatures, make sure to set the default signature since Outlook won’t automatically add them to your emails.
From then on, all the emails you send will contain your signature automatically (but only if you did the last part earlier).
How to add a signature in Outlook for the Web (Online)
But what if you don’t have the Outlook 365 desktop app right now?
Fortunately, it’s also possible to add a signature even if you’re using the Outlook app online.
Step #1: Go to Outlook settings
Click the gear icon on the upper-right-hand corner > view all outlook settings button:
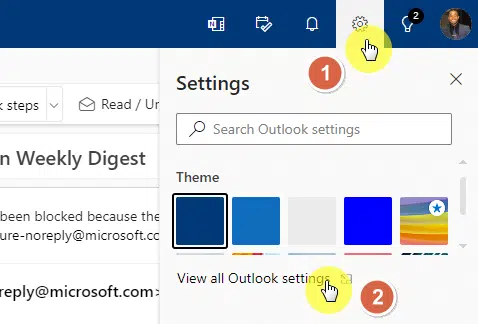
That will open the settings window for the Outlook app.
From there, go to mail > compose and reply:
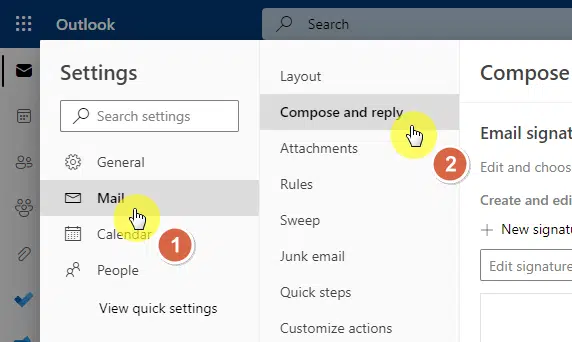
The first option there is about email signature.
Step #2: Create the email signature
Similar to doing it in the desktop app, you have to give the email signature a name first.
Then create the email signature in the box provided.
⚠️ Note: As you have noticed, there are more formatting options here. Try them out to get the signature look you want.
After that, click the +new signature button:

Step #3: Set up the default signature
Then, you have to select the default signatures too.
Open the dropdown menu and choose the default signature (in case you have different signatures created).
Click the save button:
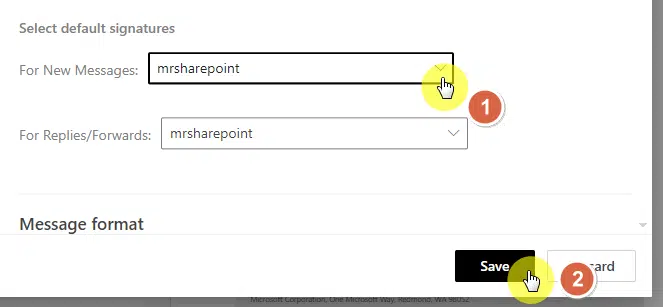
That will now insert the signature into Outlook emails.
Troubleshooting Common Issues
Even with a straightforward process, adding signatures in Outlook 365 can sometimes hit snags.
Here are common issues and how to fix them:
| Issue | Possible Cause | Solution |
|---|---|---|
| Signature formatting looks different | Compatibility between versions | Check formatting settings and test in previews. |
| Images not displaying correctly | External content blocked or incorrect image link | Use web-hosted links and enable external content. |
| Signature doesn’t appear automatically | Default signature not set | Update default signature settings in preferences. |
| Changes not saving | Sync errors or internet issues | Reconnect to the internet and retry saving. |
| Signature missing on mobile | Signature not configured in the mobile app | Update signature directly in the mobile app. |
Remember, minor tweaks in settings can resolve most issues.
Got any questions about adding Outlook signatures or in Outlook in general? Share your thoughts below.
For business inquiries, kindly reach out using the contact form here and I’ll get back to you asap.


