

Last Updated on December 11, 2024
Want to use Clarity on your tenant?
In this guide, I will show you how to easily add Microsoft Clarity to modern SharePoint in a few easy steps.
Let’s get started.
Table of Contents:
What is Microsoft Clarity?
Microsoft Clarity is a free user behavior analytics tool that can help you understand user interaction.
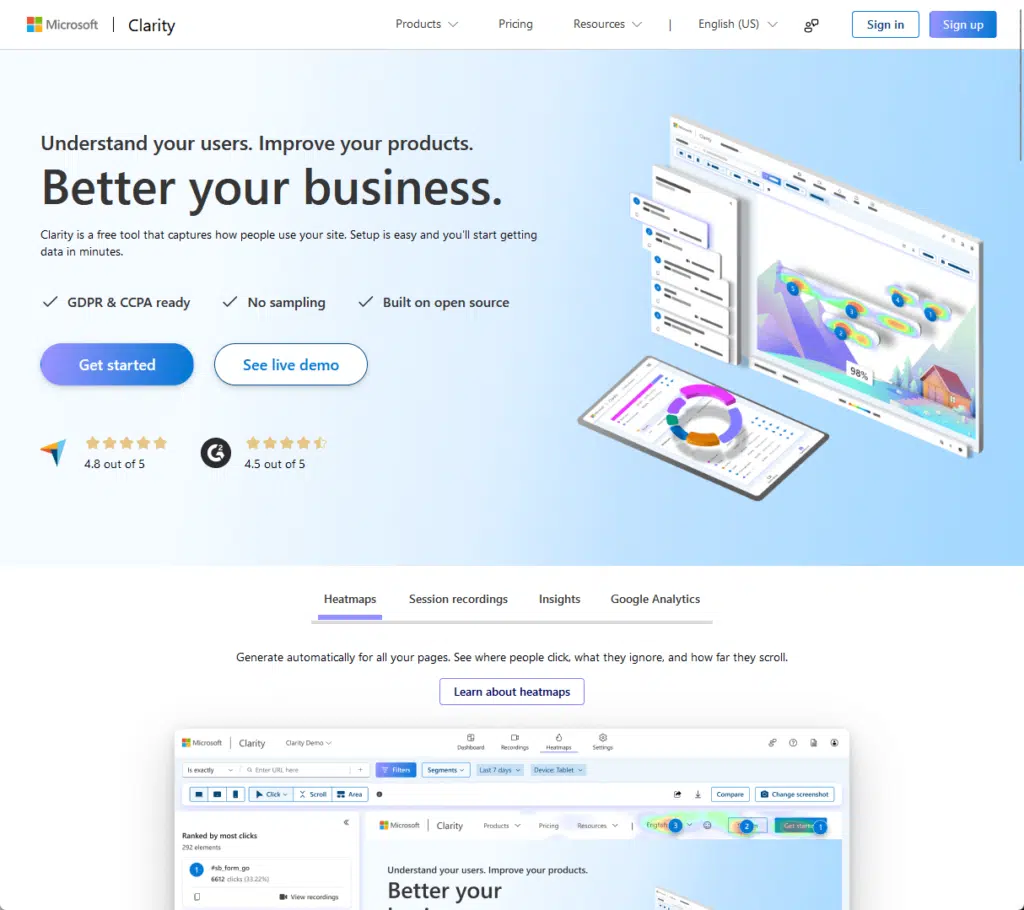
Among its key features are the following:
- Sessions and heat maps
- Dashboard and insights
Heatmaps are visual representations of where users click, move, and scroll while on the site.
Sessions recordings are replays of user sessions that provide a detailed view of how they navigate through the site.
There’s also a centralized dashboard with an overview of website analytics as well as user analytics data.
Sign up for exclusive updates, tips, and strategies
How to Add Microsoft Clarity
Thankfully, adding it to SharePoint isn’t as hard as it was thanks to a custom solution created by Joao Ferreira.
Let me show you the step-by-step process:
Step 1: Get the tracking code
Naturally, the first step is to create an account with Clarity — and you can simply sign in with your Microsoft account.
Once signed in, you will have to enter the website name and the site URL that Clarity will monitor.
After this process, you need to get the tracking code by clicking on the get tracking code button:
If you don’t see this page right away, find the settings page of the current Microsoft Clarity project.
You can then find the option to get the tracking code from the setup page — under the installation methods.
It looks like this:
Anyway, you will then be presented with the Clarity code.
But what you need here is simply the tracking code, which is found at the end part of the script.
It’s the highlighted part here:
Copy only that portion of the code on a notepad as we will be using it later on. 🙂
Step 2: Download the Microsoft Clarity solution
After that, you then need to download the Clarity solution made by Joao Ferreira by clicking this link.
He’s a trustworthy guy, but if you want to check the source code, which is understandable, you can do so on GitHub.
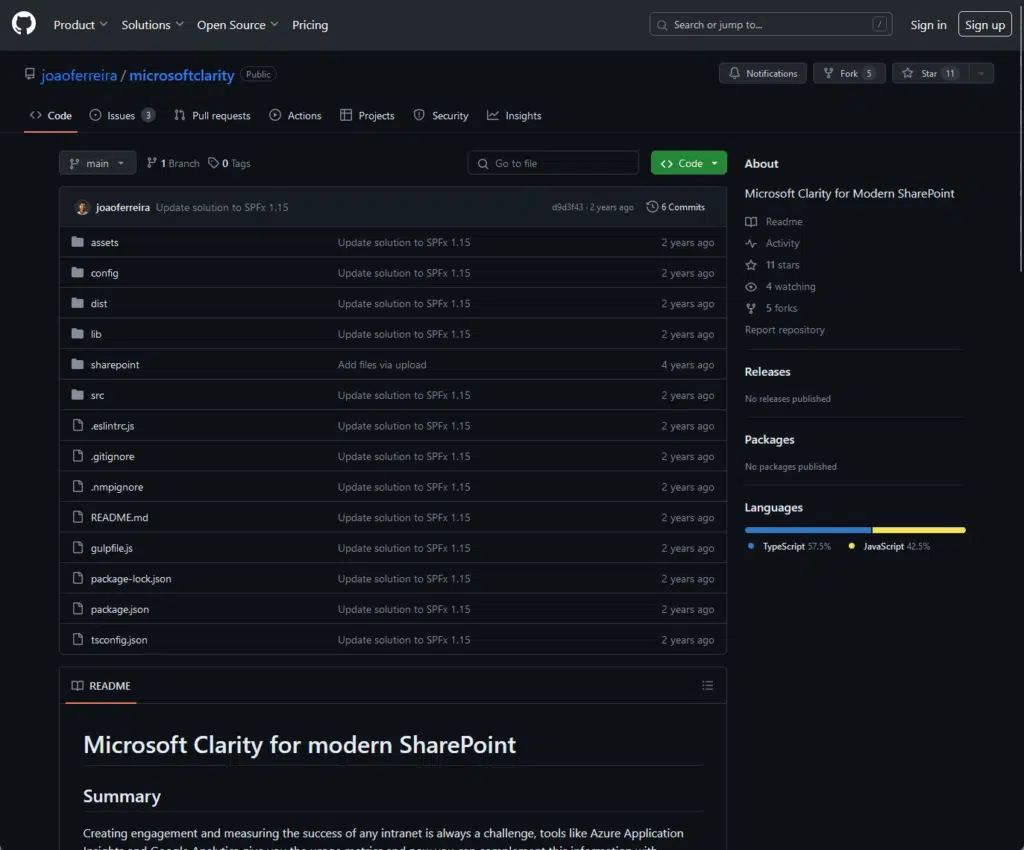
Extract the zip file to get the sppkg solution.
This is the solution that we will be deploying in the tenant and if you want, on a specific site collection.
Step 3: Deploy the solution
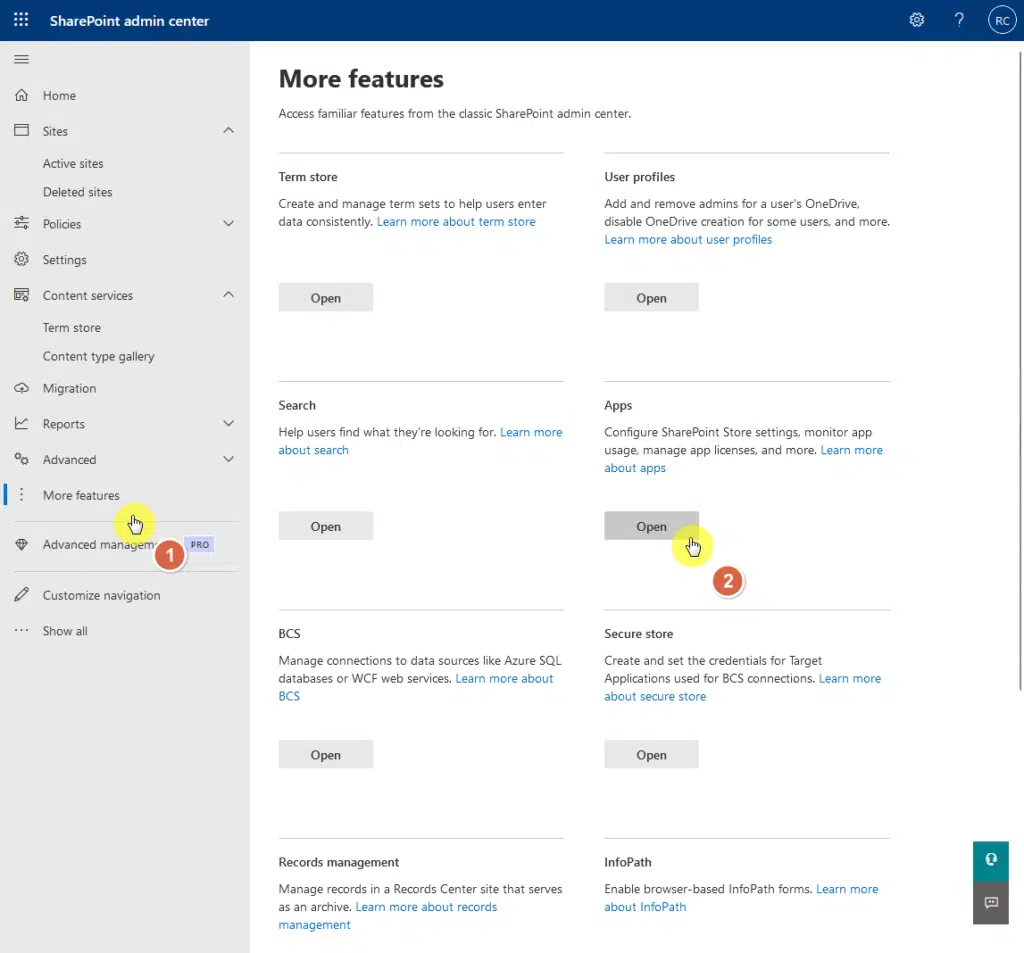
If you want to deploy Clarity on the whole tenant, you must get to the tenant app catalog first.
The easiest way to get there is by going to the SharePoint admin center:
- Click app launcher > admin
- Expand all admin centers on the left pane > SharePoint
- Go to more features > open apps
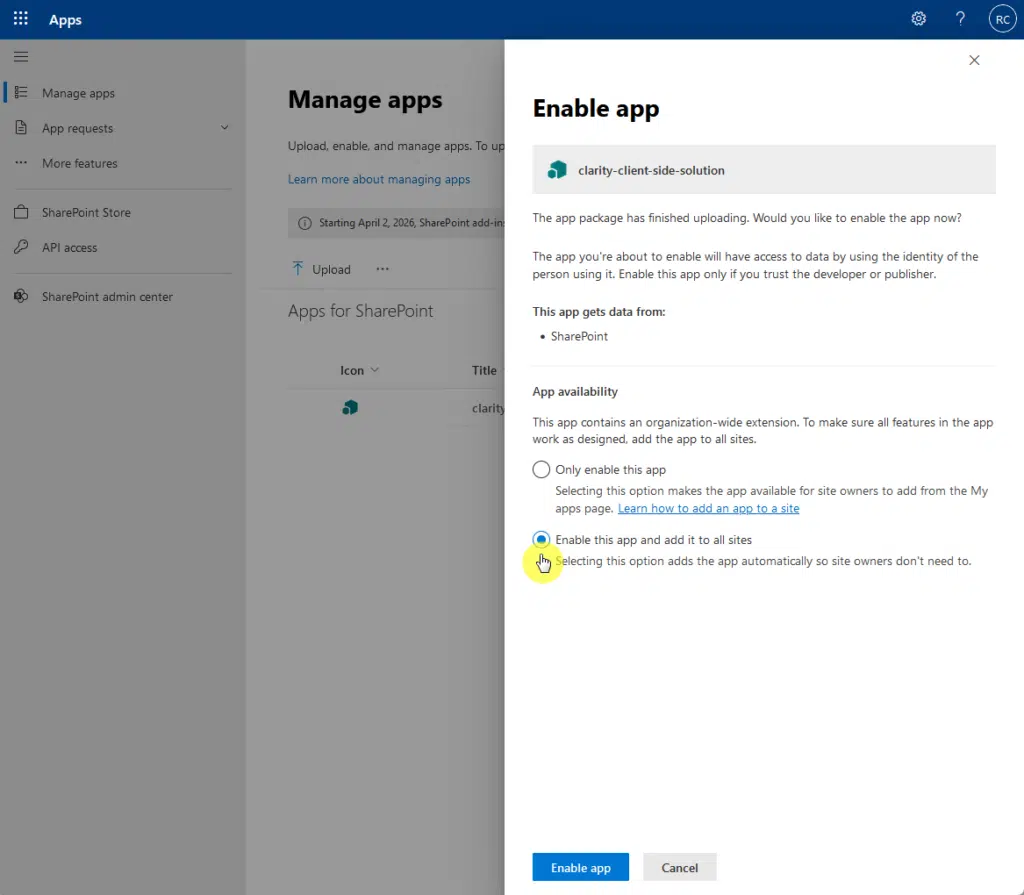
On the next page, upload the sppkg solution.
Since we’re talking about using it on the whole tenant, select the option to add it to all sites:
Now all we need to do is to enter the tracking code.
Still on the app catalog, go to more features > open tenant wide extensions:

All you have to do here is enter the tracking code in the component properties by editing the list.
It should look like this — with the tracking code highlighted after the list was edited:

There were a few steps here. But not too hard, right? 🙂
Site collection deployment
If you want to deploy Clarity on a specific site collection, you must have a site collection app catalog already created.
The steps are a little similar where you simply have to upload the sppkg solution but not enable it on all sites.
You will then need to use PnP PowerShell to add your tracking ID using the following script from Joao:
# Connect to your SharePoint Online site
# Replace https://yourtenant.sharepoint.com/ with the URL of your modern SharePoint site
Connect-PnPOnline -Interactive -Url https://yourtenant.sharepoint.com/

# Replace "yourOwnId" with your actual Clarity tracking ID
Add-PnPCustomAction -ClientSideComponentId "7f8fd1f2-9d26-4a4a-a607-bf4622d7ec11" -Name "Microsoft Clarity" -Title "Microsoft Clarity" -Location ClientSideExtension.ApplicationCustomizer -ClientSideComponentProperties: '{"clarityID":"yourOwnId"}' -Scope site
That’s it! 🙂
Using Microsoft Clarity
As you can see, it’s a little easier now to make Clarity work with SharePoint Online thanks to the solution made by Joao.
You need the tracking code, download the solution, upload it to the app catalog, and add the tracking code.
Got any questions about adding Microsoft Clarity to SharePoint Online? Feel free to leave a comment.
For business inquiries and concerns, feel free to reach out using the contact form here and I’ll reply asap.


This is great. Thank you!