
Last Updated on October 20, 2023
Need to have a common email address for a department?
In this short guide, I will introduce the concept of shared mailboxes in Microsoft, the benefits of creating one, how to create one, etc.
Let’s get started.
Table of Contents:
Have you noticed that some emails coming from an address like are written by different people?
You may find in the signature area that an email was written by a Mark and then another one was written by a John.
Related: How to Add Signatures in Outlook 365: Beginner’s Guide
Well, these people aren’t sharing login details for a specific email address — but are instead using a shared mailbox.
Basically, a shared mailbox in Outlook is one that a lot of users can access and use to read and send emails.
Its use case revolves around managing email correspondence for a team or a department (like the support department).
A shared mailbox is different than a regular one since it doesn’t have its own username and password as users are granted access by an admin.
Before we proceed, here are important notes regarding a shared mailbox:
- When a user of the shared mailbox sends a message to someone using that mailbox, the email will appear to be from that mailbox.
- When you create a shared mailbox, you will also get a shared calendar where users can enter their appointments.
- The shared mailbox has an allowance of up to 50GB of data. More than that and you will need to assign a license to it.
Sign up for exclusive updates, tips, and strategies
But why create shared mailboxes when each user’s mailbox works fine? What are the advantages of creating a shared mailbox?
There are several reasons why you might want to use a shared mailbox in Outlook for your company:
- Multiple users can access and respond to emails from a single shared mailbox and reduce the need for forwarding messages.
- It’s an effective way to centralize email correspondence for a team or department and streamline communication.
- It can be a cost-effective solution (instead of creating individual mailboxes for each team member, a shared mailbox can be used).
- Control access to emails and ensure that sensitive information is only accessible by authorized personnel and reduce data breaches.
A good example of the first benefit is a customer support team using an Office 365 shared mailbox to manage customer inquiries.
Each team member in the support team can take turns responding to emails — and they don’t need to copy multiple people on emails.
As for access control, you can assign permissions explicitly to only a select group of individuals or restrict access to certain folders in that mailbox.
Related: Types of Groups in Microsoft 365: Comparing Groups
The good news here is that the steps are quite easy to follow. You must go to the admin center and create the mailbox from there.
Note: To create the shared mailbox, you need to have the necessary permissions to create one, typically an admin or owner account.
Here are the steps:
If you already know the steps here, you can simply skip this one out.
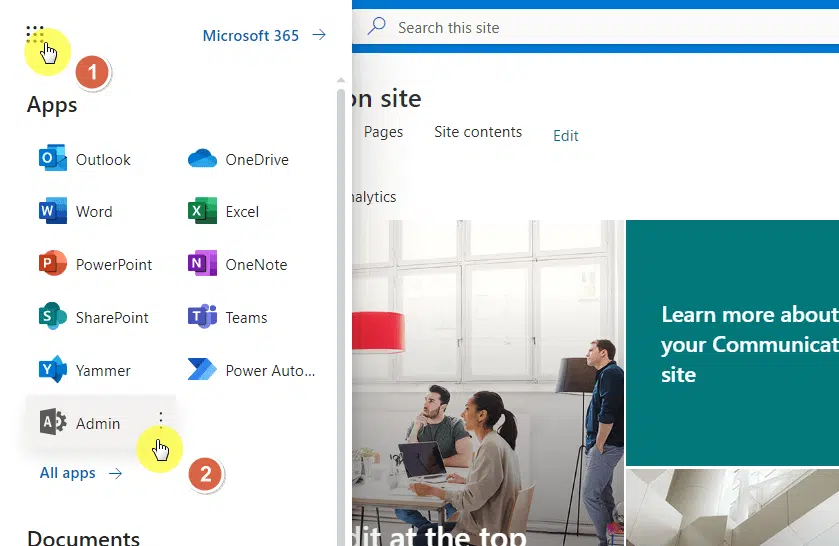
But if you’re not sure how to get to the admin center, click the app launcher on the upper-left corner and then the admin option:
You’re now in the admin center.
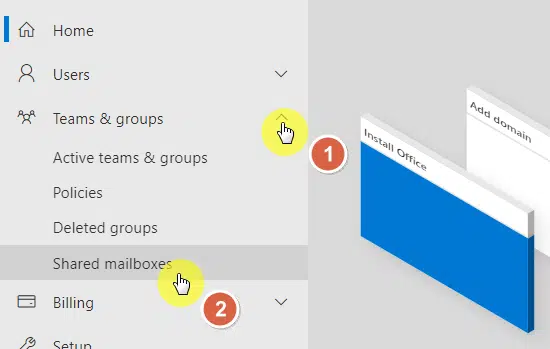
From the home page, expand the teams and groups section and click on shared mailboxes from the options:
Related: SharePoint Online and Outlook Integration: How It Works
Now that you’re on the shared mailbox page, click the +add a shared mailbox button:
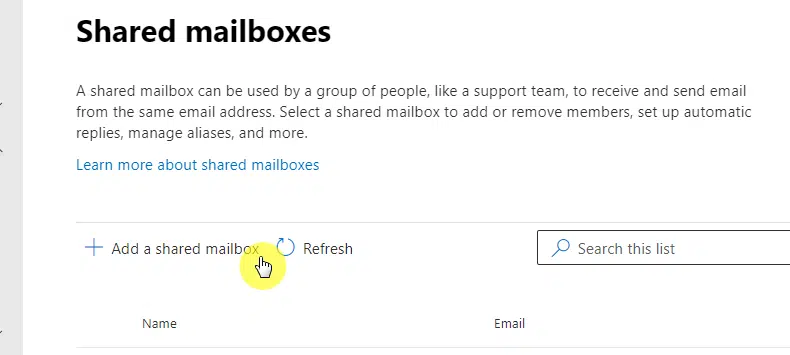
That will open the right panel where you can add additional mailbox.
Fill out the name and the system will automatically fill out the email field (although you can change it yourself).
If you change the email to one that’s already in use, you will see a red error that states that the email is “not available because it’s used by…”
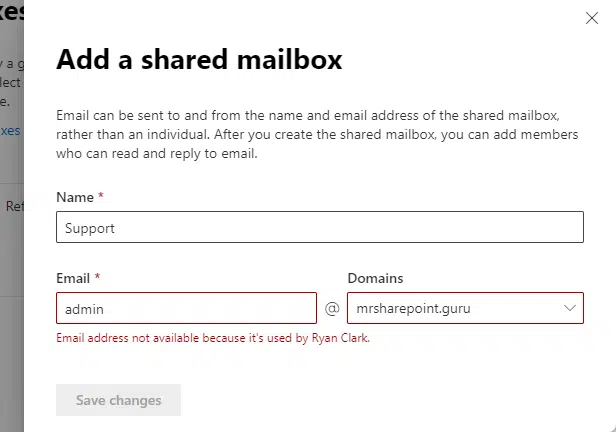
Replace the email with one that’s not used yet and the red error will disappear.
After that, you will be able to click the save changes button:

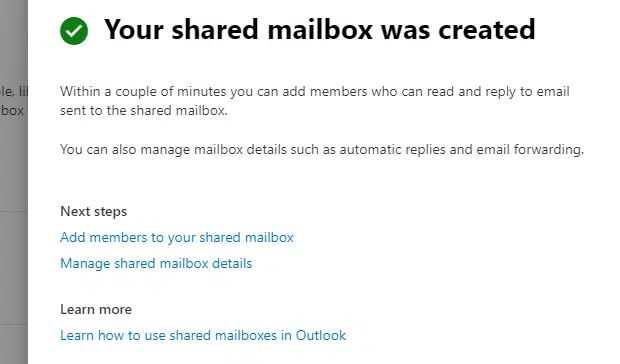
Congratulations! You now have a working shared mailbox.
You will see the following window after the system successfully creates the shared mailbox:
After creating the shared mailbox, you will have to manually add members to it.
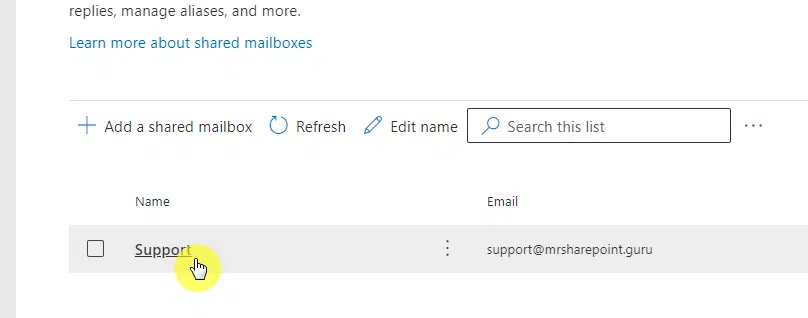
Back to the shared mailboxes page, you will now see the recently made shared mailbox (all the shared mailboxes you create will show up here).
Click on the mailbox name to see the shared mailbox settings:
The right panel will open up once again along with the mailbox setting you can change like the following:
- Members
- Automatic replies
- Email forwarding
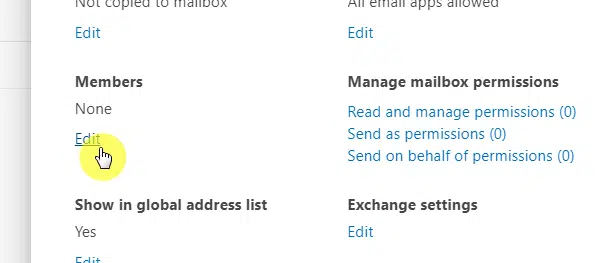
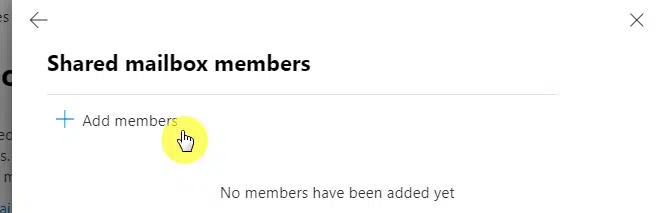
Scroll down a little until you see the members section — where you will see none as of the moment.
Click the edit button under that:
The next will show members that were already added (this is empty for now).
Click the +add members button:
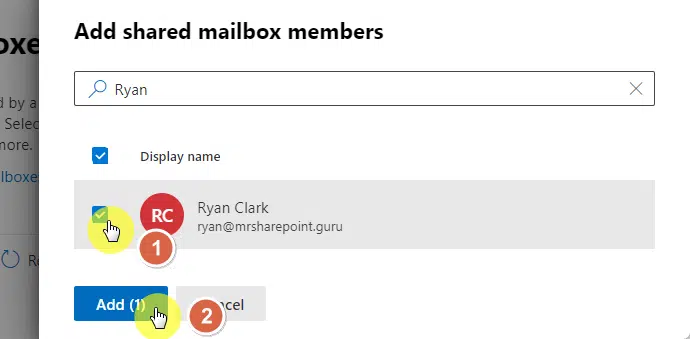
On the next page, you will see the members you can add to the mailbox.
If you already have the members in mind, you can also search for them directly, select them, and click the add button:
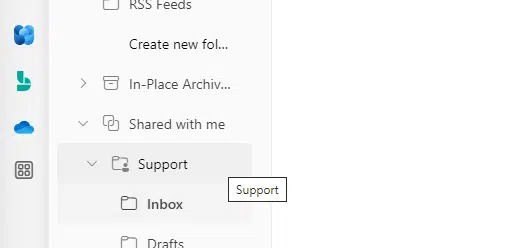
The good news is that the shared mailbox is automatically added to the Outlook app and you don’t have to do anything.
Note: It might be a little hard to find right away, especially as Outlook keeps on updating nowadays.
But for demonstration purposes, my recently created shared mailbox appeared in the shared with me section in the left navigation pane:
If it didn’t appear, give it a few minutes to integrate the changes.
You may also have to restart Outlook to access a shared mailbox in Outlook.
For Outlook on the Web, you will have to click your profile picture > open another mailbox and enter the shared mailbox address:
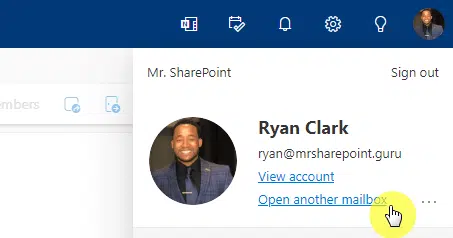
That will open a new tab with the shared mailbox opened (where you can see the inbox and send email messages).
From then on, you will be able to use the shared mailbox right on your own Outlook app.
It might need a bit of exploration though to figure everything out.
For example, sending a new message through the shared mailbox will require you to show the from field and change it manually to the shared address.
For the shared mailbox calendar, you will also have to manually add it using the add calendar button in the app.
Do you have any questions about adding a shared mailbox in Outlook? Share your thoughts below.
For business inquiries, kindly reach out using the contact form here and I’ll get back to you asap.


