

Last Updated on March 29, 2025
Want to create a modern site without a group?
In this guide, I will show you how to create a clean, standalone site without being connected to a group.
Let’s get started.
Table of Contents:
Default Association with Microsoft 365 Groups
If you have noticed, when you create a modern team site, it’s usually linked with a Microsoft 365 Group by default.
This connection brings in several features automatically and creates the following:
- Shared mailbox
- Calendar
- Planner
- OneNote notebook
- Teams integration
Well, technically, when you create a modern team site, a Microsoft 365 Group is created automatically along with the site.
That group is what triggers all the extras like the shared mailbox, calendar, Planner, etc.
This setup is helpful if you want to use all those tools together, but sometimes, you may not need that extra stuff.
Sign up for exclusive updates, tips, and strategies
Reasons to Create a Modern Site Without a Group
There are times when a modern site without an associated group just makes more sense, aka, you don’t need the full package.
Here are a few reasons to skip the group:
- Simpler SharePoint site management
- No extra tools needed
- Tighter permission control
- Better for one-way content
- Avoids clutter
This option is especially helpful for admins who want more control.
It also works well when you’re creating sites for specific functions like HR portals, knowledge bases, or project dashboards.
These don’t always need the collaborative features that come with a group.
Creating a Modern Site Without a Group
Here’s a simple 3-step breakdown you can follow:
If you’re already in SharePoint or on any Microsoft 365 tool or service, just click on the app launcher, then the Admin button.
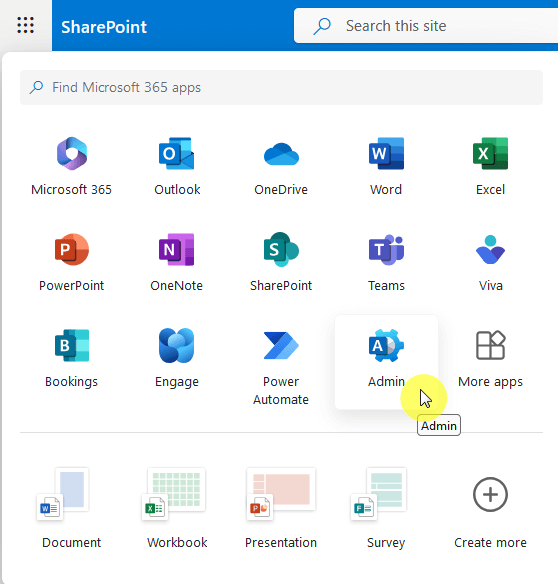
The next page will be the Microsoft 365 admin center.
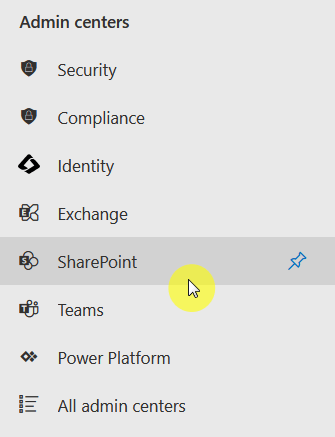
In the left-hand menu, click “Show all” if needed to see the option for SharePoint.
But if it’s there, just click on it:
You will now be on the SharePoint Online admin center.
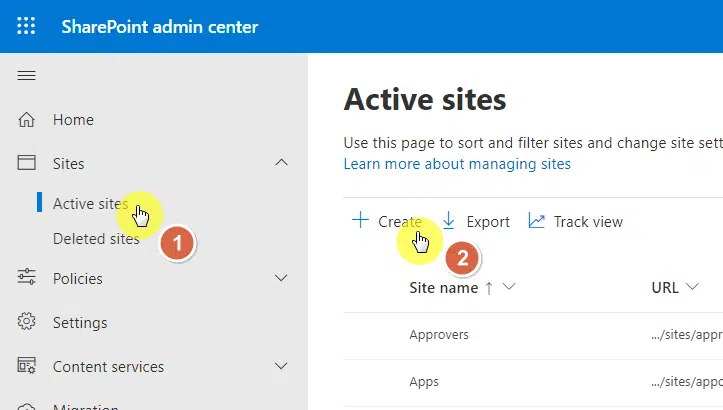
Step 2: Start Creating the Site
In the left panel, go to the Active sites page under the Sites item.
From there, click the “Create” button:
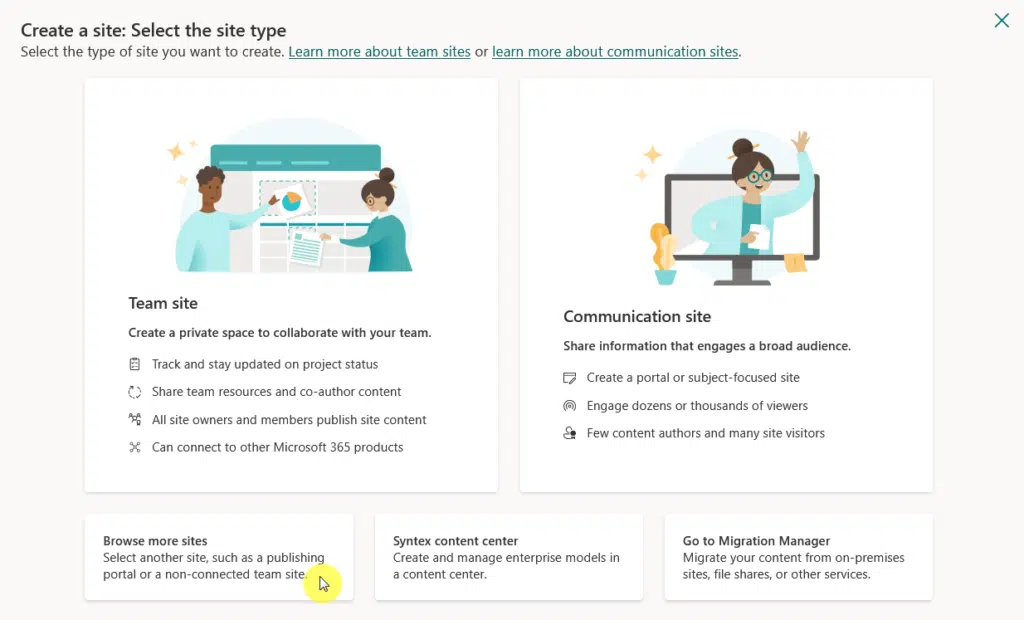
There’s a lot that changed in this part with the updates, but the principle is fairly the same.
Technically, you just need to find the option to create other types of sites, and in this case, there’s a “browse more sites” option.
Click on it:
Almost there. 🙂
Step 3: Fill In Site Details and Create
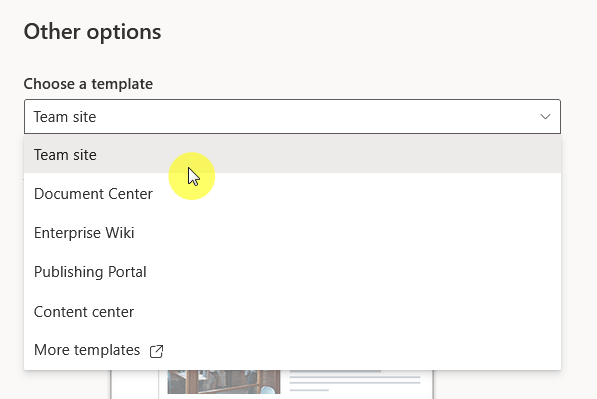
This last step is where you customize the site setup.
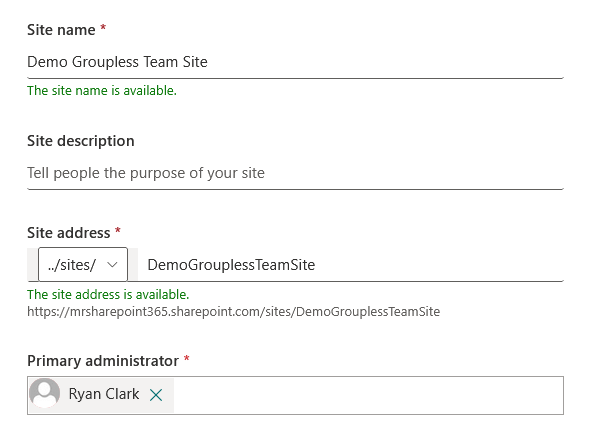
First, choose the “Team site” option and then enter the site name, description, and URL in the fields provided.
You also need to assign a primary administrator for the site, then the default site language, and the time zone.
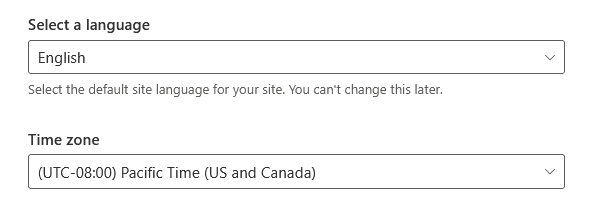
Don’t forget to click the “Create site” button once you’re done. 🙂
Connecting the Site to a Microsoft 365 Group (If Needed Later)
What’s nice here is that if you ever decide to connect the site to a group, you can easily do so in the site’s settings menu.
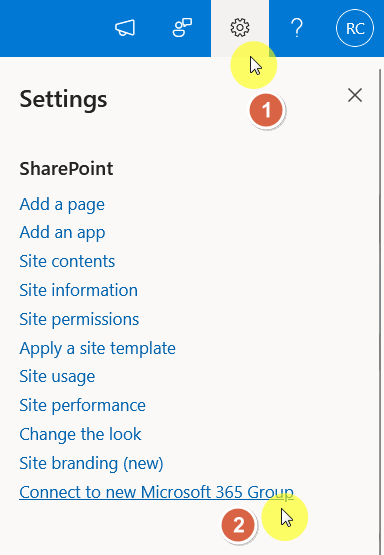
That’s right, just click on that “Connect to new Microsoft 365 Group” button after clicking on the gear icon (⚙️).
This will automatically create a new group as well and will link the site to it automatically.
By the way, certain site templates, such as communication sites, cannot be linked to Microsoft 365 Groups.
Do you have any questions about how to create a site without a group in SharePoint? Let me know.
For any business-related queries or concerns, contact me through the contact form. I always reply. 🙂


