

Last Updated on April 15, 2025
Need a custom list template?
In this guide, I will show you how to build and manage custom list templates in SharePoint Online.
Let’s get started.
Table of Contents:
What do you need?
I won’t mention having a list from which to make a template since if you’re here, you must already have one or are yet to create one. 🙂
But anyway, you need two other things:
- The right permissions
- The right tools
Simply speaking, you need to be either a global admin or a SharePoint Administrator in your Microsoft 365 environment.
Then, you need to have the updated SharePoint Online Management Shell, which you can get from Microsoft’s official site.
Pro tip: If you already have it installed, uninstall the old version first just to avoid weird errors.
Once installed, you will be ready to run the commands needed for creating and managing templates.
Sign up for exclusive updates, tips, and strategies
How to Create a Custom List Template
With those taken care of, let’s dive straight into the steps:
Step 1: Extract the site script from the existing list
This is the part where you grab the “blueprint” of a list you’ve already built.
Start by connecting to your SharePoint Online site using PowerShell.
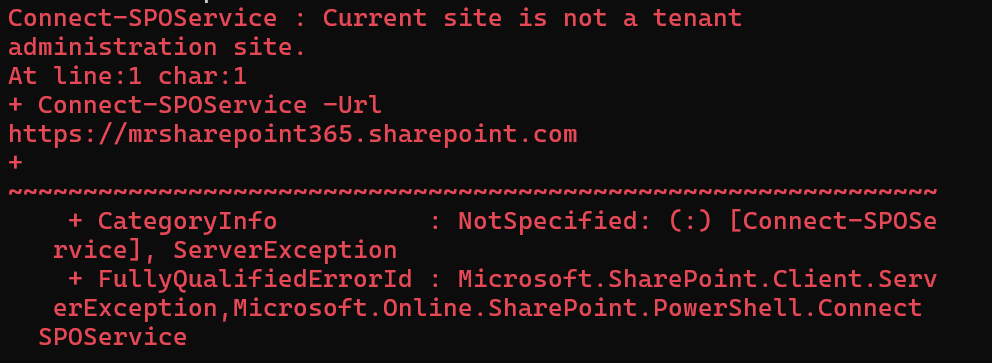
Connect-SPOService -Url https://yourtenant-admin.sharepoint.comReplace yourtenant with your actual tenant name to connect your PowerShell session to your SharePoint admin center.
If you encountered an error about how the current site “is not a tenant”, make sure you added the -admin part. 🙂
Then add this to extract the script, including the URL of the list:
$script = Get-SPOSiteScriptFromList -ListUrl "https://yourtenant.sharepoint.com/sites/yoursite/Lists/YourList"This command pulls the structure of the list, columns, formatting, views, and all that, and stores it in a variable.
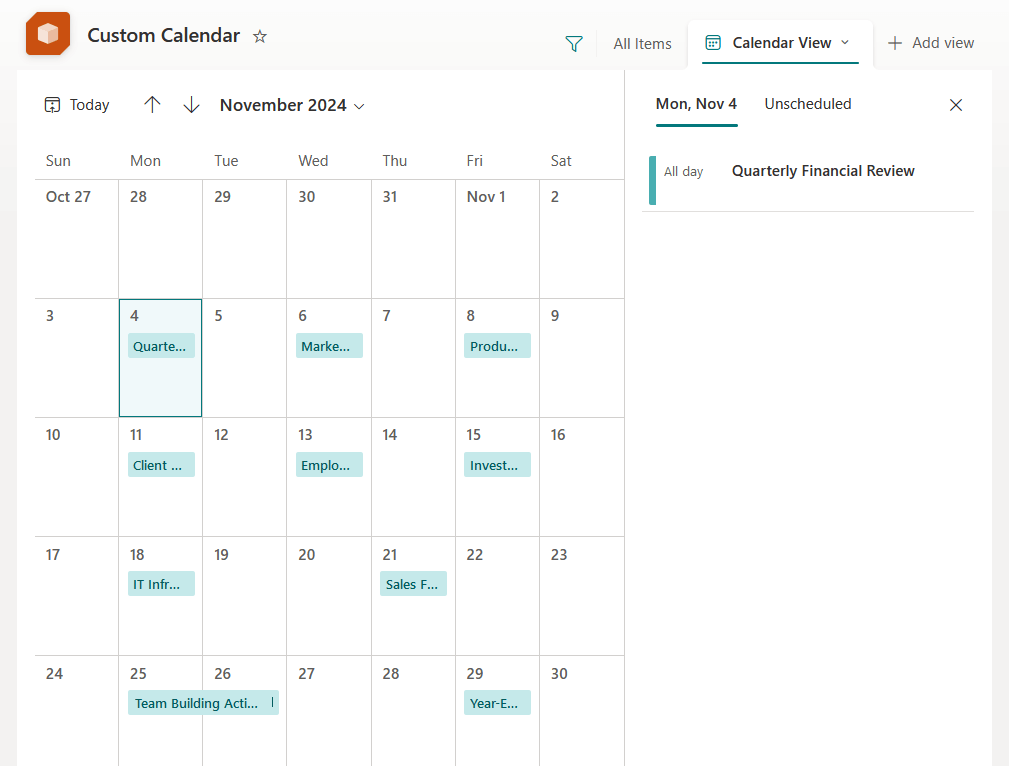
Make sure that your list is fully configured the way you want, because the script reflects exactly what’s there. 👀
By the way, this is how the actual list that we’re extracting looks:
Now that you’ve got your site script stored in a variable, it’s time to add it to SharePoint Online so it can be used in templates.
Use this command:
Add-SPOSiteScript -Title "Sample Template" -Description "Template for project tracking lists" -Content $scriptHere’s what each part does:
-Titleis what shows up when you’re picking or managing templates.-Descriptiongives some context to help users know what it’s for.-Content $scriptuses the variable you created earlier from your existing list.
After you run this, SharePoint will store the site script in your tenant, and PowerShell will return the script details.
Here’s what it looks like:

By the way, keep that script ID handy as you will need it in the next step when you create the list design.
This step doesn’t affect users yet, but it sets the foundation as you’re uploading the list blueprint into SharePoint’s system.
Step 3: Create the list design
After adding your site script, now comes the fun part: making it an actual list template users can see and pick from.
Here’s the command:
Add-SPOListDesign -Title "Your List Design Title" -Description "Description of your custom list template" -SiteScripts "<SiteScriptID>" -ListColor "ColorName" -ListIcon "IconName" -Thumbnail "https://yourdomain.sharepoint.com/path-to-thumbnail.png"What to replace:
- “Your List Design Title” → Name for the template.
- “Description of your custom list template” → Short explanation of what the list is for.
- “<SiteScriptID>” → Use the actual ID you got when you added your site script.
- “ColorName” → Pick from colors like Red, Blue, Green, etc.
- “IconName” → Use built-in icons like Calendar, Clipboard, CheckMark, etc.
- Thumbnail URL → Optional, but great if you want a custom image.
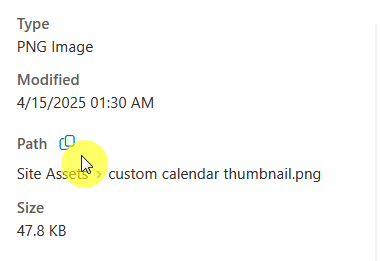
A note on the thumbnail URL, if you uploaded it to SharePoint, what you need here is actually the path to the file.
You can find it in the file details pane of the image, and the link should end with the image file type, like .png.
The list template will then become available under “From your organization” when someone goes to create a new list.
Like this:
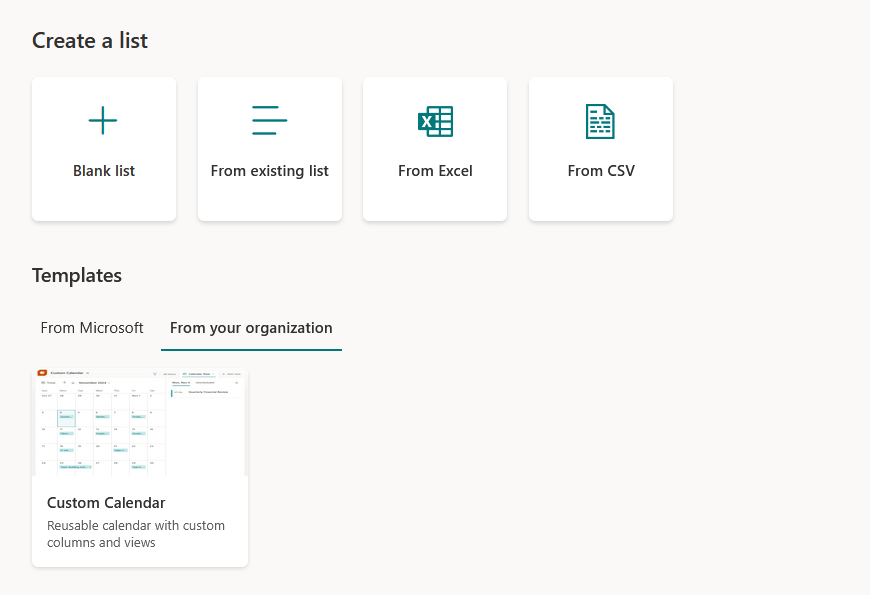
Users can click and instantly create a copy of that list, with all the custom settings baked in. 🙂
Managing Custom List Templates
Alright, now let’s move on to managing those custom list templates that you have created:
Assigning Permissions
By default, when you create a custom SharePoint list template, everyone in your organization can see and use it.
But sometimes, you might want to limit access, like maybe only a specific department should use a certain list.
Fortunately, you can control who gets to see and use a specific list design with this command:
Grant-SPOSiteDesignRights -Identity "<ListDesignID>" -Principals "" -Rights ViewWhat to replace:
<ListDesignID>: This is the ID of your list design (you’ll get it from the output of Add-SPOListDesign or from Get-SPOListDesign)."": You can put a single user, multiple users, or even a security group.-Rights View: That’s the only right available—it lets them see and use the template.
Notes:
- If you don’t assign permissions, it’s available to everyone by default.
- Once permissions are set, only those users or groups can view and use the template.
- You can revoke permissions later using Revoke-SPOSiteDesignRights.
Retrieving Existing Templates
If you want to see a list of all your existing custom list templates, SharePoint makes that super easy with one command.
Get-SPOListDesignThat’s it! 😅
This will give you the following details:
- Title of each template
- Description so you remember what each one is for
- ID (important for assigning permissions or removing a template)
- Site script IDs linked to each design
- Other stuff like icon, color, and thumbnail URL
This is your snapshot of what’s already out there, super handy when you want to manage or clean things up later.
Removing a Custom Template
If you want to delete a list template from your tenant, you will use the list design ID:
Remove-SPOListDesign -Identity "<ListDesignID>"Replace <ListDesignID> with the actual ID of the list design to remove to delete the template from the list creation menu.
Now, this is optional, but if you’re sure no other template is using the script, you can delete the SharePoint site script too:
Remove-SPOSiteScript -Identity "<SiteScriptID>"Again, replace <SiteScriptID> with the ID from the site script tied to that template.
Notes:
- You can find both IDs using
Get-SPOListDesignandGet-SPOSiteScript. - Deleting the list design won’t affect any lists that were already created from it.
That’s basically it. 🙂
Do you have any questions about how to create a custom list template in SharePoint? Let me know.
For any business-related queries or concerns, contact me through the contact form. I always reply. 🙂


