

Last Updated on December 4, 2024
Want to create a workflow in SharePoint?
In this guide, I will show you how to create a workflow in SharePoint and what to do to create advanced workflows.
Let’s get started.
Table of Contents:
As you know, workflows in SharePoint Online help automate business processes and repetitive tasks.
Some examples of workflows you can create include:
- Approval workflow
- Feedback workflow
- Publishing workflow
- Custom workflows
There are also built-in workflow options that are a bit simpler, like creating a rule or setting up an alert for a list.
However, the real workflows are found in the integration of Power Automate where you can create custom workflows.
👉 Related: SharePoint Workflow Options: Here Are Your Options
Sign up for exclusive updates, tips, and strategies
You may have seen ready-to-go workflows in lists and libraries when you go to the Power Automate integration options.
For example, in a few clicks, you can create a flow that requests approval in Teams when a SharePoint item is made.
Like this:
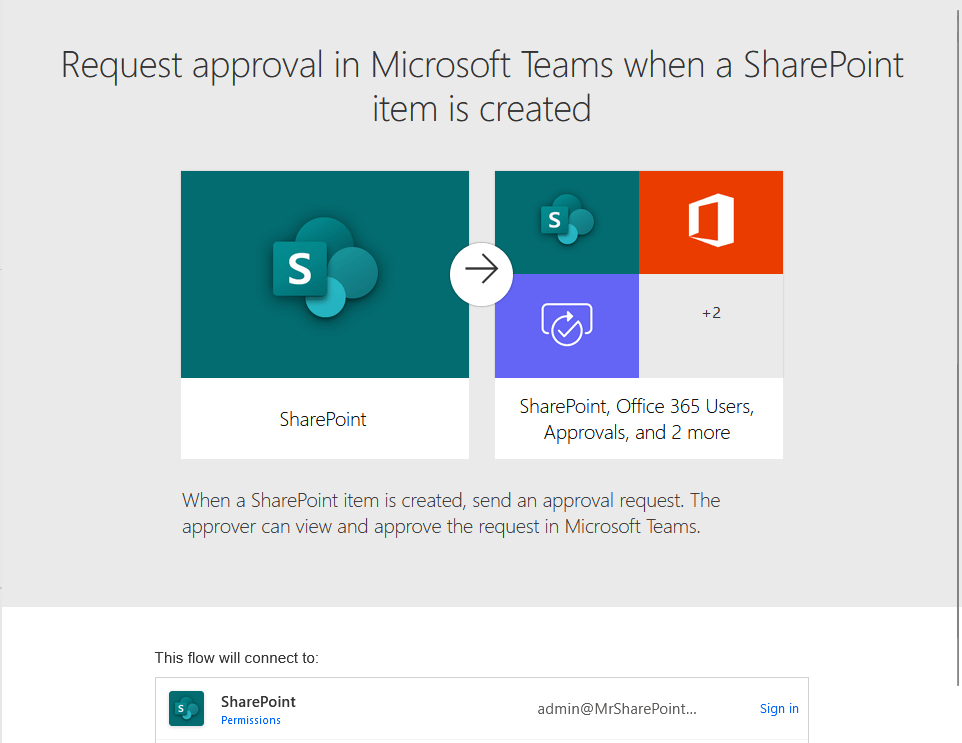
Since these are Power Automate flows, they will redirect you to Power Automate where you can sign in on the related services.
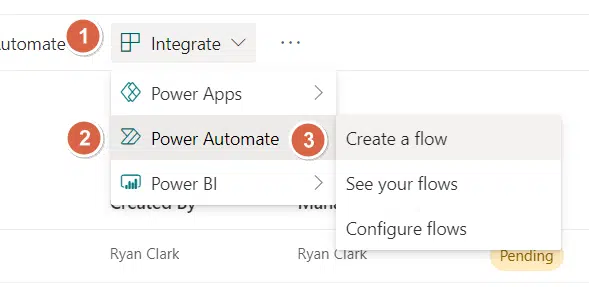
To create SharePoint workflows, see them in a list or library by going to “Integrate”, then “Power Automate”, then “Create a flow”.
Like this:
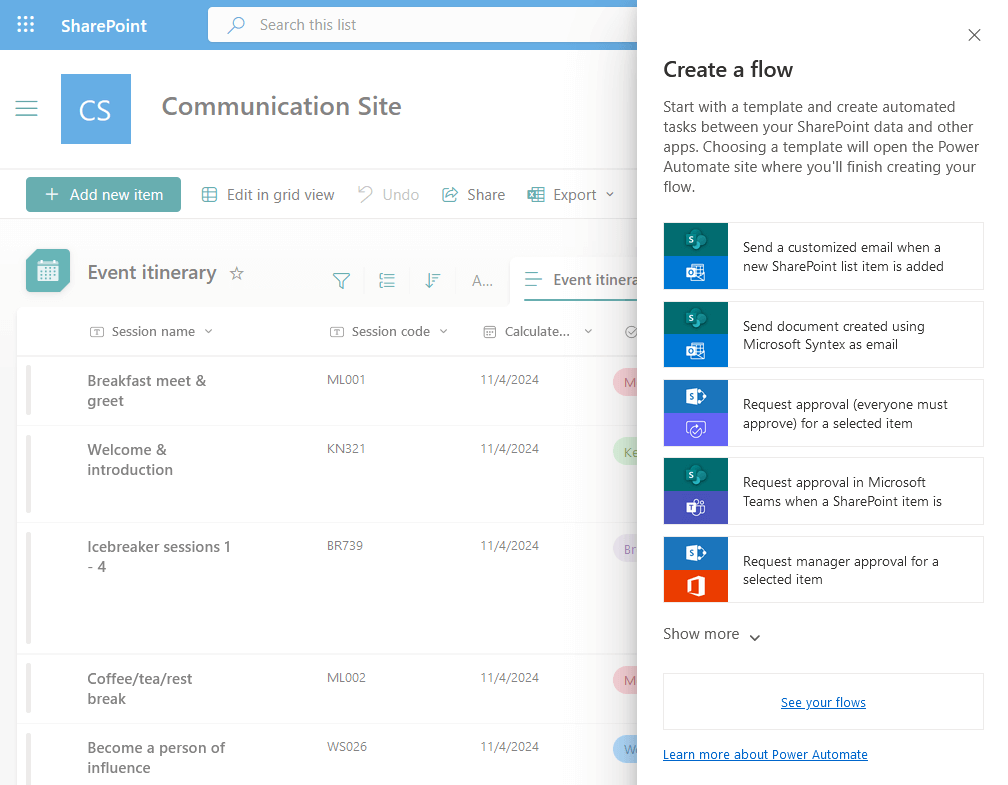
This will then open a right-side panel in the SharePoint site along with the flow templates available.
Choosing a template will open the Power Automate site where you can finish or customize the flow.
From there, you can check what services the flow will connect to, sign in to those services, and even review the flow.
Depending on the flow, you will have to indicate some items, like what specific list or document library to check.
Here’s an example of what you will see:
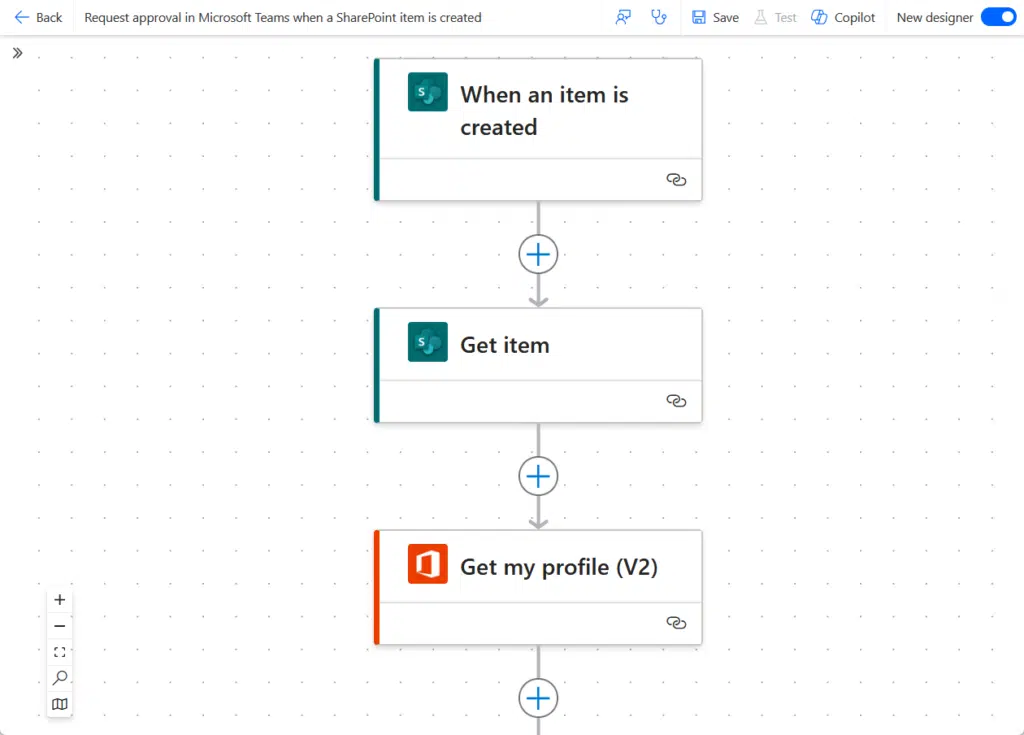
All you have to do after that is to test and flow and save it. 🙂
👉 Related: How to Make an Approval Workflow for SharePoint
Creating a Workflow Using Power Automate
If you need complex workflows or custom ones with your own design, you can create them yourself as well.
For that, you need to go directly to the Power Automate site, and I recommend you check out the templates first.
Just choose the workflow template to start on:
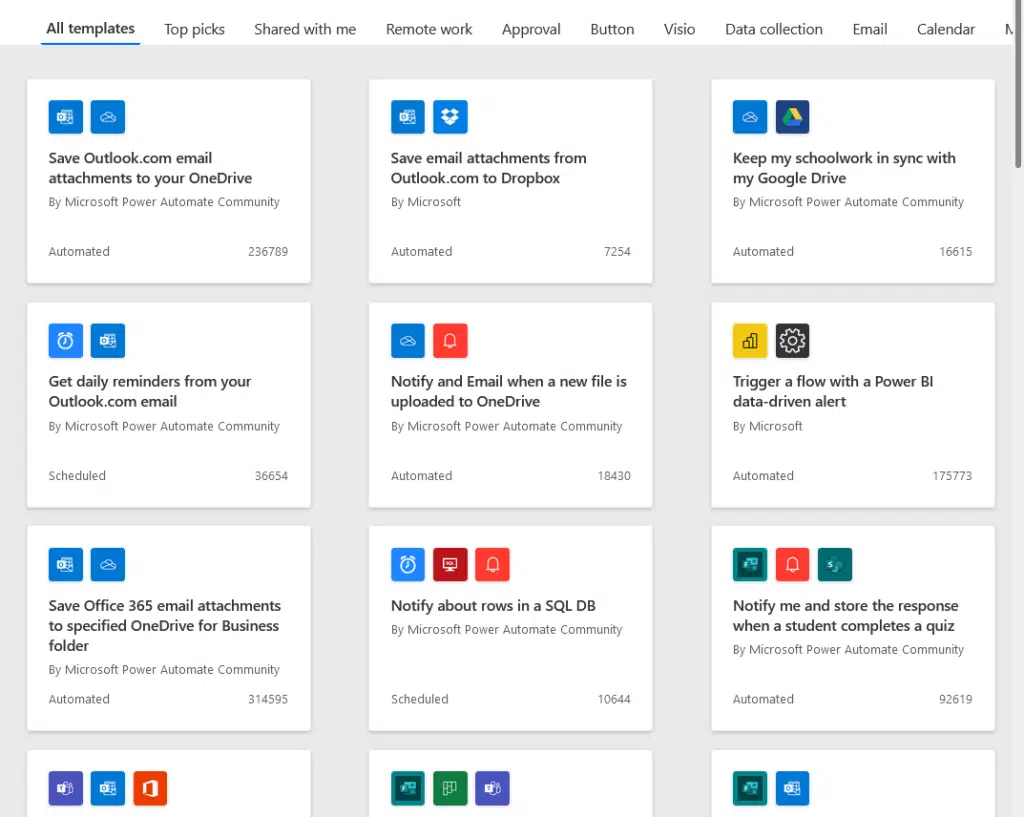
The reason is that it’s always easier to start with a template and work your way from there adding new actions.
But otherwise, you can always start from blank with an automated cloud flow, instant cloud flow, scheduled cloud flow, etc.
To create workflows from scratch, go to the “Create” page:
This is where you can do that:
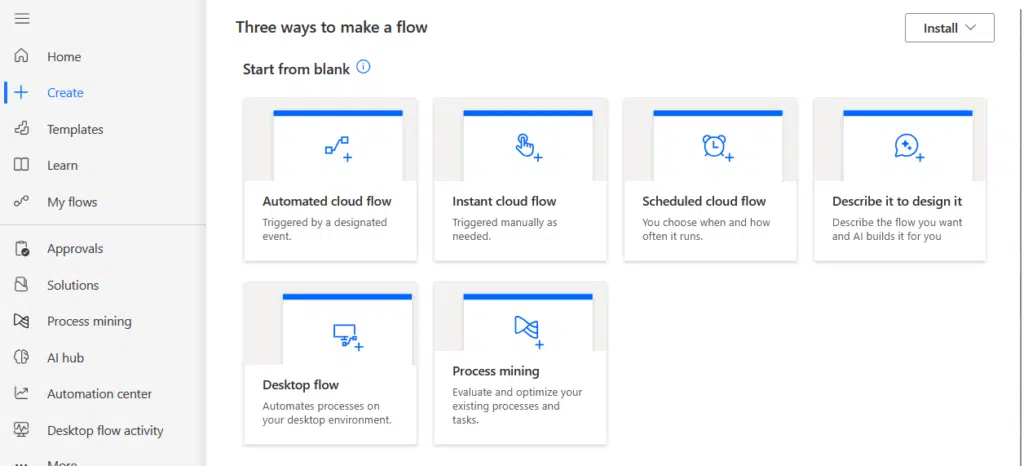
There’s an option there that says “Describe it to design it”, which takes advantage of the Microsoft Copilot integration.
It’s amazing to put up the basic blocks if you can’t find a template to make as a base for your custom workflow.
You literally just need to describe the workflow you want to create and poof:

I will link an article below that shows an example of when I used Copilot to create a custom flow in Power Automate.
👉 Related: Power Automate: Export SharePoint List to Excel (Guide)
Managing and Monitoring Workflows
Once workflows are live in SharePoint Online, managing and monitoring them is key to keeping processes smooth.
Here’s how to stay on top of your workflows:
- Track the workflow status
- View the run history
- Handle errors
- Update workflows when needed
If you have created a workflow (from a suggestion in SharePoint or a custom one), there’s a shortcut you can use to view them.
Remember the “Create a flow” option, the one below that is “See your flows”, and that will take you to Power Automate.
You will then be able to see, manage, and customize workflows from there.
Do you have any questions about creating a workflow in SharePoint Online? Let me know below.
For any business-related queries or concerns, contact me through the contact form. I always reply. 🙂


