

Last Updated on November 19, 2024
Need to copy the list items?
In this guide, I will walk you through one of the easiest methods of copying list items from one list to another in SharePoint.
Let’s get started.
Table of Contents:
Copying the List Items
As you may know already, you can create a list in SharePoint from an existing list.
Unfortunately, this doesn’t copy the list items — only the columns — leaving you with an empty list.
This won’t work especially if you need a replica of all the SharePoint list items.
This leaves you with two choices:
- Manually copy the list items
- Use PowerShell
The first one works easily, but it can take time especially if there are a lot of items.
The second one works well, but you need a little experience and you must be comfortable with using PowerShell.
Fortunately, there is one other method you can use, but you need to learn Power Automate first.
👉 Related: How to Copy List Items to Another Site in SharePoint Online
Sign up for exclusive updates, tips, and strategies
Ready the Destination List
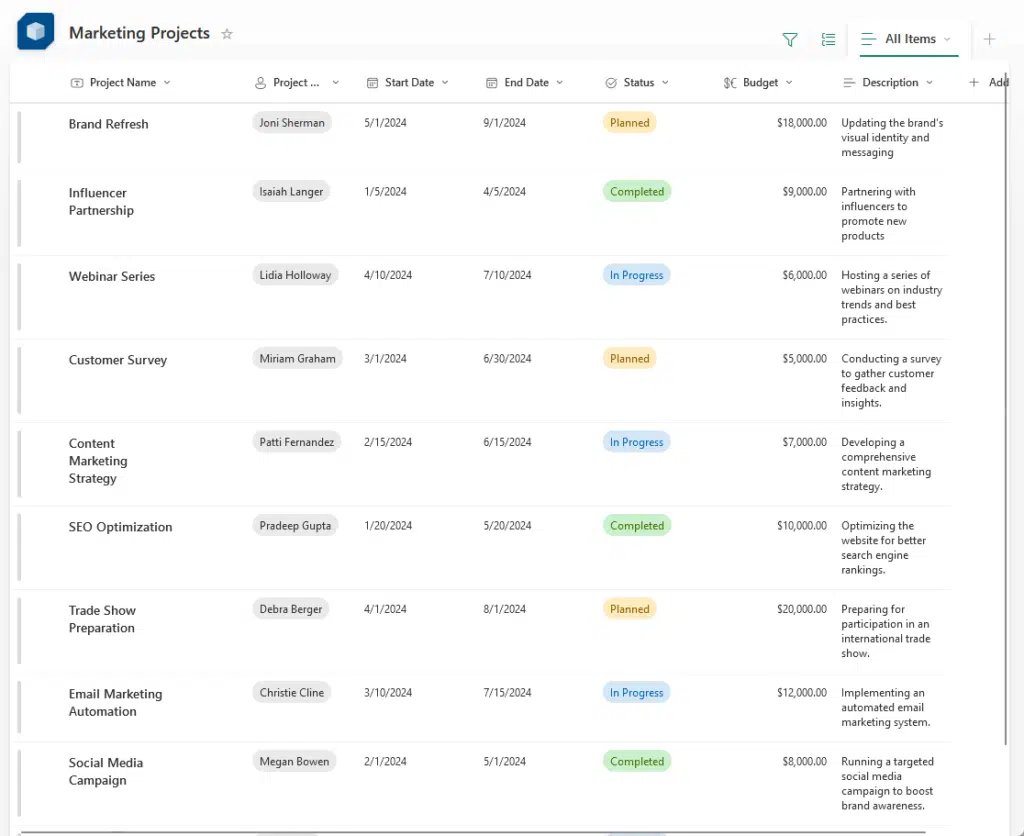
Before anything else, you must have the source list first and then create the destination list.
For this demo, this is the source list:
To create the destination list, you need to create a list on a SharePoint site that you can manage.
From there, create a list > from existing list > select the site > name of the list.
The screen should look like this:
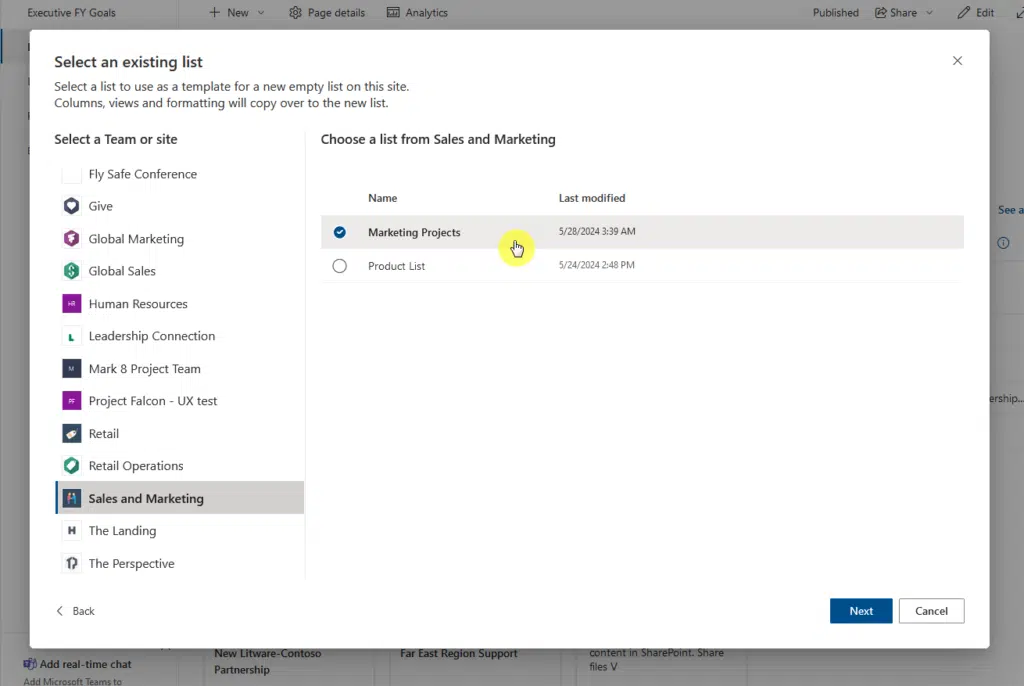
Give the new list a name (for example, “Sales Projects”) and click the create button on the small window.
This will then create a new empty list, but will all the columns from the source list. 🙂
👉 Related: Duplicate SharePoint Lists: How to Create a Custom List
Use Power Automate
Now that you have both SharePoint lists ready, it’s time to get your feet wet with Power Automate.
Don’t worry if it all seems technical at first, you simply need to follow the steps and customize what’s needed.
Step 1: Create a new flow
The first step is to create an instant cloud flow, and set the trigger to “manually trigger a flow”.
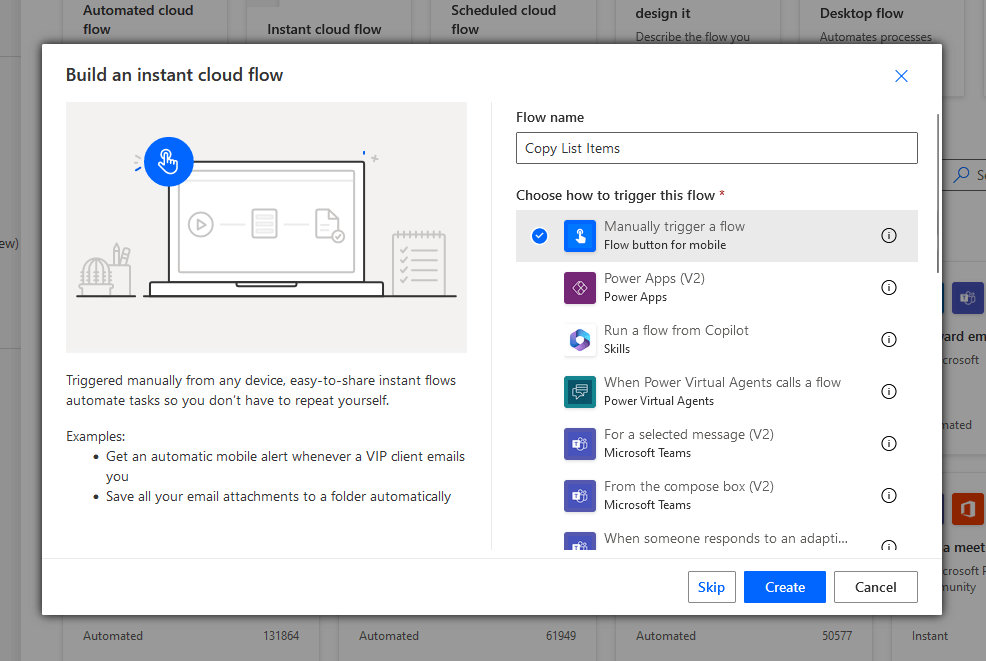
You will now see an empty canvas with only the trigger.
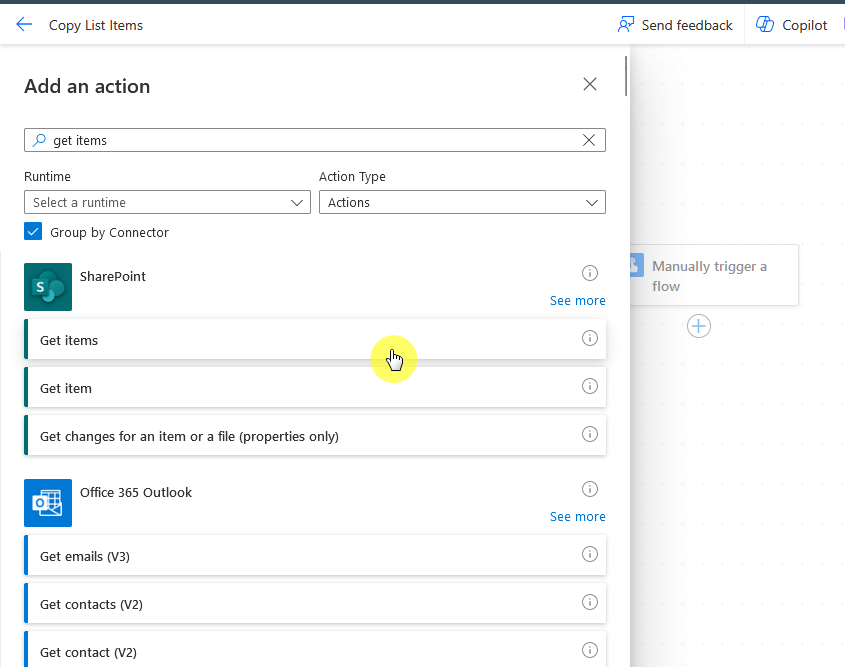
Step 2: Get items
The next step is to add an action through the plus button.
Then search for “get items” and click the option under SharePoint.
If this is your first time, Power Automate will prompt you to sign in to SharePoint.
After that, you will be able to choose the site address and the list name.
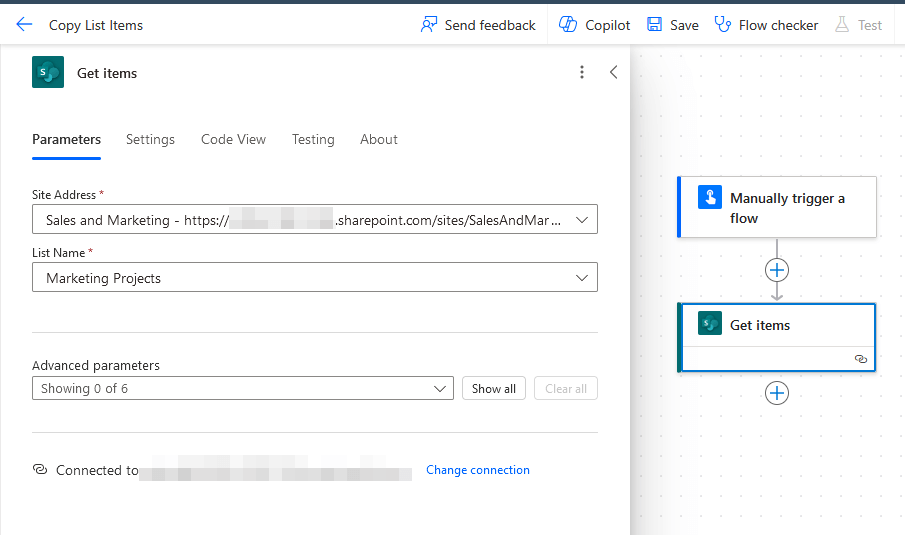
For advanced users, you can set the pagination here and set the threshold of items to return.
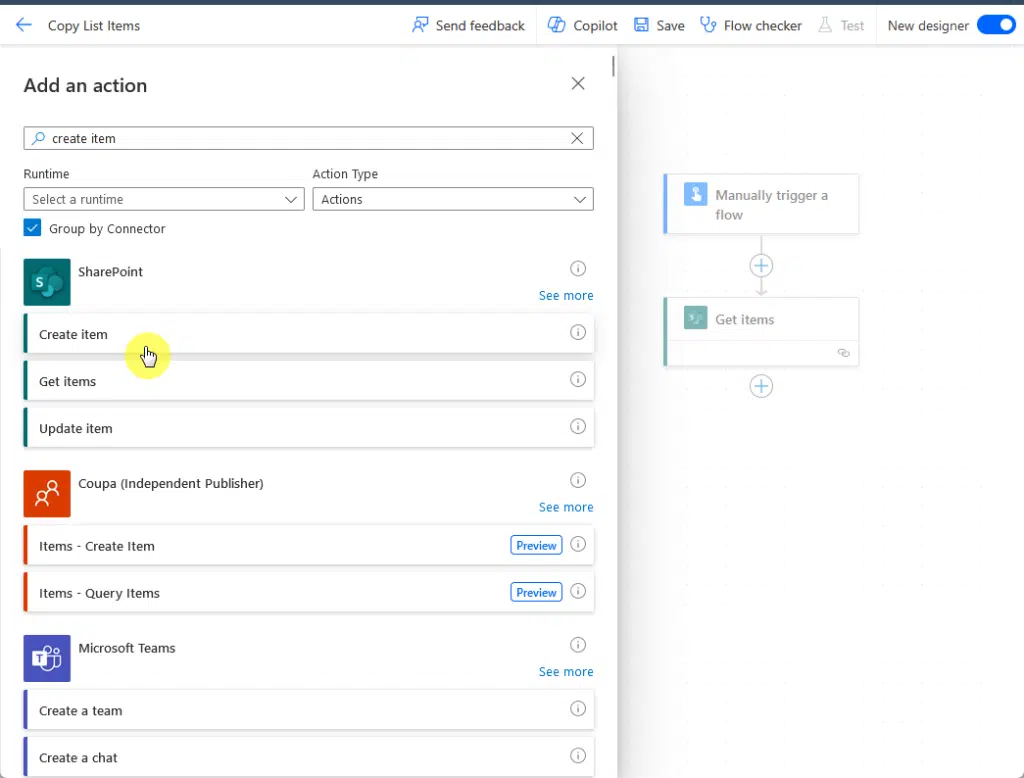
Step 3: Create item action
For this step, add the “create item” action from SharePoint.
From here, add the following:
- Site address
- List name
- Parameters
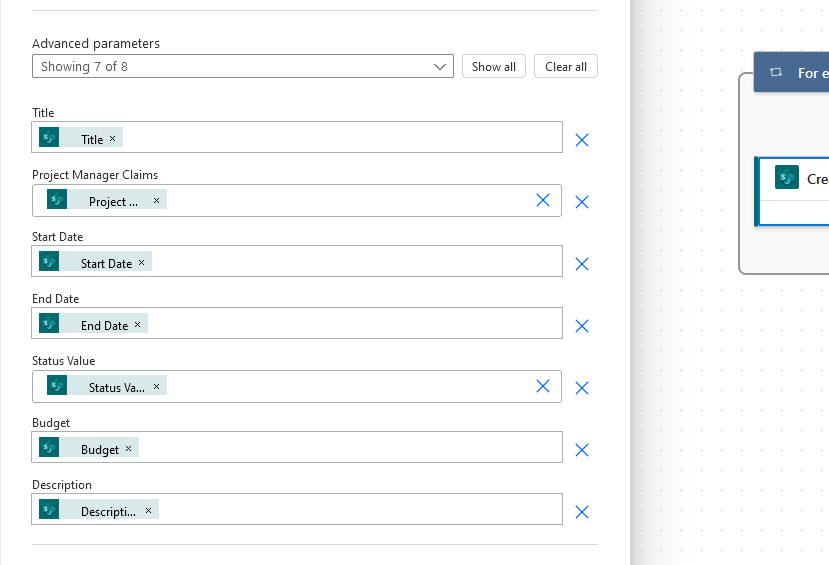
The parameters in the group array simply refer to the columns with the items to be copied.
In my example, I had to select the parameters from “title” to “description”.
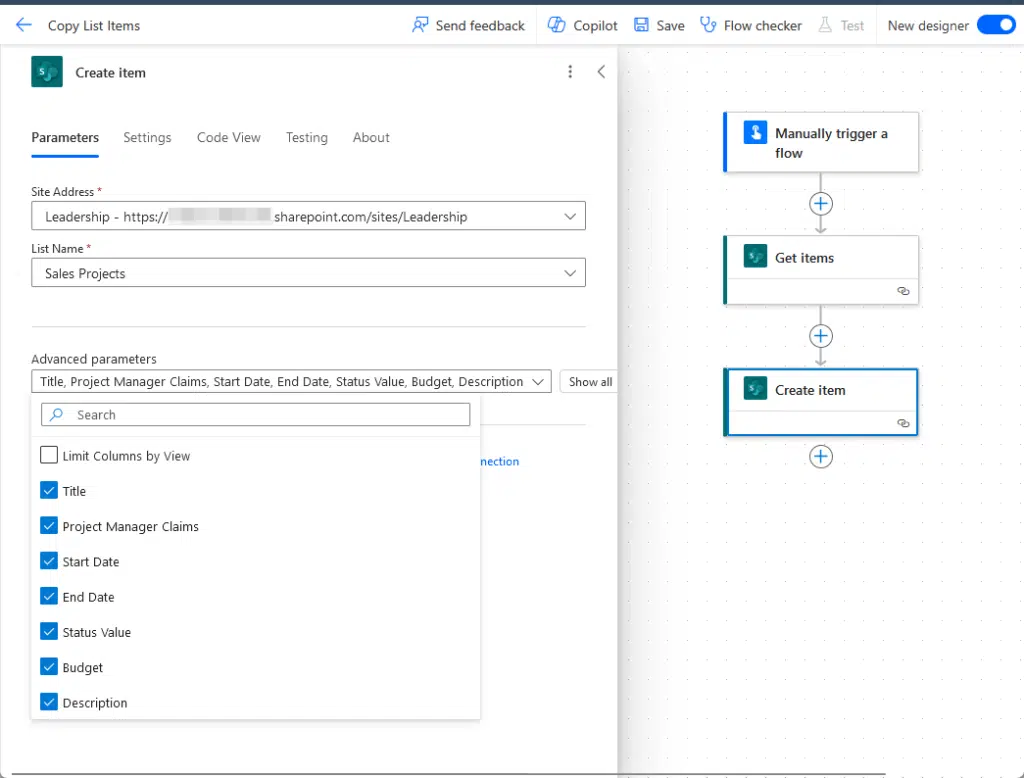
You will then see all the column names and a field beneath each one in the array setting.
What you need to do here is click on the field itself and click the blue lightning button:
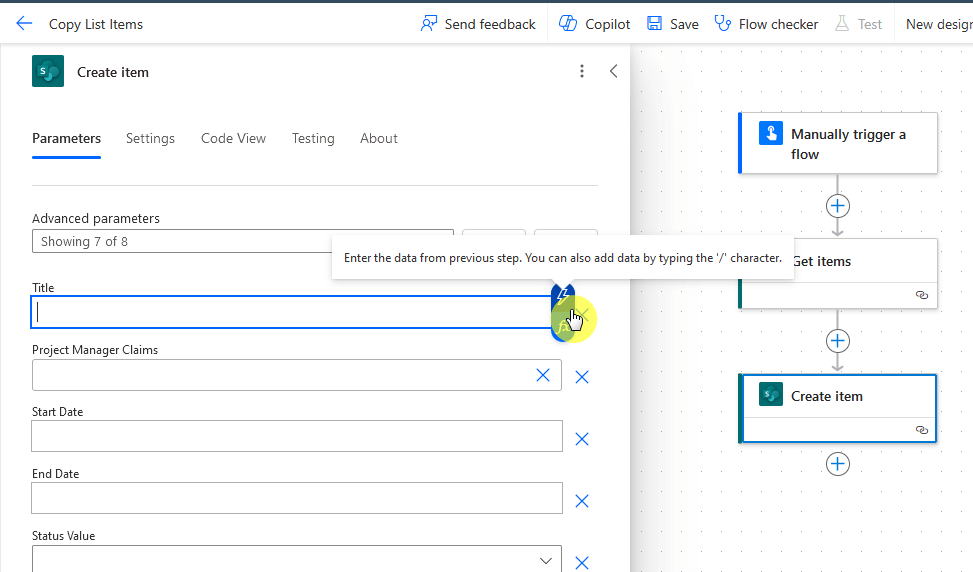
For each field, match it up with the column name from the source list to get the necessary details.
All the columns should then be filled with green parameters that signify they’re taken from the previous action.
Like this:
After that, check with the Microsoft Flow Checker if there are any errors or warning messages.
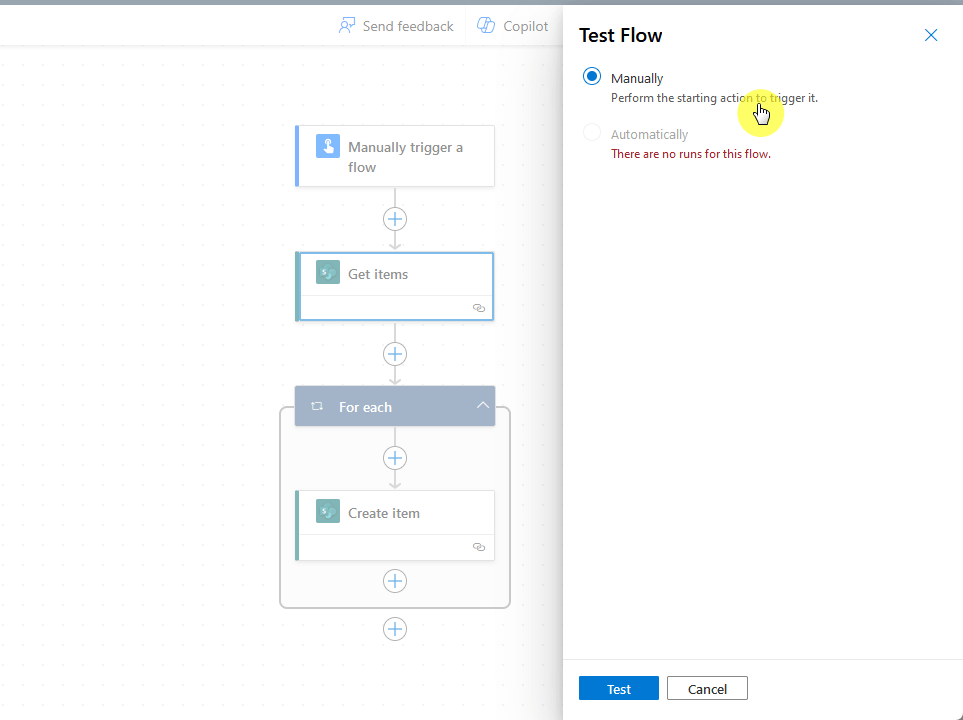
Trigger the Flow
If all is well or if there are no errors that would prohibit you from testing the flow, then proceed with the next part.
Click the test button on the upper-right corner > manually > press the “test” button:
⚠️ Note: If there’s any error, red the error details and try to solve the problem.
Although it was a test workflow operation, it would get all the items and create them as well on the destination list.
It’s a success if Power Automate reports that your flow ran successfully and if the items were properly copied.
The destination list in my demo now looks like this:
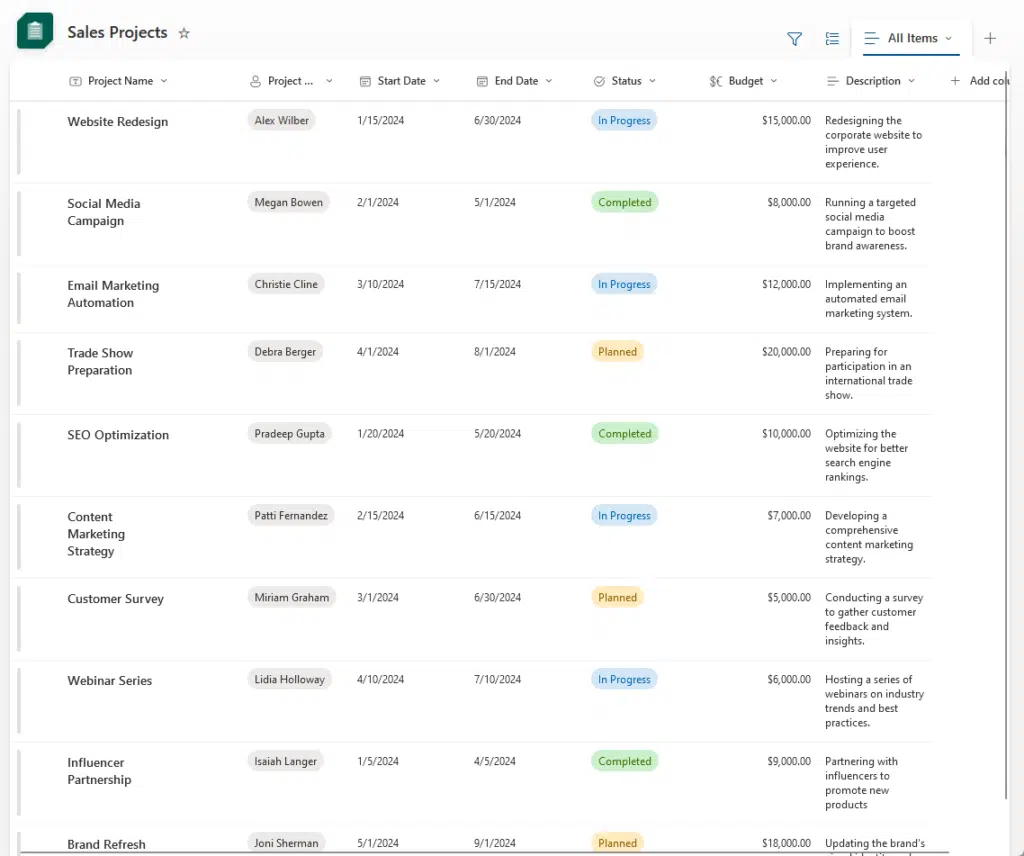
Success! 👏
Anyway, got any questions about using Power Automate to copy list items to another list? Let me know.
For any business-related queries or concerns, contact me through the contact form. I always reply. 🙂


