

Last Updated on December 23, 2024
Can you create a survey in SharePoint?
In this guide, I’ll show you how to build a survey in SharePoint Online using the new forms feature in lists.
Let’s get started.
Table of Contents:
What is the forms feature in lists?
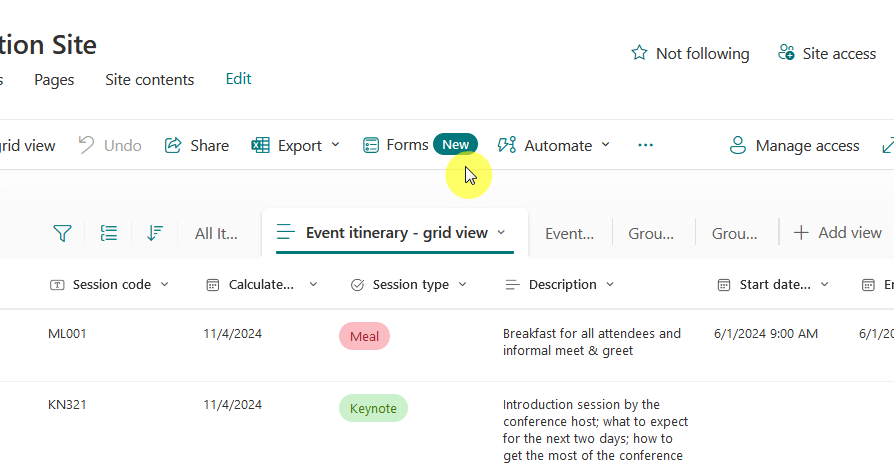
Have you seen the “Forms” button in the list command bar?
This feature, designed with the modern experience in mind, makes creating and customizing forms faster and more flexible.
Here’s what’s new and exciting about it:
- Create forms easily
- Full-field control
- Ready-to-use themes
- Responsive design
- Seamless sharing
These forms are fully integrated with SharePoint lists, meaning submissions are stored directly as list items.
You can use this for various purposes, like creating a survey, and the results will be stored in the SharePoint list.
👉 Related: How to Create Forms in SharePoint Online: New Forms
Sign up for exclusive updates, tips, and strategies
Steps to Build a Survey Using Forms
Fortunately, building that survey is quite easy, all you have to do is start by creating a new list.
Step 1: Create a new list
The reason why you need to create a list is because it will serve as the foundation for storing your survey responses.
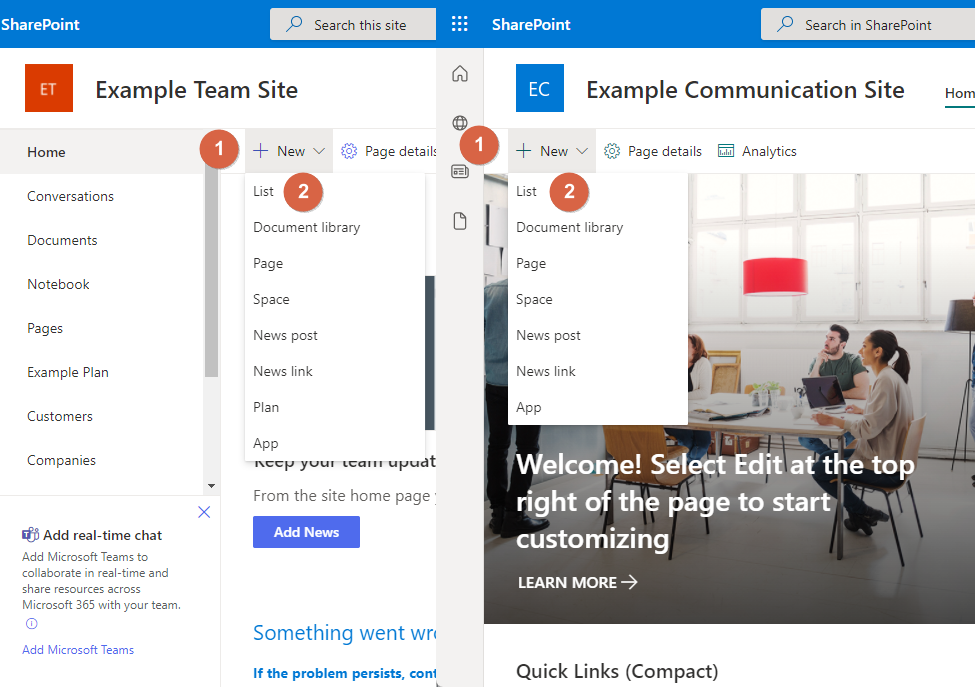
As for creating a list, navigate to the site home page or site contents page and click the “New” button then “List”.
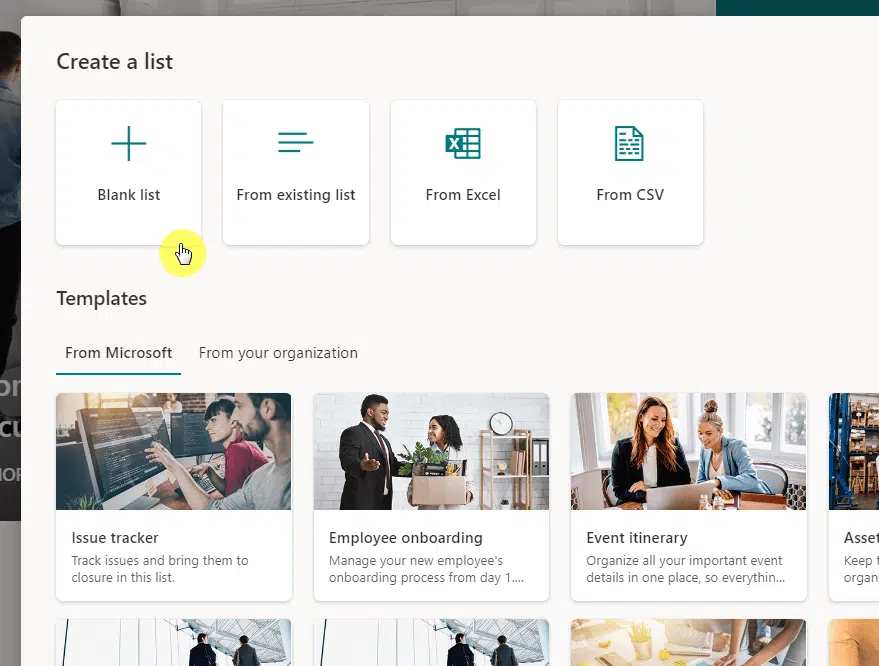
Since we’re talking about creating a list for the survey, let’s start with a blank list and then add the columns later.
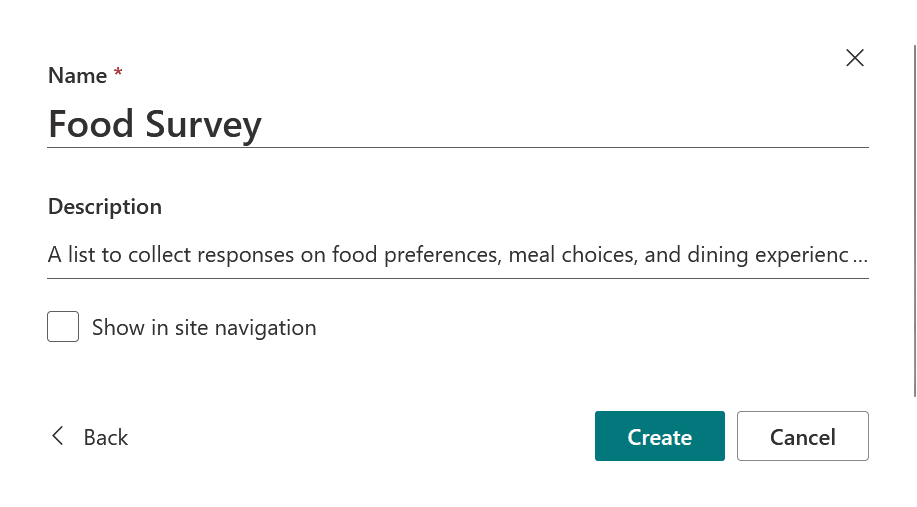
For this example, let’s create a simple food survey, so make sure to name the list as such and add a description when necessary.
Nice! 🙂
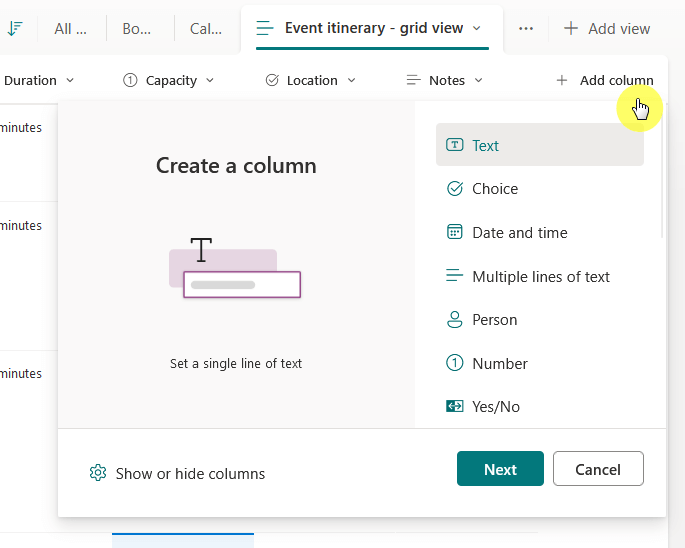
Now it’s time to add the columns:
- Favorite Cuisine (multiple choice)
- Meal Preferences (text box)
- Dining Experience (number)
If you’re not sure how to add a column, just click the + Add column button and then select the column type to add.
If you want to brush up on creating a list in SharePoint Online, including adding new columns, check out the article I linked.
Personally, I hid the “Title” column as there’s already a “Created By” default column, though you will have to add it to the view.
Anyway, this is how it looks:

Nice! 🙂
👉 Related: How to Create a List in SharePoint Online (For Beginners)
Step 2: Create a new form
Now that your list is ready, it’s time to create a form for your survey.
The form will serve as a user-friendly interface for collecting responses directly into the SharePoint list.
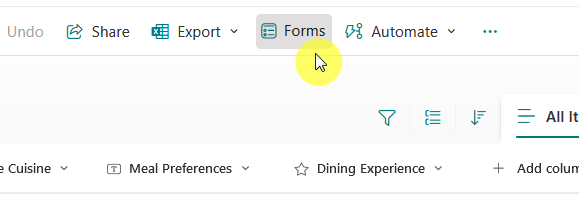
To get started, look for the “Forms” button in the list’s command bar and click on it, then click the “New form” button:

After you click that button, the form editor will appear.
What you will notice here is that the form will automatically contain fields that correspond to your list columns.
In a way, it’s almost ready to go, minus the form title, description, and logo, if you want to add the last two.

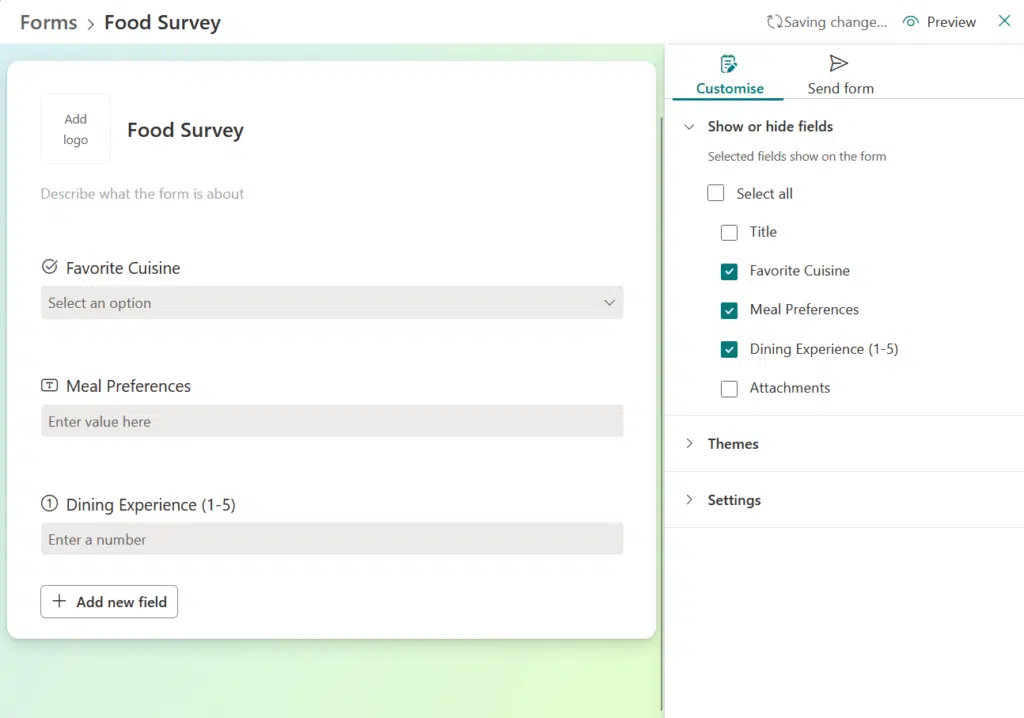
By the way, the “Title” column’s field in the form will be visible, and to turn it off, just deselect it on the customize tab.
This is also how to show or hide fields in the form, and you can also change their order on the form editor itself.
After deselecting the “Title” field and adding a form title, this is how it looks now:
You can also choose to preview the form, there’s a preview button on the top-right corner of the editor.
There’s also a theme section in the customize tab, though it only contains color themes (more like schemes) as of now.
You can also tinker with the settings, though it only contains options on:
- Notifications
- Accept (or not) responses
- Start and end date
- Form submitted response
Now let’s talk about the last part:
To share the form, go to the “Send form” tab on the right side.
Copy the link of the form, and send it to the recipients, though unfortunately, they should be in the organization.

Once the recipients open the link, they will see the form.
When I opened the link, this is what I saw:
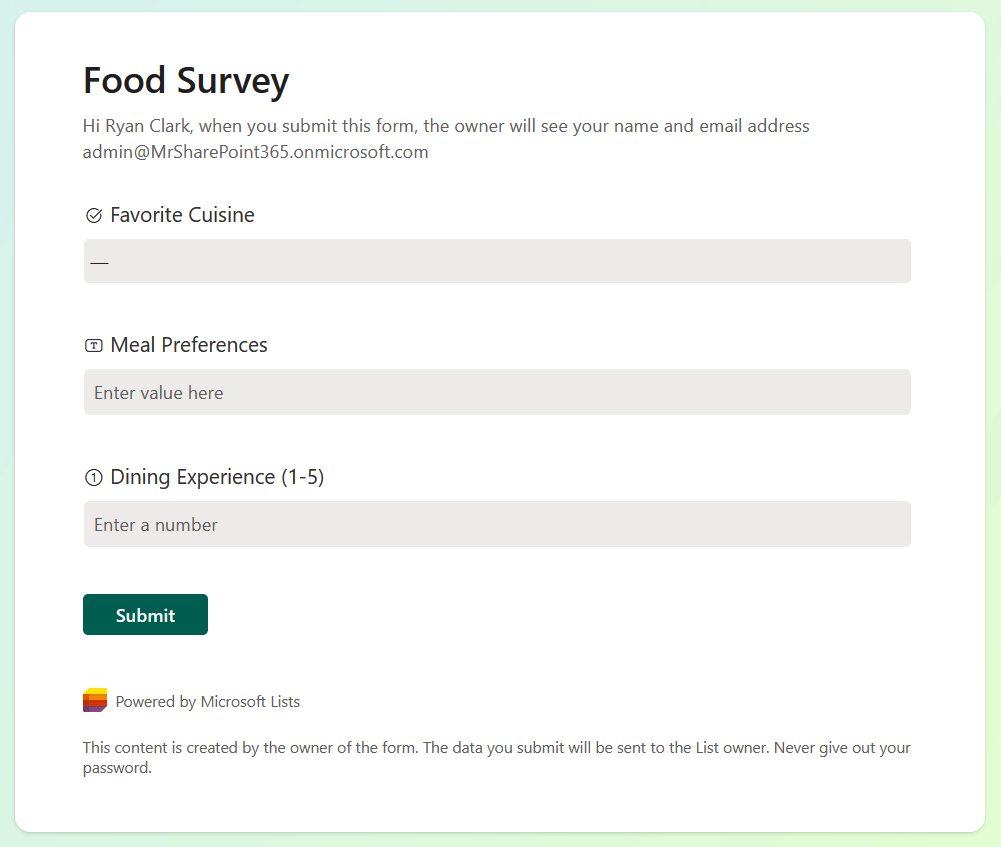
Nice!
By the way, technically, you can share the list with anyone even those outside of your organization.
However, the form is different, and currently, you can’t share or send the form to external users.
Viewing and Managing Responses
Once recipients start filling out the survey form, their answers will reflect on the list.
For example:
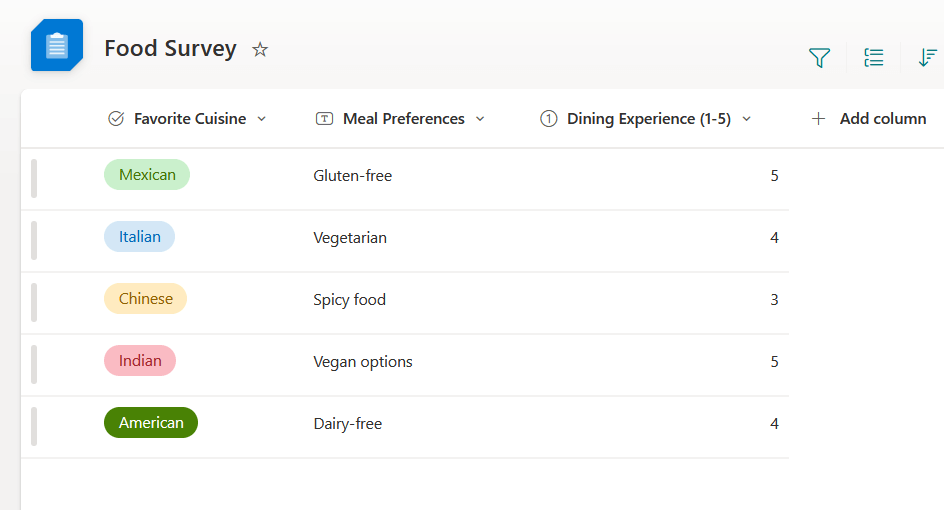
Nice!
If you want to see who sent what, you simply need to show the “Created By” column.
Do you have questions about building a survey in SharePoint Online? Let me know in the comments.
For any business-related queries or concerns, contact me through the contact form. I always reply. 🙂


