

Last Updated on October 23, 2024
Want to learn how to build such sites?
In this guide, I will show you how to build communication sites easily in SharePoint Online.
Let’s get started.
Table of Contents:
What are communication sites?
If you’ve been using SharePoint for a while, you can skip this since it is meant for newbies. 🙂
Anyway, communication sites are designed to share information, news, and resources with a wide audience.
Some common uses of communication sites include:
- Share corporate updates, events, or announcements
- Showcase project progress, reports, and results
- Provide access to training materials or guidelines
- Share successes and highlight achievements
They’re the site perfect for teams or departments to broadcast updates, projects, or important messages.
Unlike a team site, SharePoint communication sites focus on delivering content to users without collaboration being the main goal.
They’re visually appealing, customizable, and great for showcasing information in a clear, organized way.
👉 Related: SharePoint Communication Site: The Beginner’s Guide
Sign up for exclusive updates, tips, and strategies
Creating a Communication Site
Fortunately, creating one isn’t that complicated.
Step 1: Create a new site
The easiest way is to start from the uh, well, start page. 🙂
Click the create site button on the upper-left corner of the page:
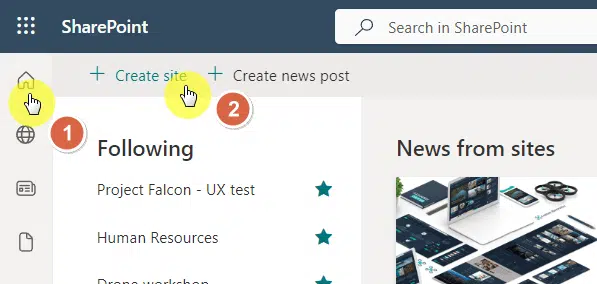
A window will appear where you will be able to select the type of site to create.
Click the communication site option:
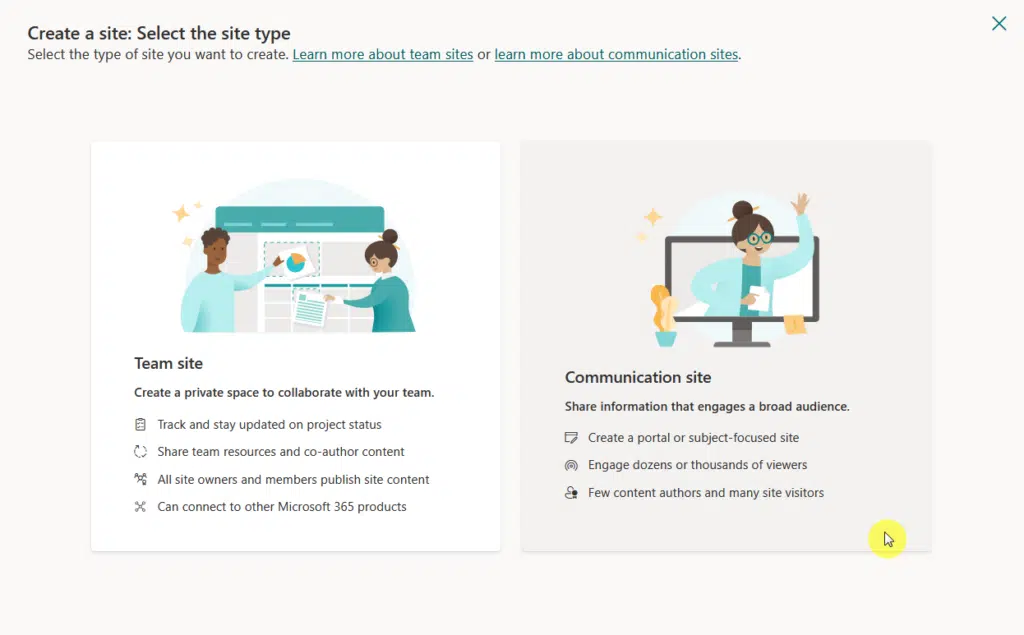
After selecting the communication site option, you will be guided through the setup.
👉 Related: Using Site Design/Templates in SharePoint Online
Step 2: Apply a site template
What’s nice here is that from the get-go, you can apply a template right away.
After clicking on the communication site option, you will then see communication site templates that you can apply:
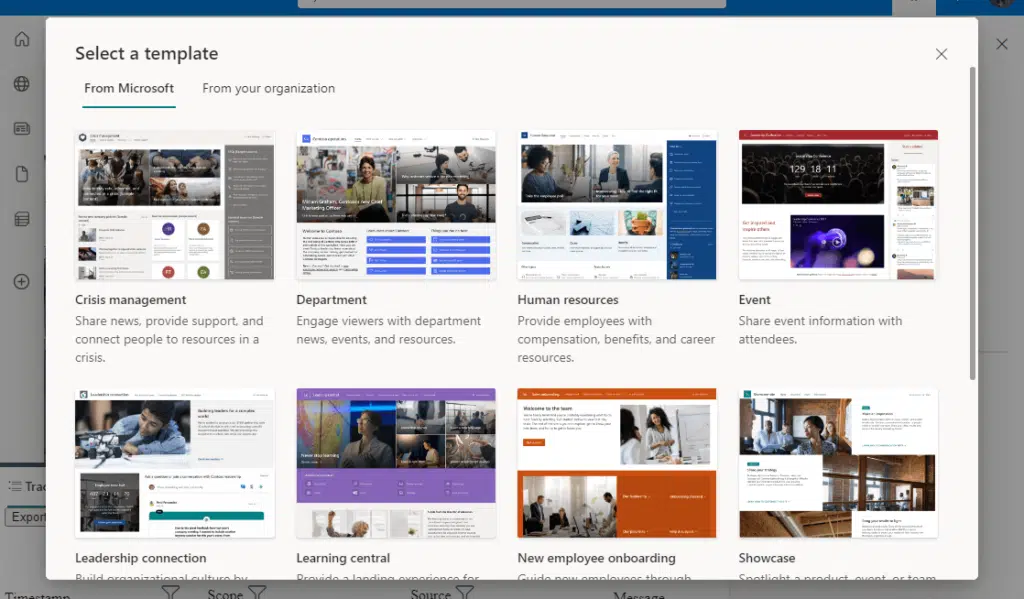
You will then see a preview of the template’s home page, as well as its components like:
- What’s included in the template
- Site capabilities
It looks like this:

There’s also a link where you can preview other pages included in the template.
Don’t forget to click on the “use template” button when you’re ready to proceed.
👉 Related: Does SharePoint Have Templates (How to Access and Use)
Step 3: Fill out the site details
Now it’s time to give your communication site a name and site description.
These details will help users understand the site’s purpose:

The next button will allow you to choose the primary language for the site.
That’s basically it! 🙂
👉 Related: How to Change SharePoint Site From Private to Public
Adding Content to Your Communication Site
Now that your new communication site is ready to go, you can add content to it.
Some ways to add content:
- Use the web parts to add key messages, introductions, or details
- Add photos to highlight events, projects, or announcements
- Upload files like reports or guidelines to a document library
- Use the news feature and news web part to post updates or articles
- Add quick links to important resources or external websites
Since this is a place for news and announcements, regularly update your content to keep users coming back and engaged.
Do you have questions about how to create a communication site? Let me know in the comments.
For any business-related queries or concerns, contact me through the contact form. I always reply. 🙂


