

Last Updated on December 14, 2023
How about making it easy to access SharePoint files from OneDrive?
In this guide, you will learn all about adding a shortcut to OneDrive for specific folders and document libraries in SharePoint.
Let’s get started.
Table of Contents:
What’s the benefit of adding a shortcut?
The primary benefit of doing this is that it simplifies navigation:
Instead of navigating through the SharePoint site, users can access files directly from OneDrive.
Team members can also quickly access and collaborate on shared documents without going away from their OneDrive.
Note: The feature is only available for internal users, and it’s not possible to add shortcuts to folders shared with external users.
Sign up for exclusive updates, tips, and strategies
How does it work?
Basically, it works by clicking a button from a SharePoint document library or folder.
This will then add a folder on the my files page of your OneDrive that will open that entire library or folder.
Once you add a folder or a library, you won’t be able to create another shortcut (although the button will still be there).
On the other hand, shortcuts can be moved like any other file or folder to another shared folder and this won’t affect the sharing permissions.
Note: This is a different feature than the Sync OneDrive feature. You can read this guide for more information.
How to Add a Shortcut to OneDrive
Follow these steps:
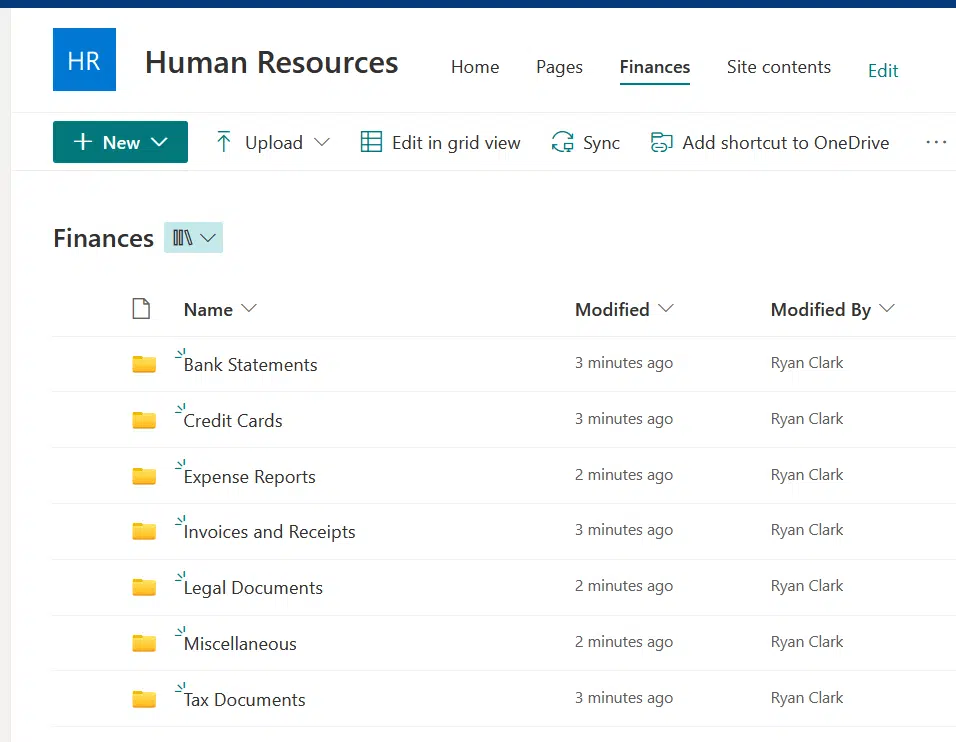
Step 1: Get to the target folder or library
Locate the SharePoint folder or document library you wish to add.
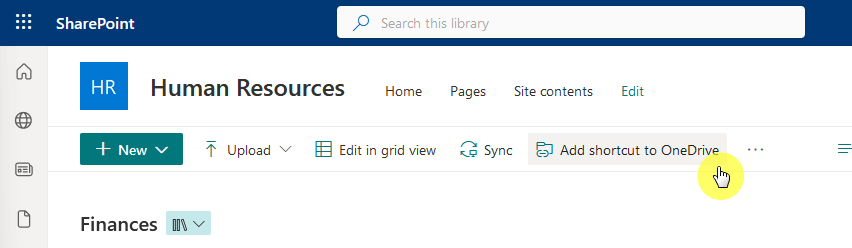
Step 2: Add shortcut to OneDrive
If you’re planning to create a shortcut of the whole document library:
Click the add shortcut to OneDrive button on the command bar.
But if you want to do that for a specific folder, hover your mouse over it and either:
- Click the inline add shortcut button
- Click three dots > add shortcut option

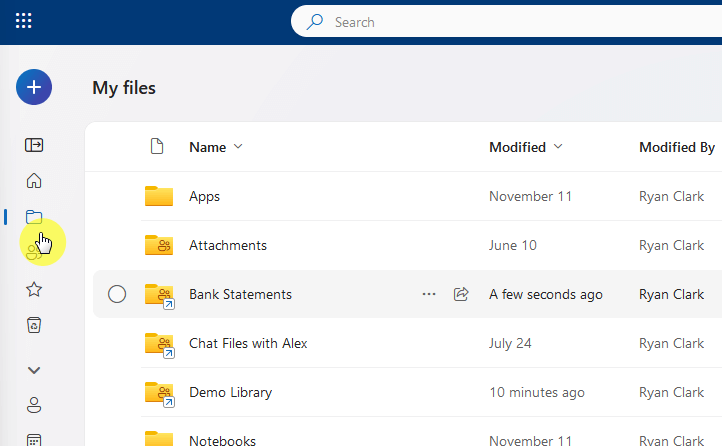
Step 3: Check “My Files” on OneDrive
The shortcut will be created on the my files folder of your OneDrive.
Check it to confirm that a shortcut has been created:
The shortcut is accessible via Windows File Explorer, OneDrive on the web and mobile, Mac Finder, and Teams.
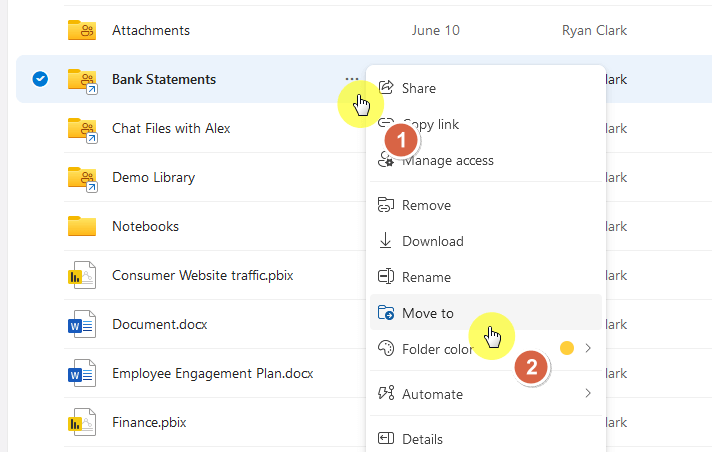
How to Move a Shortcut in OneDrive
You can freely move shortcuts into different folders in your my files folders in OneDrive.
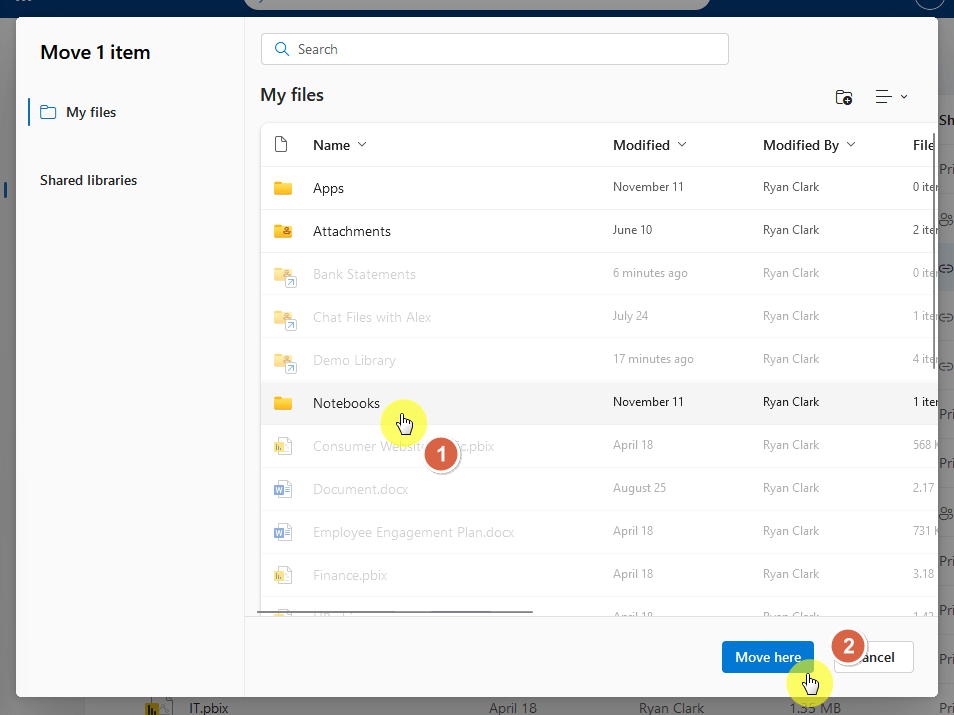
All you have to do is select the shortcut and then click the three dots > move to option:
From there, go to the the location (OneDrive folder) where you want to move the SharePoint shortcut to.
Then click the move here button:
The good thing here is that moving a shortcut to a shared folder doesn’t change its sharing permissions.
However, when moving files between shared folders, they adopt the permissions of the destination folder
Removing the Shortcut
If you want to remove the shortcut, you just need to click the three dots > remove button:
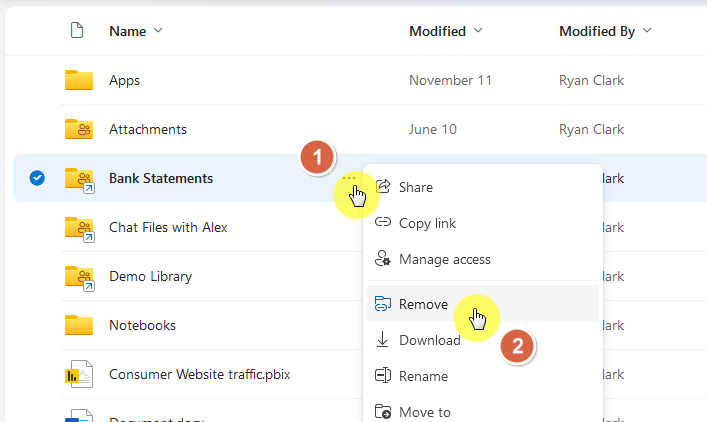
When you do this, you will be able to create another shortcut to that same folder or document library in SharePoint Online.
But if you want to disable add shortcut to OneDrive from your tenant, you can use this PowerShell code:
Set-SPOTenant -DisableAddShortcutsToOneDrive $TrueIf you have any questions or need guidance on this process, don’t hesitate to ask by leaving a comment.
For any additional inquiries or business-related matters, you can also use the site’s contact form. I’ll reply promptly.


