
Last Updated on December 23, 2024
Not sure how to add links?
In this guide, I’ll show you how to add a link in SharePoint Online from hyperlinks to quick links.
Let’s get started.
Table of Contents:
What’s nice about adding links is that they can improve navigation and help users quickly access important resources.
Common ways you can add links include:
- Hyperlinks in pages
- Quick links web part
- Quick launch menu
In a way, adding links can make a site more user-friendly and organized.
However, always use clear and descriptive text for your links so that users can understand where the link leads.
Sign up for exclusive updates, tips, and strategies
You have seen these links in pages, you know, the words or phrases you see that are underlined and colored differently.
It looks like this:
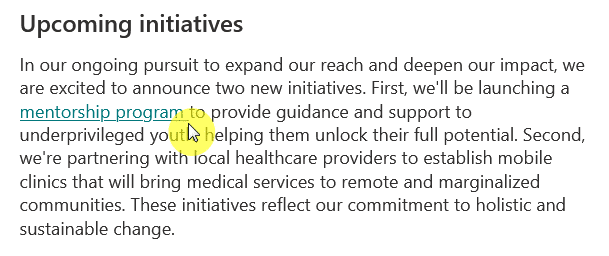
Anyway, these hyperlinks in pages can help users connect to external resources or other site content easily.
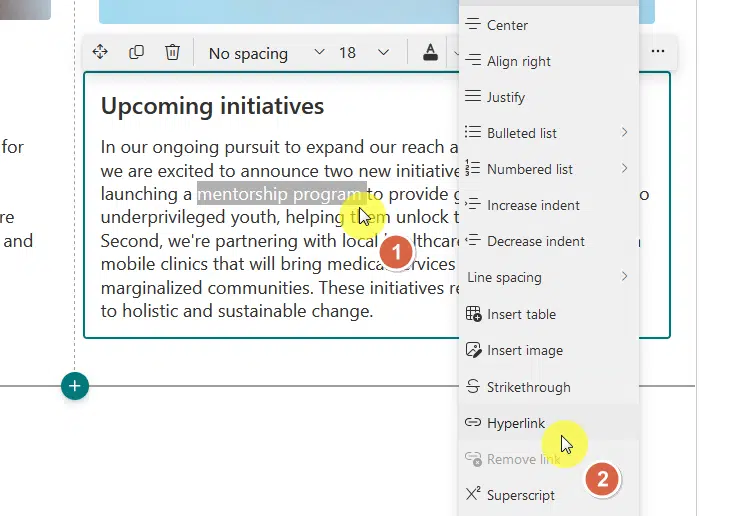
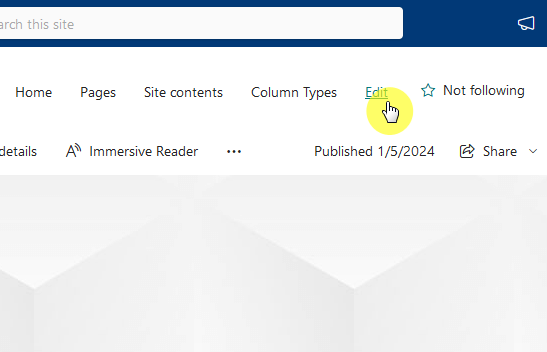
To add them, edit the page first (edit button on the top-right) and then highlight the text/image you want to link.
Right-click on it and then click the “Hyperlink” option:
The insert link window will now appear where you have two choices to add a link:
- Copy and paste the link on the address field
- Use the search field and select the page title (for internal link)
The second one will allow you to search through the site for a page that you can link to.
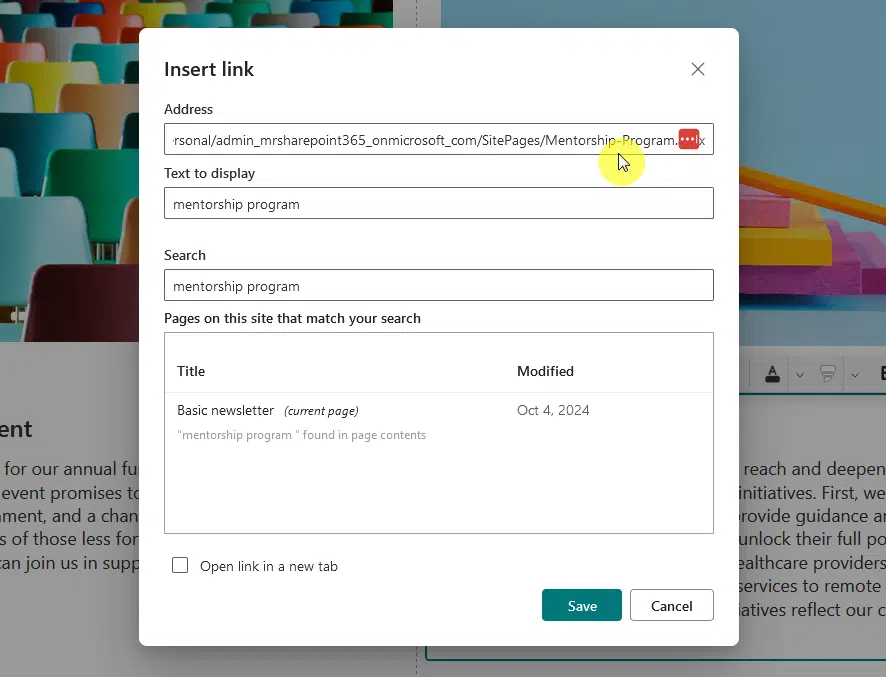
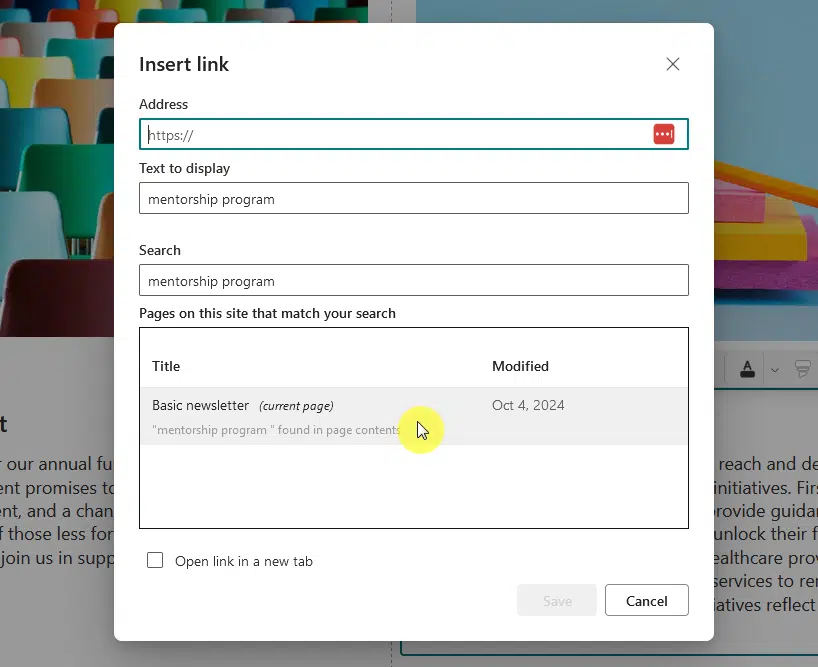
Once you’re done, click the “Save” button on the window and then publish/republish the page.
You should now see the link on the page, but make sure to test the link to see if it points to the right page.
👉 Related: Create a Link From a Word in SharePoint: Short Guide
Using the Quick Links Web Part
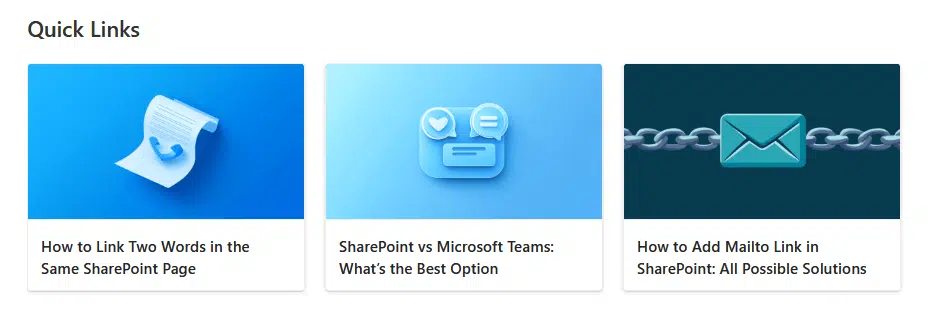
The quick links web part in SharePoint helps you display frequently used links to a page in a clean, organized way.
It’s ideal for showcasing important resources or navigation options:
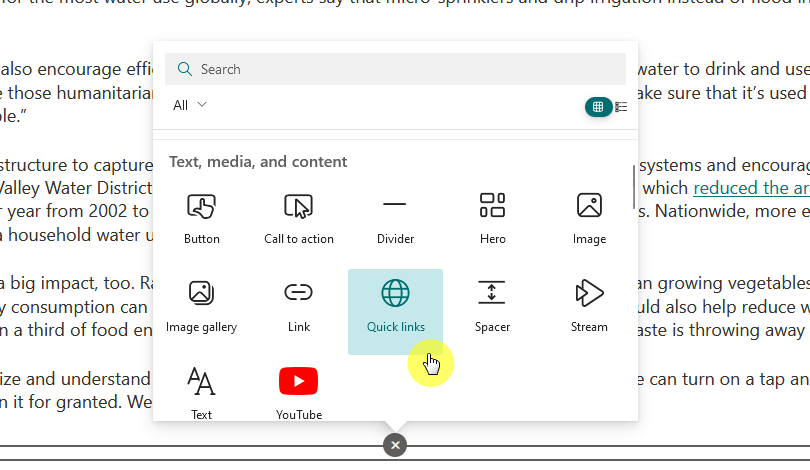
To use the quick links web part, edit the page where you want to put this web part.
Select the + icon on where you want to put the web part, and then choose/search for the quick links web part:
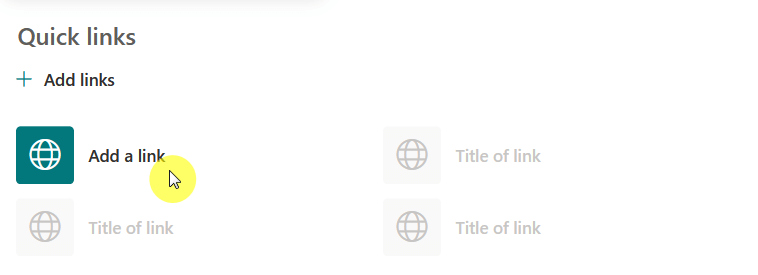
In the quick links web part, you can click the “Add a link” button to enter URLs or select items from your SharePoint site.
On the screen that opens, go to the “From a link” tab and enter the link to any resource you want to link to:
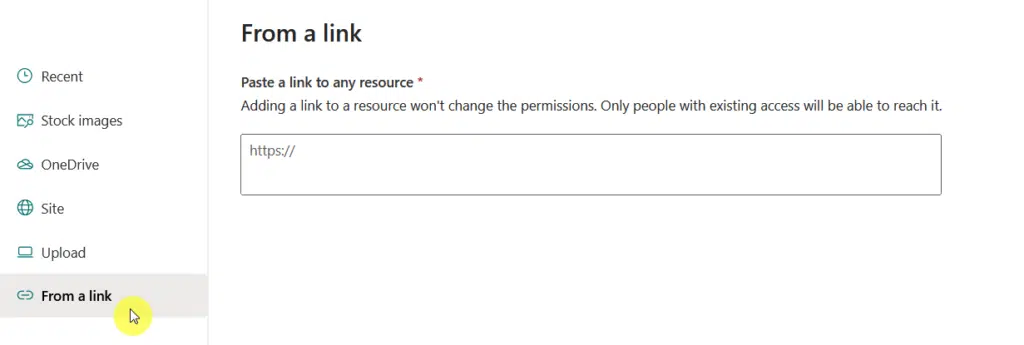
After that, you would be able to edit each entry and set it to open in a new tab, change the title, the thumbnail, etc.
What’s nice is that the quick links web part is flexible and visually appealing as well, especially if you use a thumbnail.
The quick launch bar is actually the sidebar/topbar menu that you see that helps you access key site sections easily.
As you can tell, adding links here will make navigation considerably easier across your site, and you can easily edit it:
There are two kinds of items you can add here:
- Primary menu item
- Secondary menu item (inside the primary)
Hover over where you want to insert the link and click the + button:
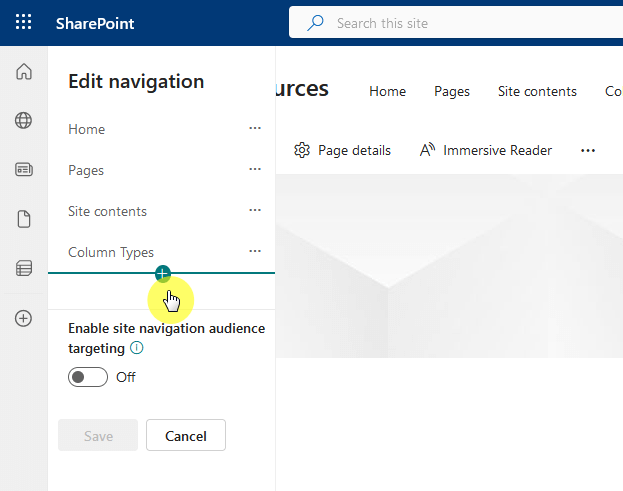
You can add the link as either a primary menu item or a secondary item (these items are indented on the right).
Make sure the option is set to link, add the link to the address bar, and add a display name:
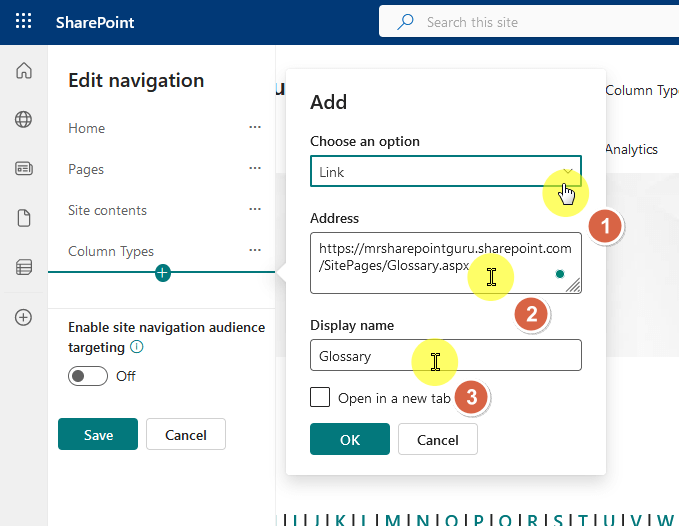
You can also set it to open in a new tab.
Quick launch links stay visible on most pages, so they’re perfect for site-wide navigation (usually links to pages).
👉 Related: How to Add a Page to the Navigation Bar in SharePoint
Creating Anchor Links Within a Page
Anchor links let users jump to specific sections on the same page, which is nice for long pages with multiple topics.
This is a little niche, but technically, you can only do this if the destination on the page is a heading, or it won’t work.
To do this, find the destination header, hover your mouse over it, then right-click on the link icon and copy it:
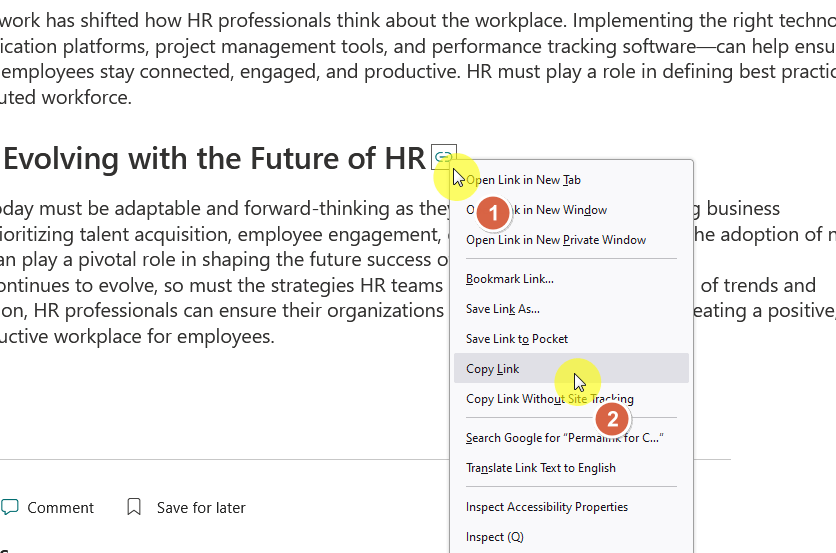
From here, add a hyperlink to a word/phrase as explained in the “adding a hyperlink in a page” section.
The only difference here is that you need to paste the anchor link you copied earlier on the address field.
Like this:
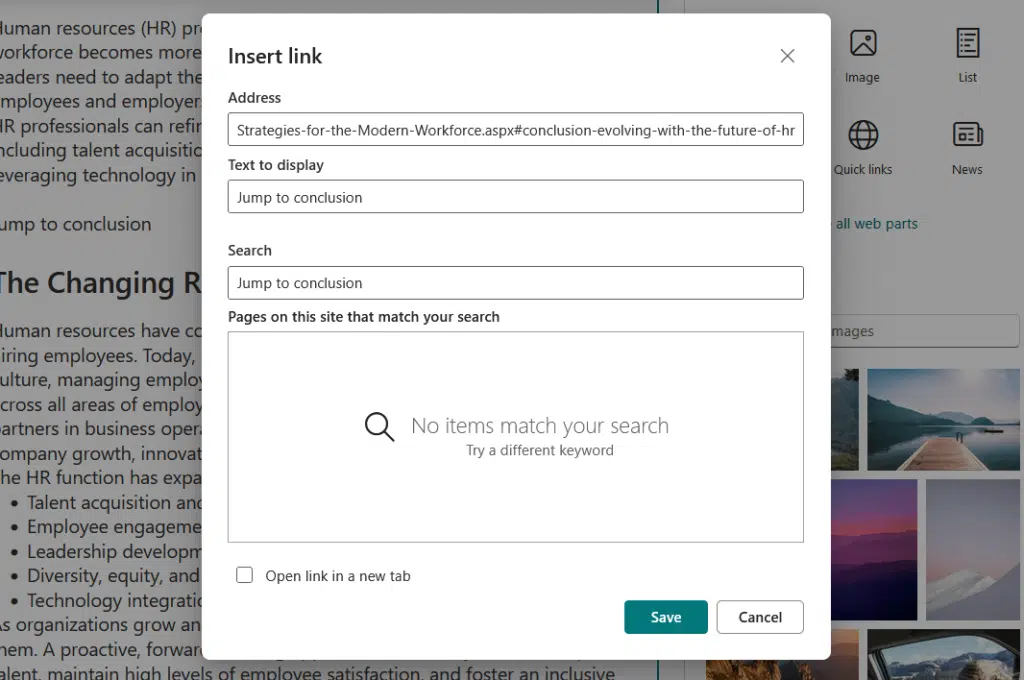
Save the changes and republish, then make sure to test out the link.
As long as the destination is a header on the same page, the hyperlink should work, otherwise, it won’t do anything.
If you need more explanation about this, I will link below another tutorial I wrote that goes into this further.
👉 Related: How to Link Two Words in the Same SharePoint Page
Do you have any questions about adding a link in SharePoint Online? Let me know in the comments.
For any business-related queries or concerns, contact me through the contact form. I always reply. 🙂


