

Last Updated on November 15, 2024
Want to create this dashboard?
In this guide, I will give you a walkthrough of creating a dashboard for Viva Connections in SharePoint.
Let’s get started.
Table of Contents:
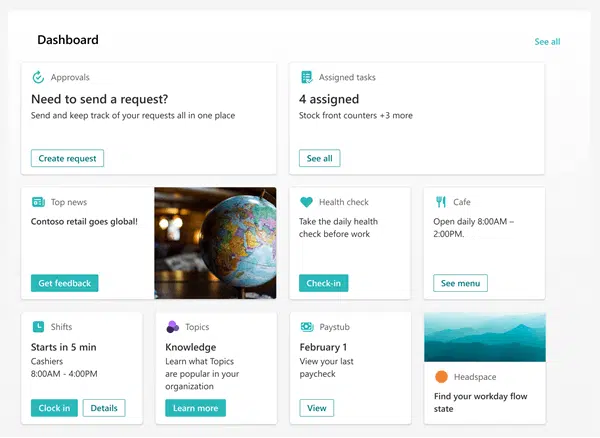
What is a Viva Connections Dashboard?
It’s a customizable tool within Microsoft Viva designed to centralize important resources, tasks, and tools for employees.
Its key features are:
- Interactive cards
- Audience targeting
- Mobile-friendly design
- Integration with Microsoft Teams
- Customizable layout
Basically, the dashboard acts as a hub and bridges gaps by aligning information across SharePoint and Teams.
This is the same dashboard you see when adding the Dashboard for Viva Connections web part to a SharePoint page.
With intuitive tools and targeted content, it’s perfect for keeping employees informed and engaged.
👉 Related: What Is Microsoft Viva Connections: The New EXP Platform
Sign up for exclusive updates, tips, and strategies
What do you need to get started?
To get started, there are a few things you need to have in place first.
Prerequisites:
- SharePoint home site
- Global or SharePoint admin role
- Enabled audience targeting
Naturally, you must have the right licenses for Viva Connections.
Before you start, double-check that your SharePoint home site is accessible and well-organized.
👉 Related: How to Set a Site as Home Site in SharePoint Online
Access the Dashboard Creation Tool
This creation tool will allow you to design and manage your dashboard directly from your SharePoint home site.
To access this:
- Navigate to your organization’s SharePoint home site
- Click the gear icon in the top-right corner
Click the “Manage Viva Connections” option:

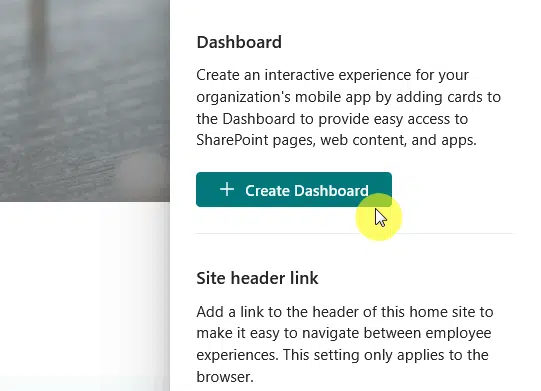
This will then open another page in the panel.
Click the “Create Dashboard” button to start creating the dashboard:
Once inside the tool, you will see options to add cards, adjust the layout, and configure settings.
This interface is where all the customization happens, so take your time exploring its options before you move to the next step.
Add and Configure Dashboard Cards
Dashboard cards are the building blocks of your Microsoft Viva Connections Dashboard.
They provide quick access to tasks, links, news, or other resources your team needs.
In the dashboard page editor, click the “Add a card” button and choose from available card templates:

Make sure to customize the card as much as you can (like web parts, each card is unique with its own settings).
They have standard settings like the card size and audience targeting options (same options in the dashboard web part).
Think about which tools or information your users access most frequently and prioritize those.
Here’s an example:
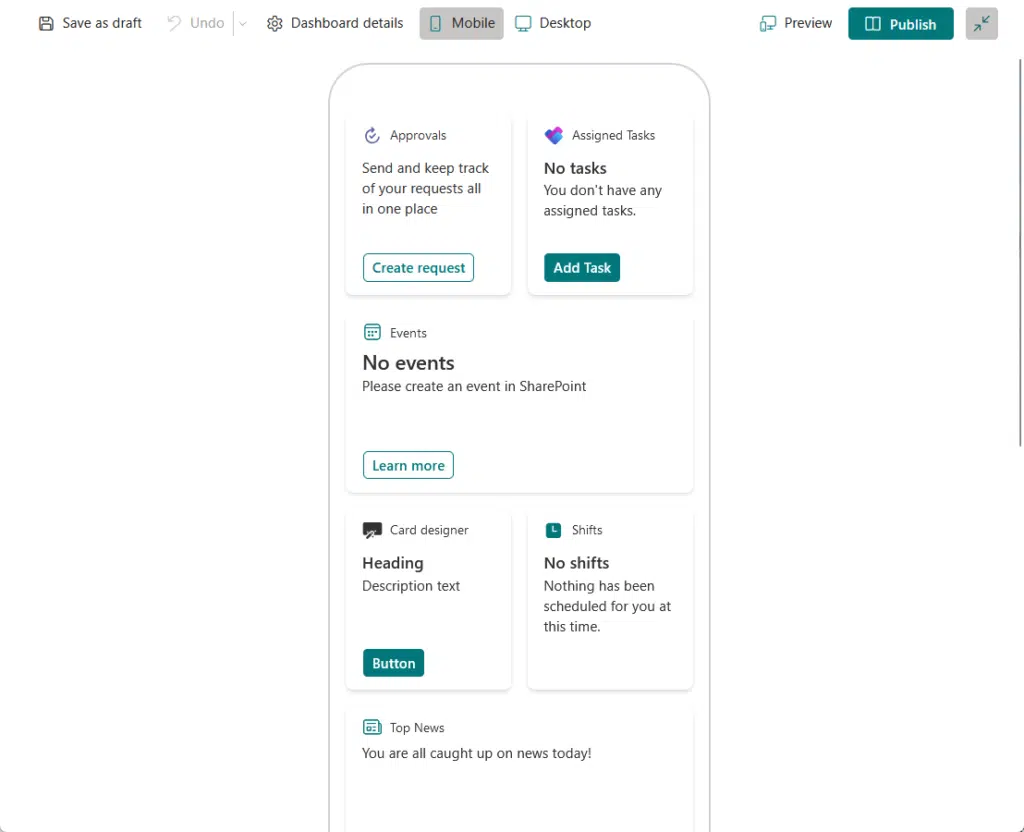
There’s a “desktop” button at the toolbar, which enables you to switch to the desktop view of the dashboard.
Each card can be resized or repositioned to fit your layout.
Once you’re done, preview and publish your dashboard. 🙂
Apply Audience Targeting
Audience targeting helps make your dashboard more relevant by displaying specific content to the right groups.
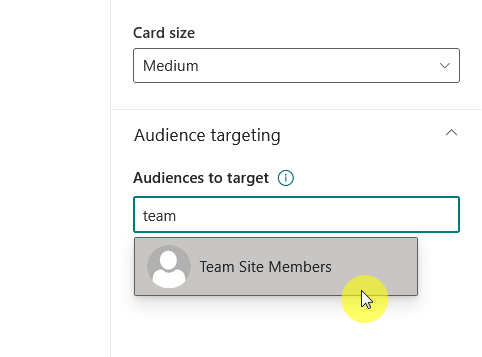
To apply audience targeting:
- Select a card
- Enter into the field the Microsoft 365 groups or Azure AD groups to target
Then select the right group from the suggestions:
Save your changes and republish the dashboard to apply the settings.
Targeting helps make the user experience better by avoiding clutter and focusing on relevance.
Use this feature to highlight department-specific tools, role-based tasks, or location-specific announcements.
👉 Related: SharePoint Audience Targeting Online (Guide)
Preview and Publish the Dashboard
Before letting everyone know about the dashboard, it’s nice to preview it first and make sure it’s functional.
My suggestions here are:
- Check the card interactivity (test links, actions, etc.)
- Adjust the layout
- Double-check the audience targeting
After publishing, the dashboard will be live and integrated into your SharePoint home site or Teams app.
Keep an eye on user feedback and monitor its performance.
Do you have any questions about creating this dashboard in SharePoint Online? Let me know below.
For any business-related queries or concerns, contact me through the contact form. I always reply. 🙂


