

Last Updated on October 25, 2024
Not sure how to create a calendar?
In this guide, I will show you how you can easily create a calendar in SharePoint Online (vs the default calendar).
Let’s get started.
Table of Contents:
This depends on your opinion, but personally, I don’t prefer the default calendar in SharePoint Online.
You may have seen this in communication sites, it’s actually the “events” section:
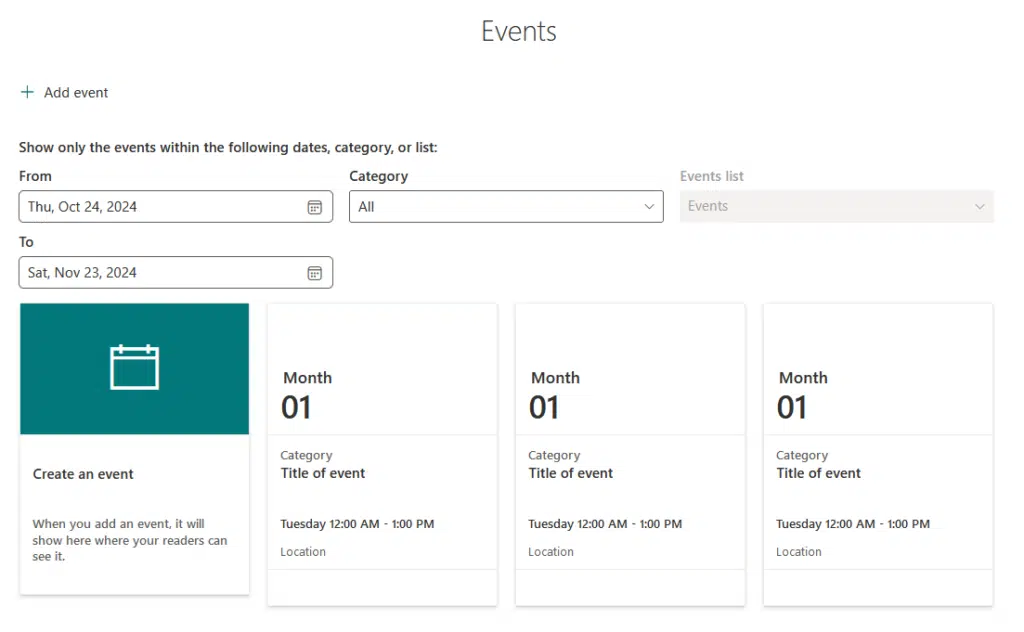
As you can see, there’s no way to view all the events in a calendar view, which isn’t something we want.
Some people “might” like it though since it’s a direct-to-the-point method of seeing upcoming events.
You can find it on the home page on the default site template of communication sites, however, you can also add it yourself.
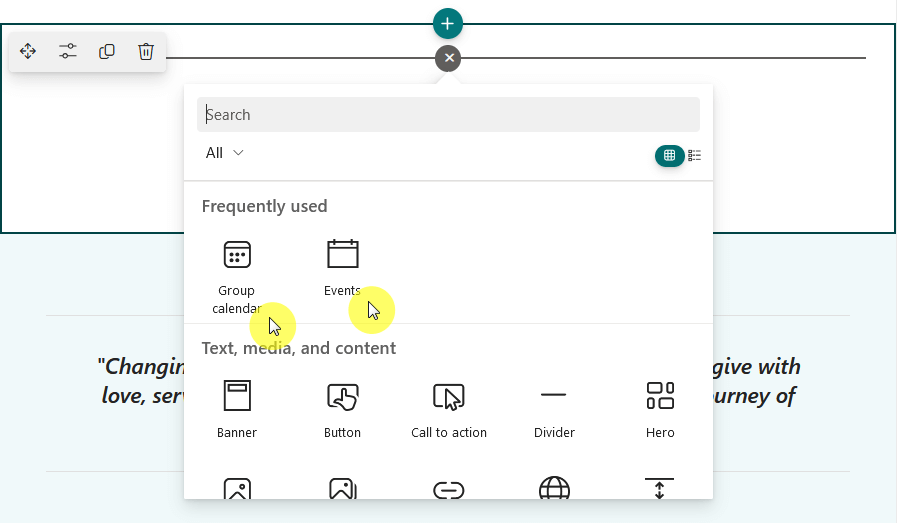
There are two web parts now for it:
- Group calendar
- Events
However, their functionality is more or less the same, and both look similar without any calendar view. 🙁
To be honest, I’m not sure why the “group calendar” web part is called a calendar if it has no calendar view.
👉 Related: Modern SharePoint Web Parts: List of All Available Web Parts
Sign up for exclusive updates, tips, and strategies
If you want to see a true calendar, the choice here is to create a list and create a new “calendar” view for it.
Step 1: Create a calendar list
Create a list as usual:

If you have some data for your calendar, you can use it by starting from Excel, CSV, or from an existing list.
Otherwise, if all you need is a calendar, you can just start from scratch and make a “custom calendar”.
👉 Related: How to Create a List in SharePoint Online (For Beginners)
Step 2: Add your data
Let’s say you want to add some “events” here.
Simply create the right columns for your list, like:
- Changing the title to “Events”
- Add a text column for the description
- Add date columns (start and end)
I’ll go ahead and add in some data:
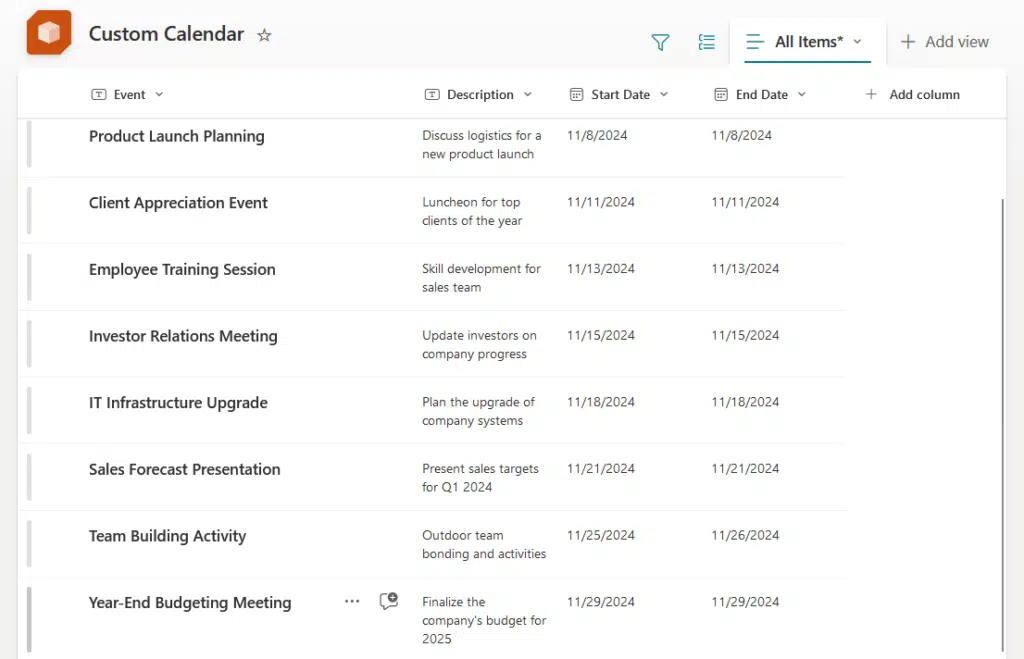
Add in any data that you want to include in your calendar.
What’s nice though is that since this is a list, you’re free to configure this later on, like add in or edit more columns.
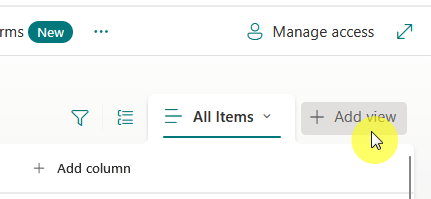
Step 3: Add a new view
Now that you have a list with your data, it’s time to actually create the view.
Click the + add view button on the upper-right corner of the list:
A small window will then appear in the middle where you can select from the list of views.
Naturally, select the calendar option, then indicate where the date columns are.
Like this:
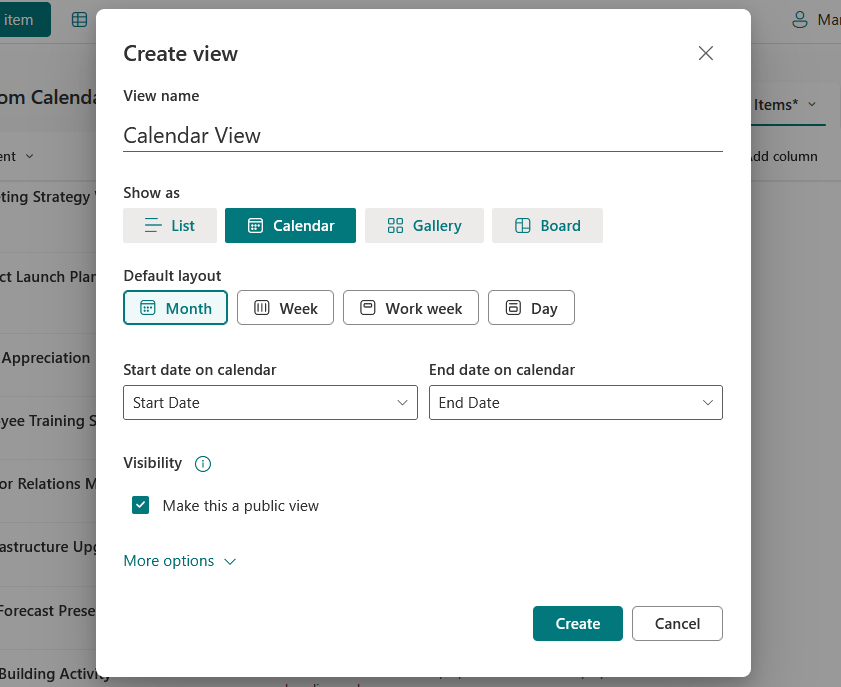
Don’t forget to select the “month” default layout if you want it to look like a usual calendar. 🙂
Nice! 🙂
Now here’s the result:
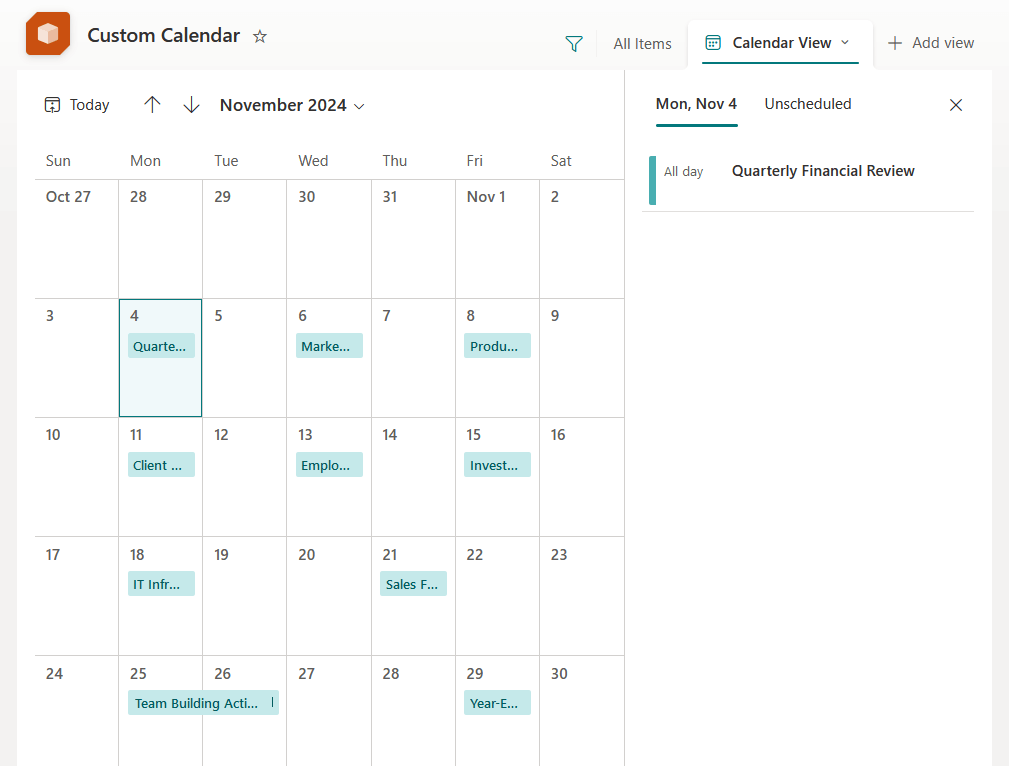
After that, you will be able to embed the list in any page using the “list” web part and then set it as the default view.
Since it’s technically viewing a list in the web part, the calendar view looks the same when viewed on a page.
Like this:

Looks awesome, right? 🙂
👉 Related: How to Create a View in a SharePoint List (Tutorial)
Other (Worse) Calendar Options
Besides what I showed you, there are actually a few “worse” calendar options.
Some of them include:
- Calendar app (classic experience look)
- Task app calendar view (classic experience look)
- Connect to other calendars
The last part can work if you want to embed a calendar, but it won’t look as native as the method I described earlier.
Do you have any questions about creating a calendar in SharePoint Online? Let me know in the comments.
For any business-related queries or concerns, contact me through the contact form. I always reply. 🙂


Too many personal preferences and comments. When someone asks How to create a Calendar in Sharepoint – Please Just give the Options that can be done and the step-by-step instructions. Having to wade through your comments is such a waste of time. This was no help at all.
Hi Regina – I appreciate your feedback. I will always add my comments and thoughts. However, I have a table of contents at the top of each post that will allow you to jump to specific sections.