

Last Updated on September 14, 2024
Want to view your data in Excel instead?
In this guide, I will walk you through different methods of exporting data from a SharePoint list to Excel.
Let’s get started.
Table of Contents:
What’s nice here is that the process is simple and quick.
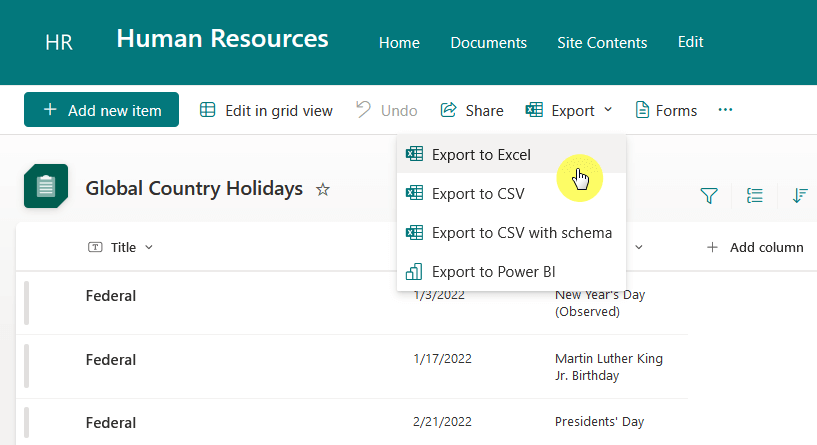
Simply access the list in the SharePoint site where it’s located, and click the export option from the command bar.
Once you click export, choose from the options available:
After choosing an option, the file download begins right away.
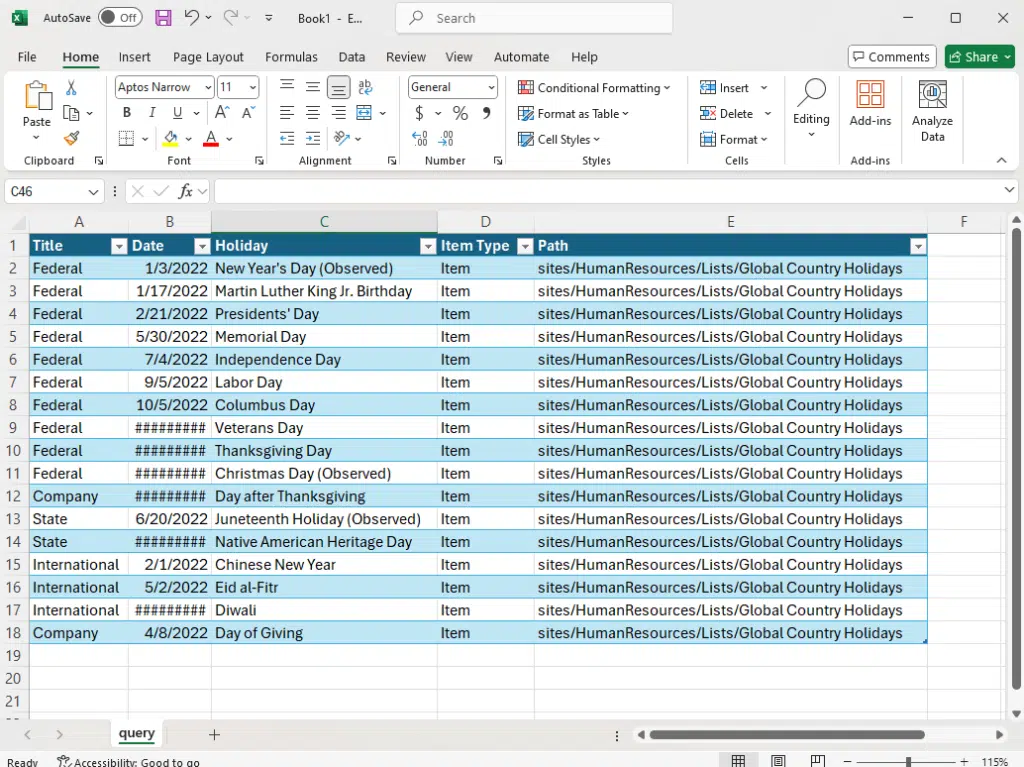
If you’ve used the Excel option, it will download a .iqy file, which Excel uses to pull data from SharePoint.
Here’s the result:
Nice! 🙂
As it’s a query file, you can refresh the data in Microsoft Excel later to reflect any updates from the SharePoint list.
👉 Related: How to Export a SharePoint Document Library to Excel
Sign up for exclusive updates, tips, and strategies
Automatic Export Process with Power Automate
If you want to schedule regular exports of your SharePoint list data to Excel or CSV, then this is the solution.
Fortunately, you can just use Copilot in Power Automate to form the foundational blocks:

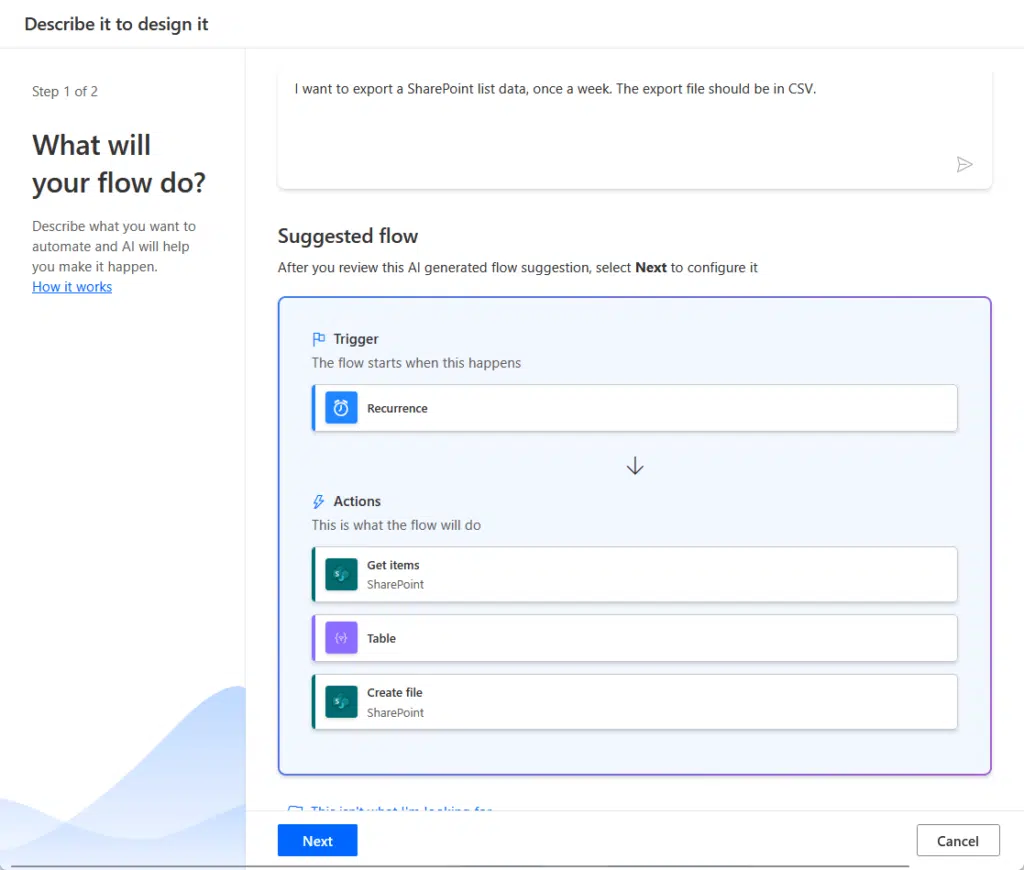
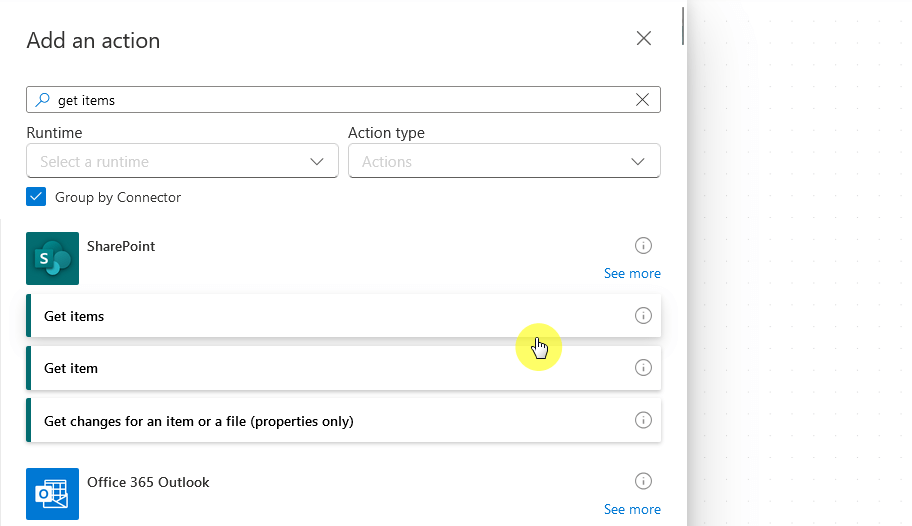
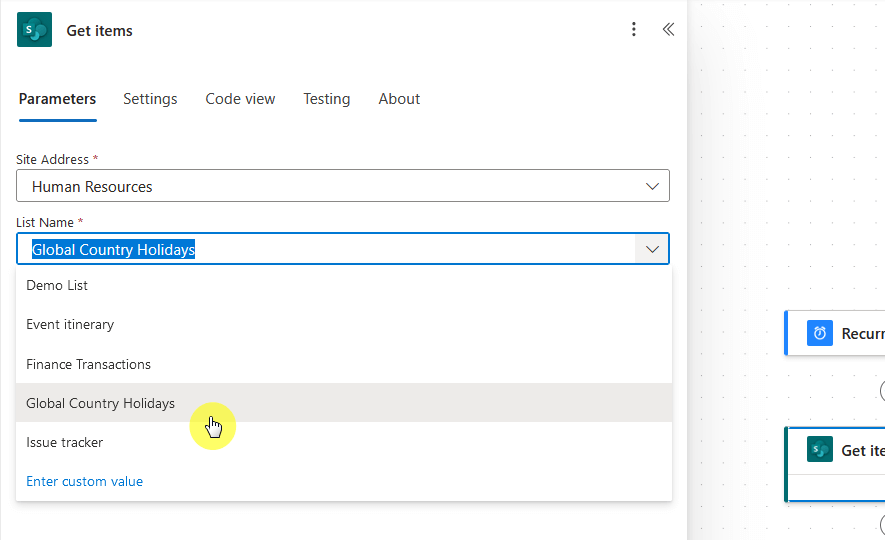
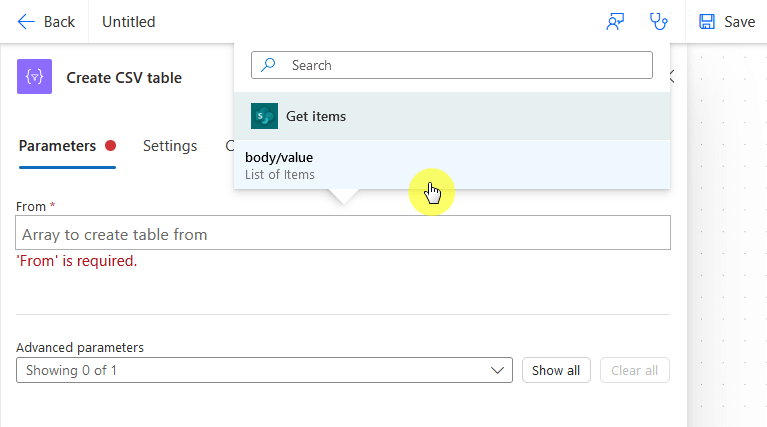
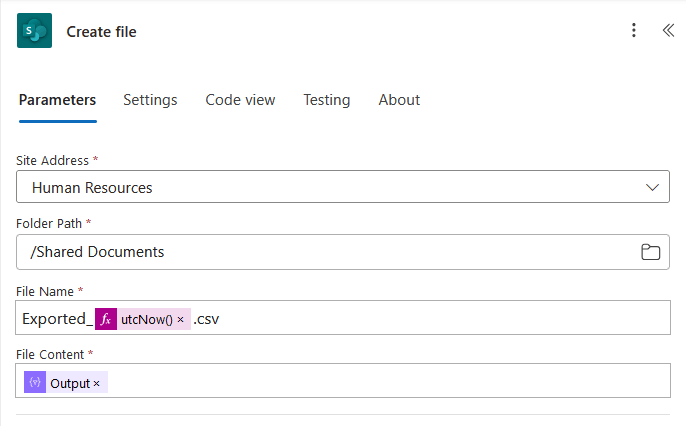
Basically, all you need to do here is to retrieve the items from the list, create a table out of it, and then create the file.
Let me show you the different parameters I used:
It’s not really that complicated especially with Power Automate laying down the basics. 🙂
All that’s left on your part is to provide the parameters and data options so the flow will work correctly.
But if you want to read more about this process, I have the guide for you, which I’ll link in the box below.
👉 Related: Power Automate: Export SharePoint List to Excel (Guide)
Well, exporting large lists can be challenging since they would likely exceed list item limits.
To handle this effectively, you may need to break down the data first into smaller batches or automate the export process.
Examples of what you can do:
- Use list filters
- Export in multiple batches (smaller views)
- Use Power Automate
Well, Power Automate would break the list into manageable parts, and you can also filter it yourself in the flow.
This is important since SharePoint has a list view threshold of 5,000 items, which can cause performance issues.
👉 Related: How to Resolve the SharePoint 5,000 Item List Limit Threshold
Differences Between Exporting to Excel and CSV
Okay, as you have seen, you have some options on how to export the data.
Both of these options are useful, but they actually serve different purposes depending on your needs.
- Excel export creates a dynamic link between Excel and the list so you can refresh the data.
- CSV is static, so it captures the data at the time of export but doesn’t update.
From that alone, it’s easy to tell that an Excel file is ideal when you need to frequently update data without re-exporting.
But a CSV file is better for one-time exports or sharing with people who don’t use Excel (they’re also smaller in size).
There’s also the fact that you need to be careful if you’re using the query file since it connects with SharePoint.
Exporting Data to Excel
Thankfully, as you’ve seen, exporting a list is a straightforward process.
Whether you choose to export manually or automate the process with Power Automate, the options are simple to follow.
Anyway, do you have questions about exporting data from a list to Excel? Let me know below.
For any business-related queries or concerns, contact me through the contact form. I always reply. 🙂


