
Last Updated on August 12, 2024
Got some tasks you want to share?
In this guide, I’ll show you how you can easily share tasks in Outlook with other users with the To-Do integration.
Let’s get started!
Table of Contents:
Microsoft Outlook and To Do Integration
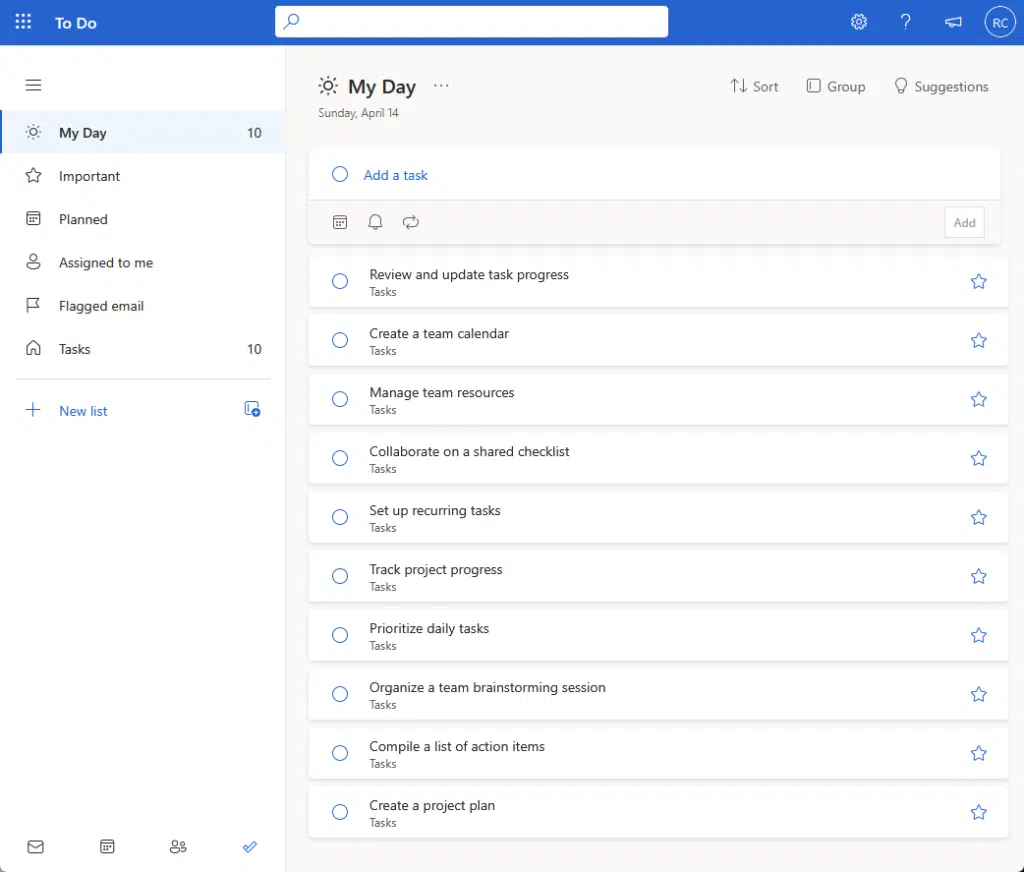
You may already be familiar with To Do from Microsoft.
It’s a lightweight task app that’s perfect for individual use and has great integration with Outlook.
This is the interface:
Whether you’re using the old or the new Outlook, you will get the To Do add-on on your Outlook quite easily.
You can also add an email directly as an event or as a task by opening the To Do pane in Outlook through drag and drop.
Best of all, you can open the To Do app right in the Outlook app itself, which is where the sharing happens. 🙂
👉 Related: Microsoft Lists vs Planner vs Todo: When to Use Each One?
Sign up for exclusive updates, tips, and strategies
Fortunately, task sharing in Outlook isn’t that hard, although you may not know about it if you’re using it for individual use.
Step 1: Create a task list and its tasks
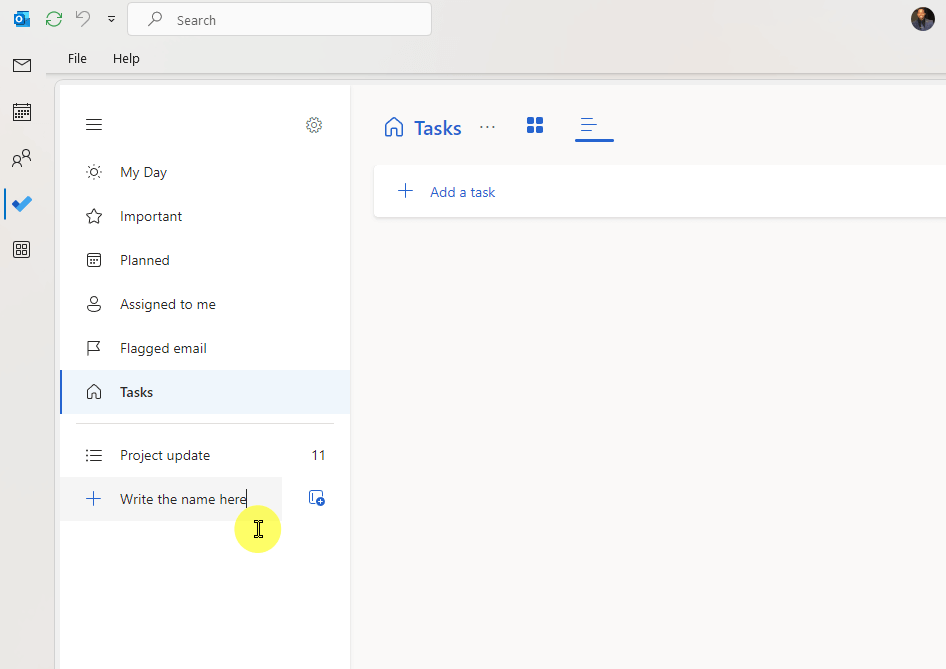
The first step here is to add a new list.
You simply enter the list’s name and hit the enter button:
You can also create groups of task lists by hitting the create group button beside the list name field.
For those who are used to simply using the general “tasks” or “planned” feature, you may not know about sharing until now.
Anyway, after creating the list, enter the tasks.
⚠️ Note: You can’t share the tasks under the default tasks folder in Outlook. When you create new lists, you create additional task folders.
Step 2: Generate an invitation link
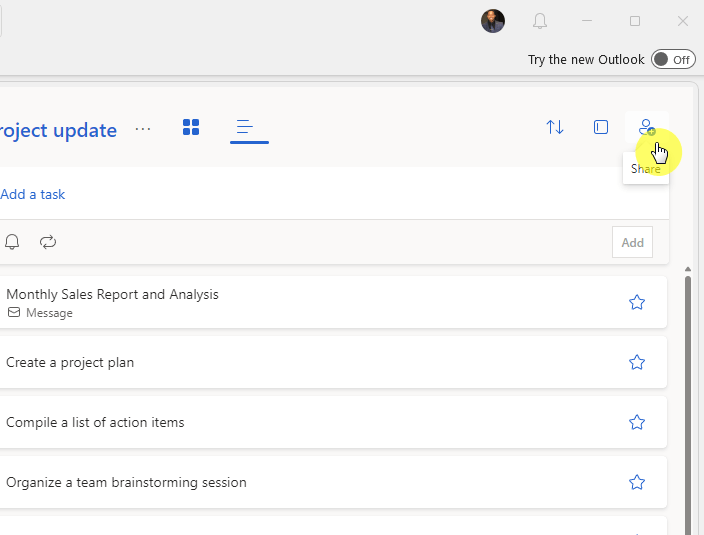
Now that you have populated the list, it’s time to share the task folder with others.
For this, click the share button in the upper right corner:
By the way, you don’t need to finish populating the list or even put a task in the list to share it. 🙂
As soon as you create a list, you can share it directly with others.
Anyway, on the new window that appears, click the create invitation link button:
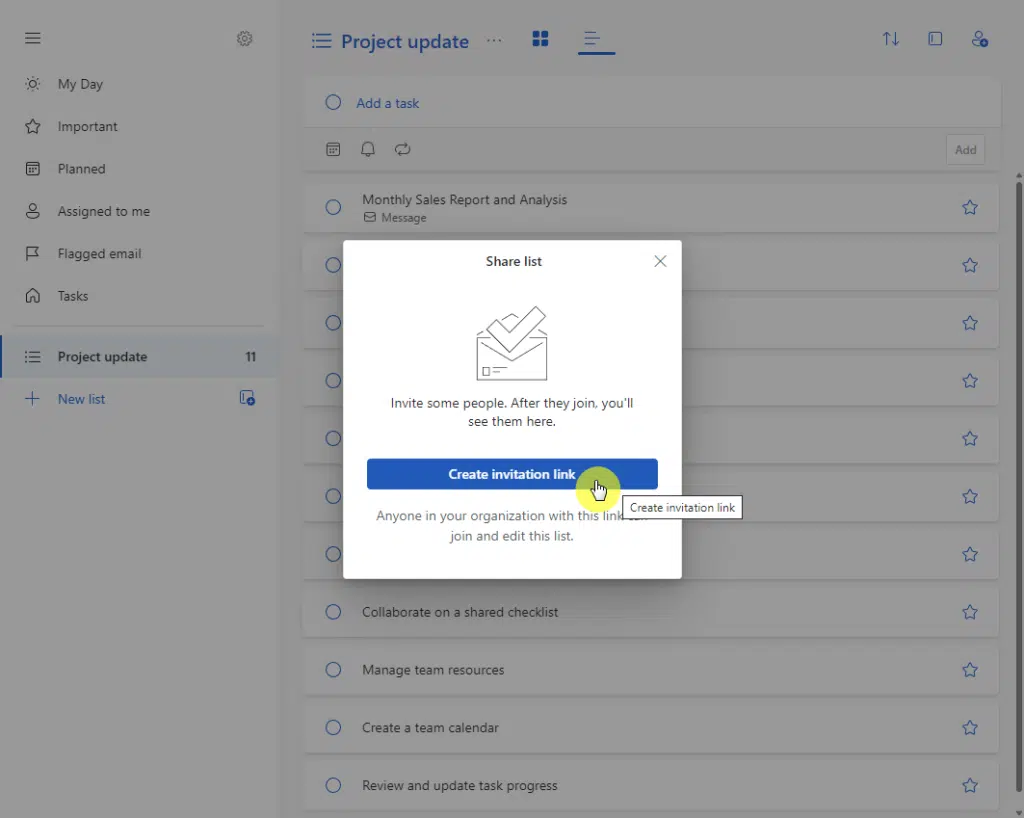
Take note that anyone in your organization with the link generated can join and edit this list. 👀
⚠️ Note: Others will be able to move the shared tasks to the recipient’s default tasks folder, a particular folder, or even multiple folders.
After that, the invitation link will appear:
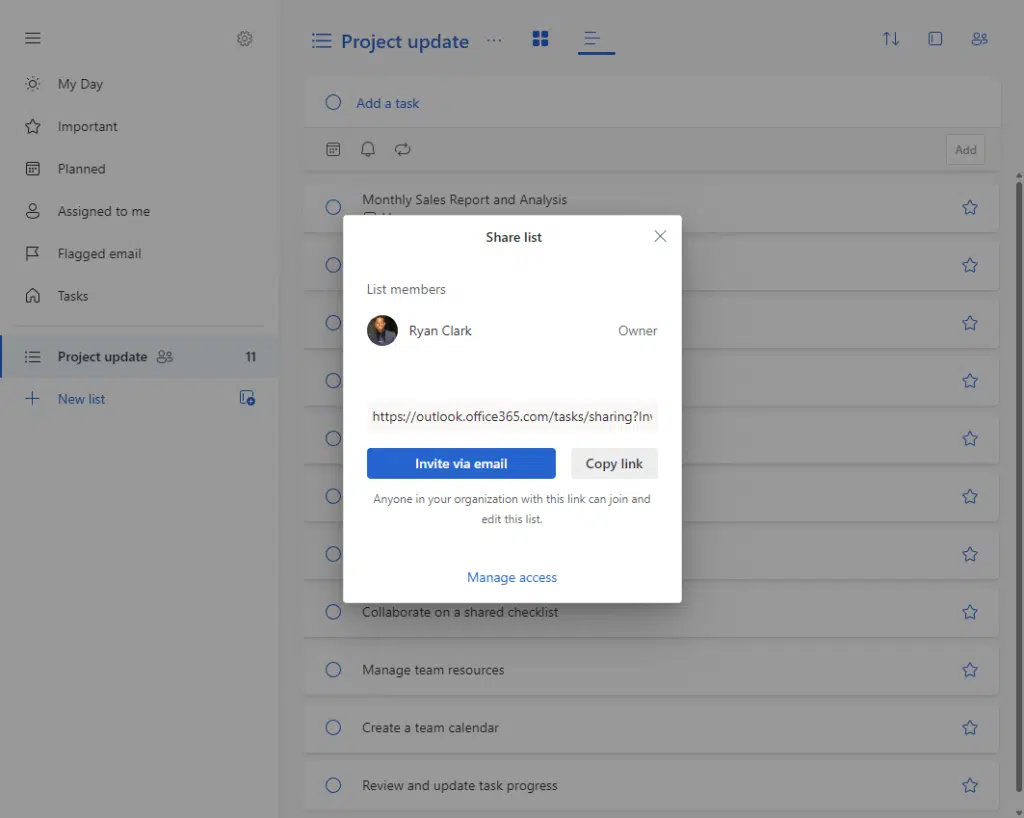
From here, you can then invite others using email or you can copy the link and then paste it on your personal messages.
When you invite via email, this will create a new email where you can enter the recipients and a sharing invitation message.
There are no custom permissions available here. But you can easily stop sharing the task folder or list right away.
Invitation Links in Microsoft
These links are unique URLs that you can send to your colleagues or team members.
Remember that they will be able to view task details, track progress, modify tasks, or move a task to their default folder.
Recipients simply click on the link to open the task in their own Outlook interface.
Got any questions about sharing tasks in Outlook? Feel free to leave a comment below.
For business inquiries and concerns, kindly reach out using the contact form here and I’ll get back to you asap.


