

Last Updated on March 19, 2024
Want to see your list in a tile view?
In this guide, you will learn how to easily set up a tile view in a SharePoint list, along with the JSON that you need.
Let’s get started!
Table of Contents:
What is a tile view?
As the name suggests, it’s a way to display content from a list format into a grid of tiles.
It has been available for document libraries for quite some time but only recently (2019) for lists.
There are a few benefits to it when applied to lists:
- Improve the user interface
- Improves the accessibility and interaction
- Create a dashboard-like experience
But the problem here is that despite being available for lists, you have to build the view yourself (not pre-built).
Each tile can be customized with JSON formatting and display information in a more engaging way.
Sign up for exclusive updates, tips, and strategies
Fortunately, the JSON you need to start isn’t that hard.
Here are the steps to get started:
Step 1: Build the list first
Naturally, it makes sense to build the list first.
For this guide, I created another list as an example:
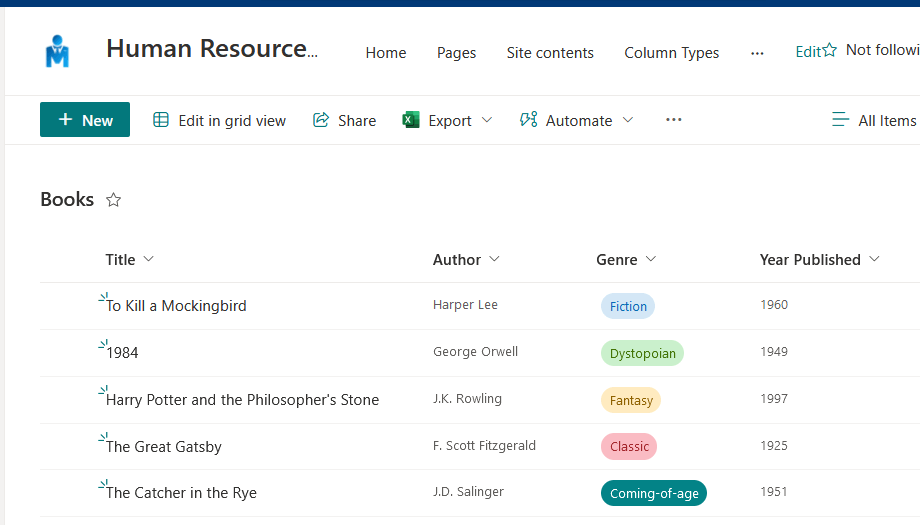
Proceed with the next part.
Step 2: Format current view
Follow these steps:
- Click the view button
- Select format current view
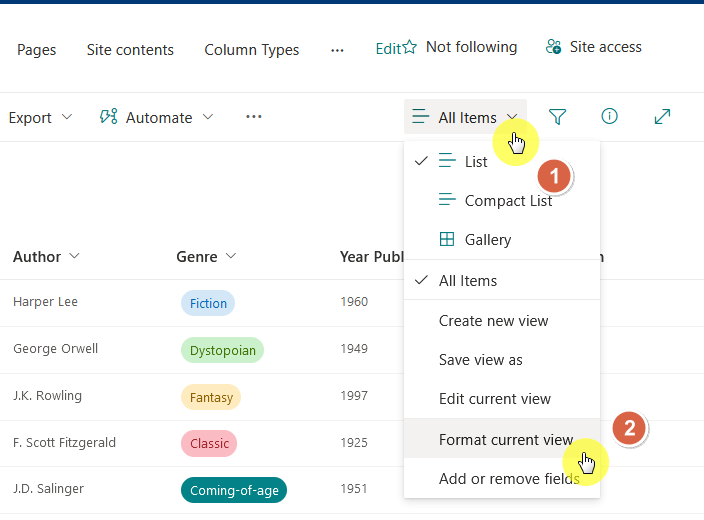
This will open the format view pane of the default view on the right.
Click the advanced mode button at the bottom of the panel.

This will allow you to add JSON.
Step 3: Add JSON
On the field provided, enter the JSON script.
Simply copy and paste the following:
{
  "schema": "https://developer.microsoft.com/json-schemas/sp/view-formatting.schema.json",
  "hideColumnHeader": true,
  "hideSelection": true,
  "tileProps": {
    "width": "200",
    "height": "160",
    "formatter": {
      "elmType": "div",
      "attributes": {
        "class": "ms-bgColor-themeDark ms-fontColor-white"
      },
      "style": {
        "display": "flex",
        "align-items": "center",
        "justify-content": "center",
        "flex-direction": "column",
        "width": "200px",
        "height": "160px",
        "margin": "5px",
        "border-radius": "10px",
        "box-shadow": "0px 0px 6px rgba(0,0,0,0.3)"
      },
      "children": [
        {
          "elmType": "span",
          "style": {
            "font-size": "16px",
            "font-weight": "bold",
            "padding": "5px"
          },
          "txtContent": "[$Title]"
        },
        {
          "elmType": "img",
          "attributes": {
            "src": "[email protected]",
            "class": "sp-field-quickView"
          },
          "style": {
            "max-width": "100%",
            "border-radius": "5px"
          }
        }
      ]
    }
  }
}Disclaimer: The JSON script above is inspired by this script written by Joao Ferreira.
Click the save button and the view will be available.
Here’s what it looks like now:
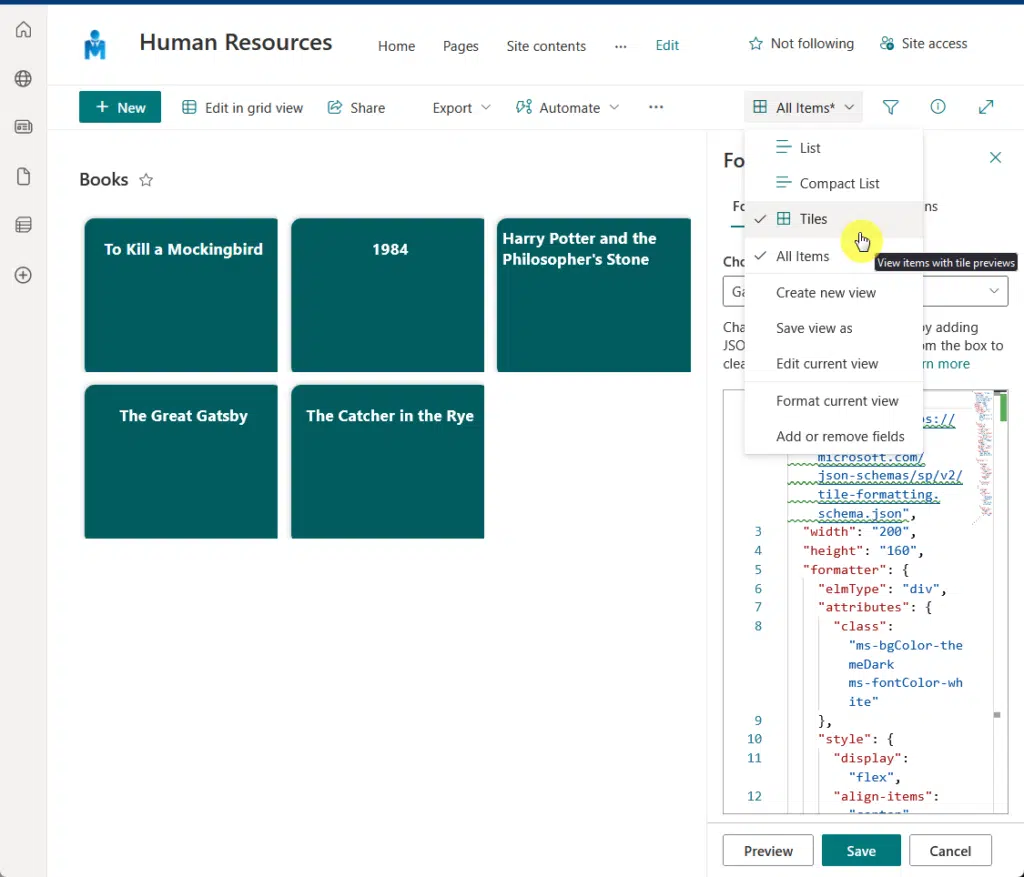
From here, you can then customize it even further so it would look better and fit what you have in mind.
However, I’ve got a question for you:
Do you really need the tile view?
The reason I’m asking is because lists now have a prebuilt “gallery” view that builds upon the tile view.
If you ask me, it looks even better than the tiles view and you can also customize it even further.
Here are 2 examples of what the gallery view looks like:
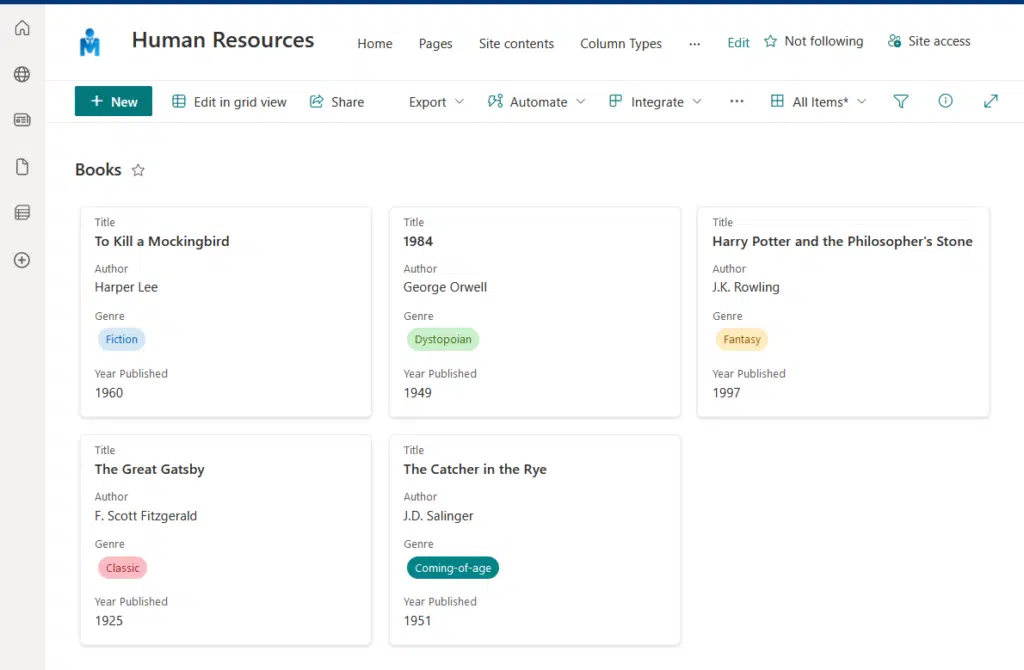
Well, I’ll let you be the judge of that. 🙂
Got any questions about creating a tile view for a SharePoint Online list? Just leave a comment below.
For any business-related questions or concerns, kindly reach out using the contact form here. I’ll reply asap. 🙂


Hi Mr. SharePoint, I kind of disagree with you on the need for a title view. I think you should always have a title view. That doesn’t mean that the view has to be galleries or tiles. As a matter of fact you may have just solved another issue I was having related to the Titles not supporting complex structures. Title views should necessarily have to be restricted to only using the Title column, correct? Using JSON, I should be able to have the Title view leverage any column in the view. I’m going to test that theory soon. Much… Read more »
thank you – this was great!