

Last Updated on January 5, 2024
Are you new to SharePoint? Feeling overwhelmed?
In this guide, I will share some essential tips and tricks to help you navigate, manage documents, and many more.
Let’s get started.
Table of Contents:
- What makes SharePoint special?
- SharePoint Tips for Beginners
- Using SharePoint as a Beginner
Microsoft SharePoint stands out for its comprehensive collaboration, document management, and integration with other Microsoft products.
Its customization and scalability suit various business sizes and needs.
Additionally, SharePoint’s strong security features ensure data protection and compliance with industry standards.
The advanced search function and extensive community support further enhance its value as a tool for enterprise content management.
Related: Introductory Guide: SharePoint Online Modern Experience
Sign up for exclusive updates, tips, and strategies
As promised, I will now share with you important tips that can help you use SharePoint more effectively, even if you’re a beginner:
Navigating SharePoint efficiently is key to using its full potential for document management and collaboration.
For beginners, understanding the interface is the first step in utilizing this powerful tool effectively.
Here are three crucial aspects to focus on:
1. Understand the Start Page Layout
The SharePoint start page serves as your starting point.
It typically displays a list of sites you’re following, recent documents, and links to create new SharePoint sites.
Here’s an overall look at the start page:
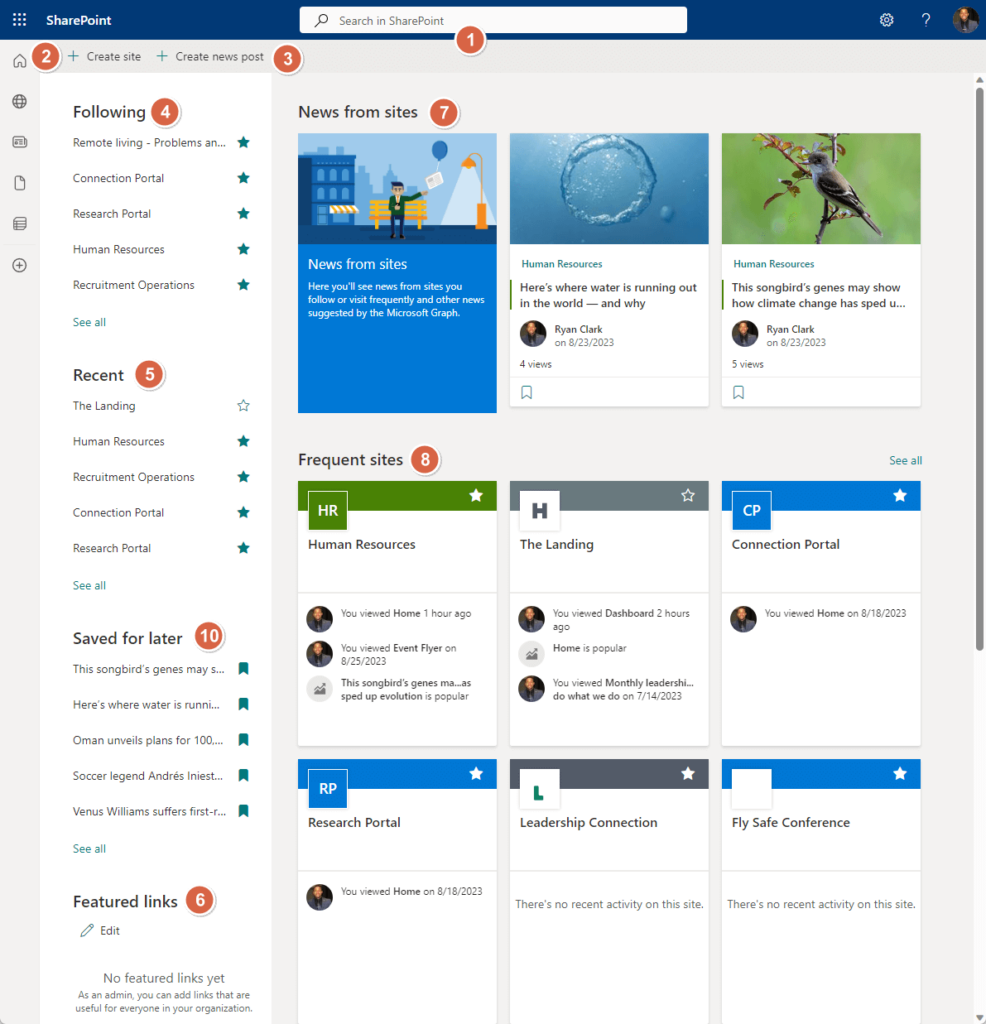
Note: The numbers on the image above represent the different components of the start page. The related article below explains each component.
Spend time exploring this start page.
Notice how it organizes information into different sections and how you can access your most frequented sites and documents quickly.
This familiarity will significantly enhance your navigation efficiency.
Related: SharePoint Start Page: The Ultimate Guide for Newbies
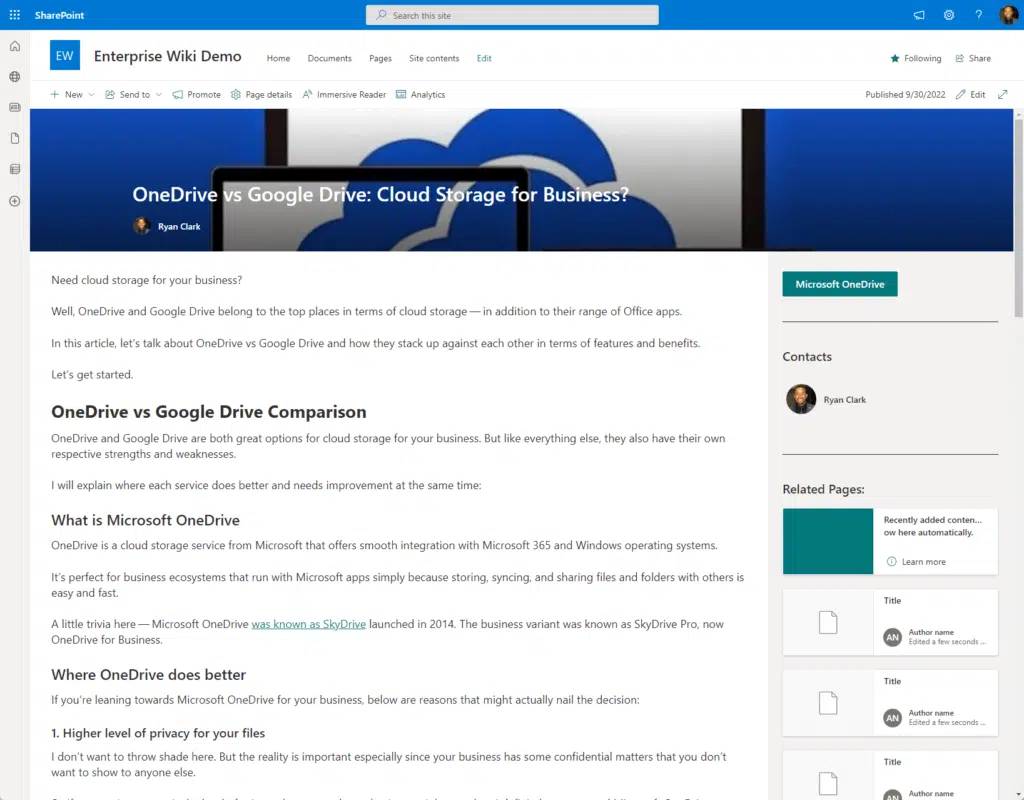
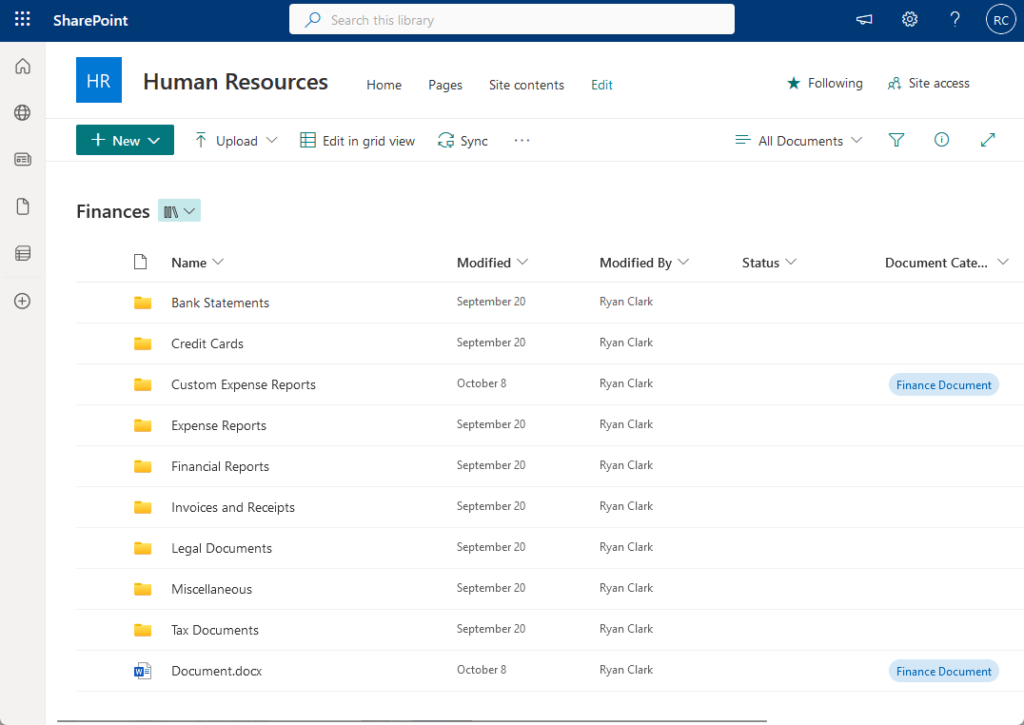
Document libraries are a central feature in SharePoint — where your documents are stored, shared, and managed.
Here’s an example of a document library:
Get to know how to navigate these libraries:
- Learn how to open a document
- Upload new files
- Understand the folder structure
Familiarize yourself with the library’s toolbar, where you can find options to share, sync, download, and add new SharePoint files or folders.
Related: SharePoint Document Library Types: Differences Between Them
3. Use the Search Function
The search function in SharePoint is a powerful feature.

It helps you quickly find documents, any SharePoint site, or any piece of information within your organization’s SharePoint environment.
Learn how to use the search bar effectively:
- How to type in keywords and phrases
- How to filter and refine your search results for more precise findings
Related: Search Guide: SharePoint Search Tips and Tricks Overview
Tip #2: Use Libraries to Centralize File Management
Document libraries in SharePoint are essential for effective and centralized file management.
They allow for organized storage, easy access, and collaborative work on documents.
Here are two key strategies to effectively utilize document libraries in SharePoint:
1. Organize Files with a Clear Structure
The first step in maximizing the use of document libraries is to establish a clear and intuitive structure.
This involves creating folders and subfolders that reflect the nature of your projects or departments.
For example, you can have separate folders for different projects, each containing subfolders for reports, presentations, and other related documents.
This structure makes it easy for users to navigate and find documents quickly.
Related: SharePoint Folders vs Metadata (Comparison and Differences)
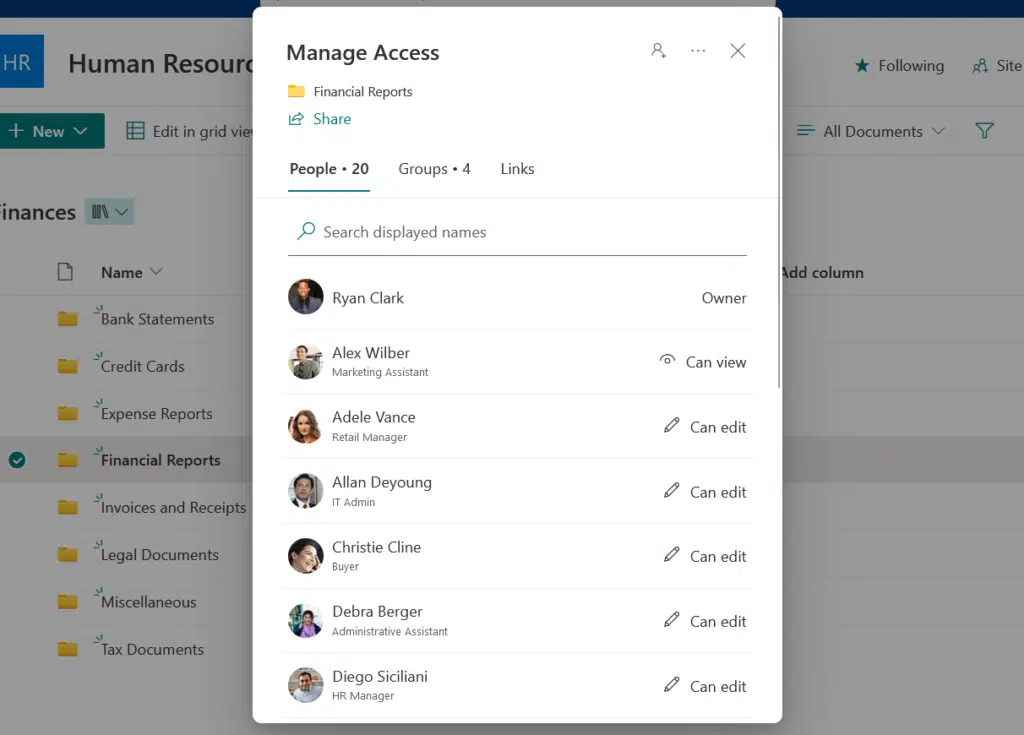
2. Manage Permissions for Controlled Access
SharePoint allows you to set different permission levels for each document library, folder, or even individual files.
This feature is crucial for controlling who can view, edit, or share your organization’s documents.
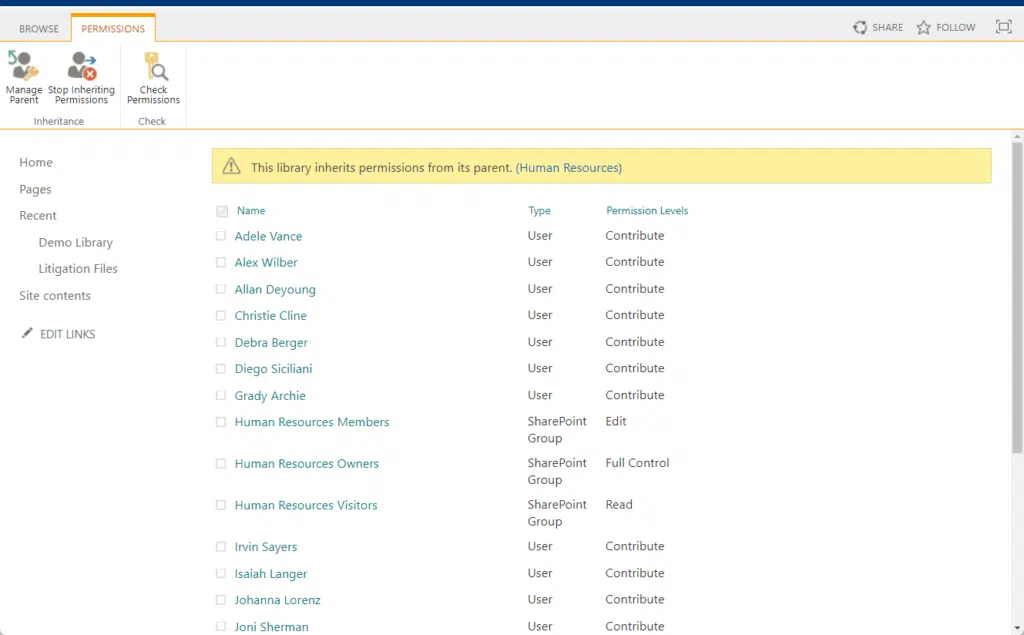
Take the time to understand and set up these permissions (including site permissions) appropriately.
It ensures that sensitive information is accessible only to authorized personnel, thereby enhancing data security and compliance.
Related: Beginner’s Guide to SharePoint Library Settings (Overview)
Tip #3: Take Advantage of Version Control
Version control in SharePoint is a powerful feature for tracking changes and managing updates to documents.
It’s an essential tool for maintaining document integrity, especially in environments where multiple users collaborate on the same documents.
Here are three vital aspects of using version control effectively in SharePoint Online:
1. Enable Versioning in Document Libraries
The first step is to enable versioning in your document libraries, especially older ones.
That’s because versioning is not turned on by default on classic libraries and lists.
Minor versioning is also disabled by default on document libraries.
To activate it:
- Go to the library settings
- Find the versioning settings option
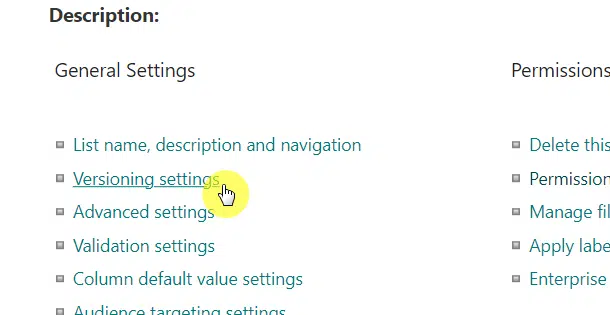
Here, you can choose to keep a history of document versions, either major versions only or both major and minor (draft) versions.
Enabling version control allows you to track who made changes, what changes were made, and when they were made.
Related: Major Version vs Minor Version: SharePoint Online Versions
2. Utilize the Version History Feature
Once versioning is enabled, you can access the version history of any document.
This is done by selecting the document in the library and then choosing the version history option.
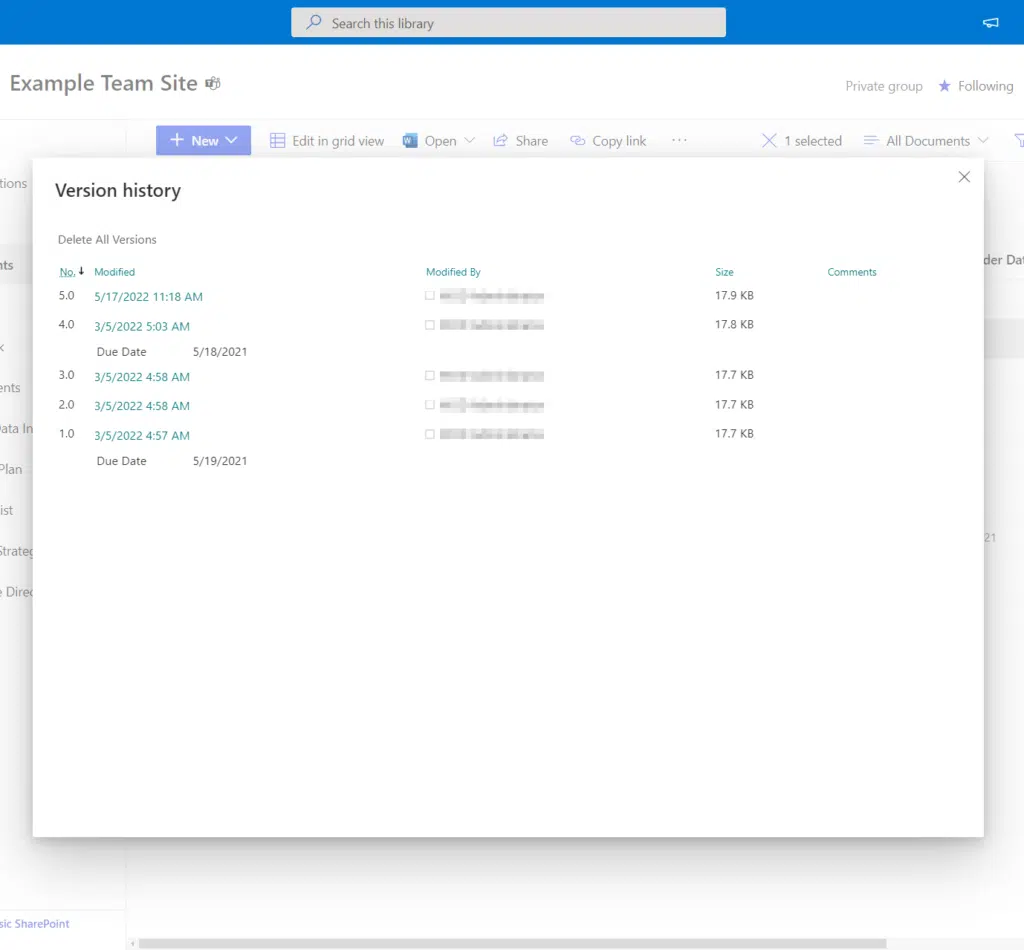
This feature displays a list of all the versions of the document, including the date of the change and the name of the user who made it.
You can view previous versions, compare them, and if necessary, restore an older version of the document.
Related: SharePoint Version Control: The Strongest Feature?
3. Manage Document Collaboration Efficiently
Version control is particularly useful in collaborative scenarios where multiple team members are working on the same document.
It helps prevent conflicts and data loss that can occur when multiple edits are made simultaneously.
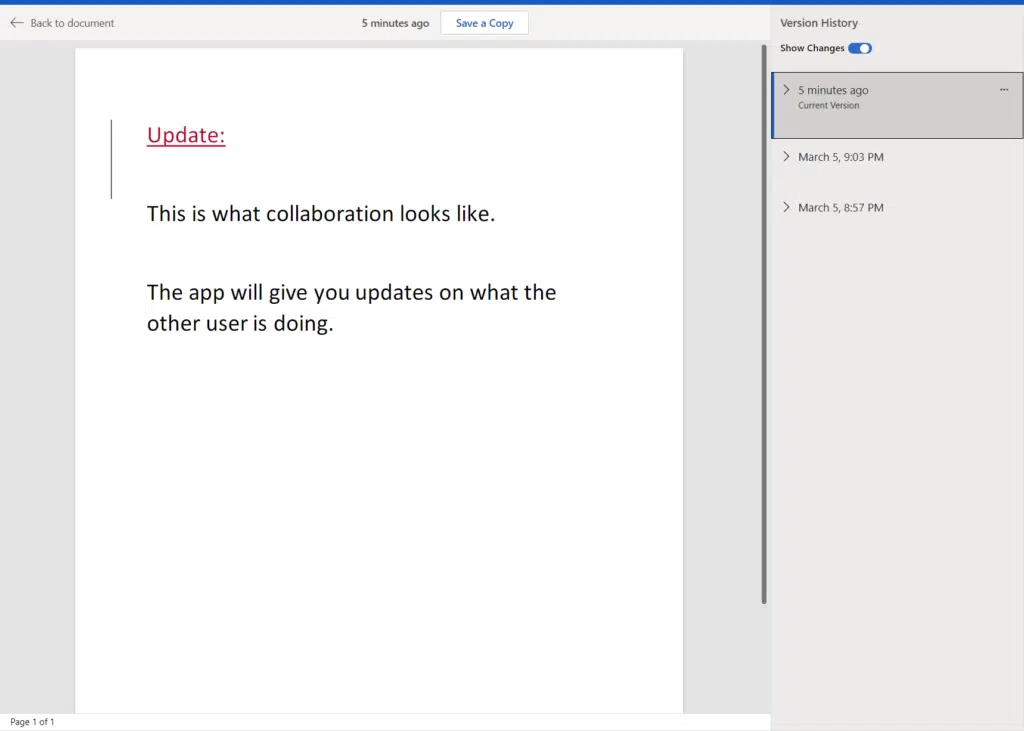
By tracking each version, team members can see the progression of changes, understand the context of each edit, and collaborate more effectively.
This feature also enhances accountability, as each edit is associated with a specific user.
Note: Some collaboration features are only available on SharePoint team sites (communication sites serve a different purpose).
Tip #4: Set Up Alerts to Stay Informed
Alerts can help you keep track of modifications in documents, libraries, and other areas, so you’re always up-to-date with the latest developments.
Here’s how to effectively set up and use SharePoint alerts:
1. Configure Alerts for Specific Documents or Libraries
You can set up alerts for specific documents, SharePoint lists, or entire libraries.
This is particularly useful if you need to be notified about changes or updates to critical documents or areas of a project.
To set up an alert, navigate to the document or SharePoint library and select the ‘Alert Me’ option.
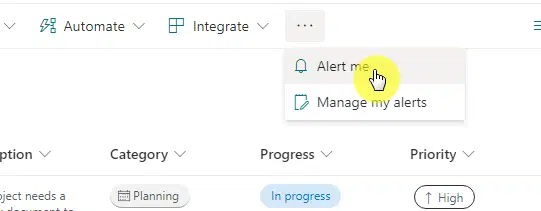
From there, you can customize the alert settings:
- The type of changes you want to be notified about
- How often you want to receive these notifications
Related: How to Create SharePoint List Email Notification Alerts
2. Tailor Alert Settings for Personalized Notifications
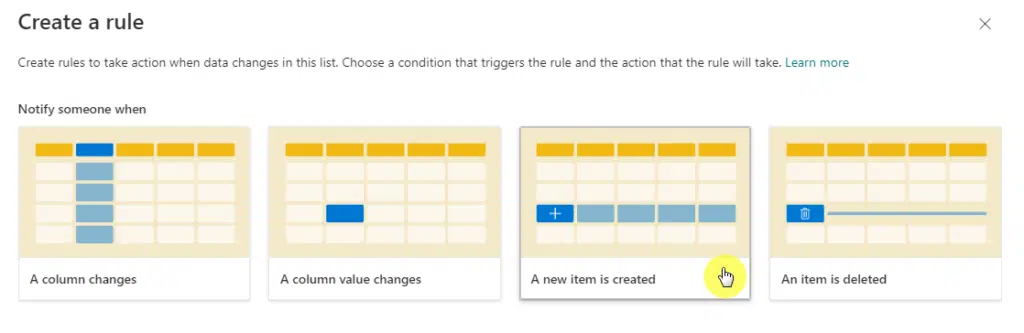
SharePoint allows you to tailor alert settings according to your preferences.
You can choose to receive alerts for all changes, new items, modifications, deletions, or even when someone changes an item that appears in a particular view.

Additionally, you can decide whether to receive these alerts as email messages or text messages (if your SharePoint setup supports SMS alerts).
Personalizing these settings ensures that you receive notifications that are relevant to your work and interests.
Related: How to Set Up Sharepoint Email Notification Alerts
3. Use Alerts to Enhance Team Collaboration
Alerts are not just beneficial for individual tracking but are also a great tool for enhancing team collaboration.
By setting up alerts, team members can stay informed about each other’s contributions and updates.
This fosters a collaborative environment where everyone is aware of ongoing changes and progress.
Encourage your team members to set up alerts for shared documents and libraries to maintain a high level of awareness and engagement.
Tip #5: Set Permissions Carefully
In SharePoint, managing permissions is critical for maintaining the security and confidentiality of sensitive content.
Setting permissions ensures that only authorized individuals can access, edit, or share specific documents and sites.
Here’s how to approach permission management in SharePoint effectively:
Before setting permissions, it’s important to understand the different permission levels available in SharePoint.
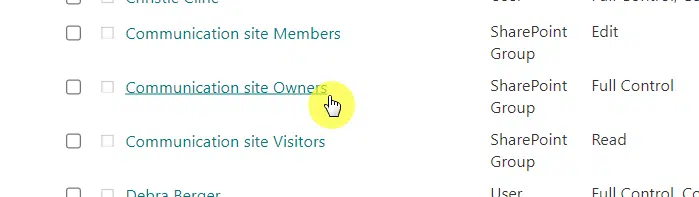
These range from full control to read-only access — all grouped into three categories:
- Visitors
- Members
- Owners
There are also custom permission levels that can be created to suit specific needs.
Familiarize yourself with these levels to determine which is appropriate for different users and groups within your organization.
Related: SharePoint Permissions Explained: How Permission Levels Work
2. Assign Permissions to Groups, Not Individuals
When managing access, it’s more efficient and manageable to assign permissions to groups rather than individual users.
This approach simplifies the permission management process, especially in large organizations.
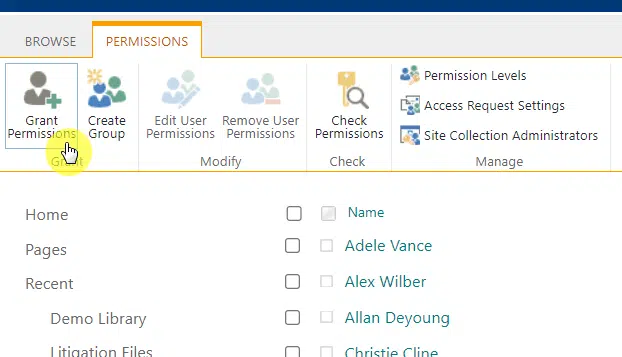
Create groups based on departments, project teams, or roles, and assign the appropriate permission levels to these groups.
When a new member joins a team, you can simply add them to the relevant group to grant them the necessary access.
3. Regularly Review and Update Permissions
Permissions should not be set once and forgotten.
It’s crucial to regularly review and update permissions to ensure they align with current roles and responsibilities.
This is especially important when team members change roles, leave the company, or when new projects start.
Regular reviews help prevent unauthorized access and maintain the security of sensitive information.
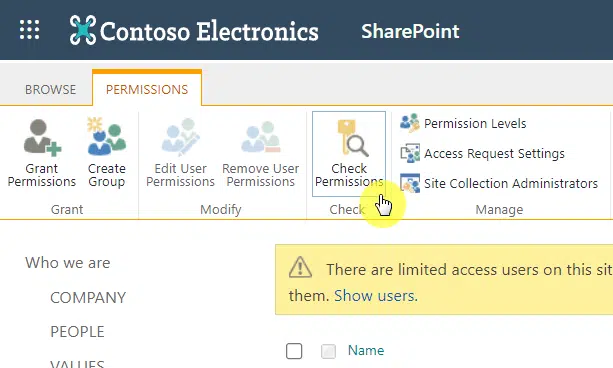
Related: How to Check User Permissions in SharePoint Online (Guide)
Automating business processes using SharePoint workflows is a powerful way to increase efficiency and reduce manual tasks.
SharePoint workflows can automate processes like document approvals, notifications, and custom business logic, streamlining the way your team works.
Here are key points to understand and implement SharePoint workflows effectively:
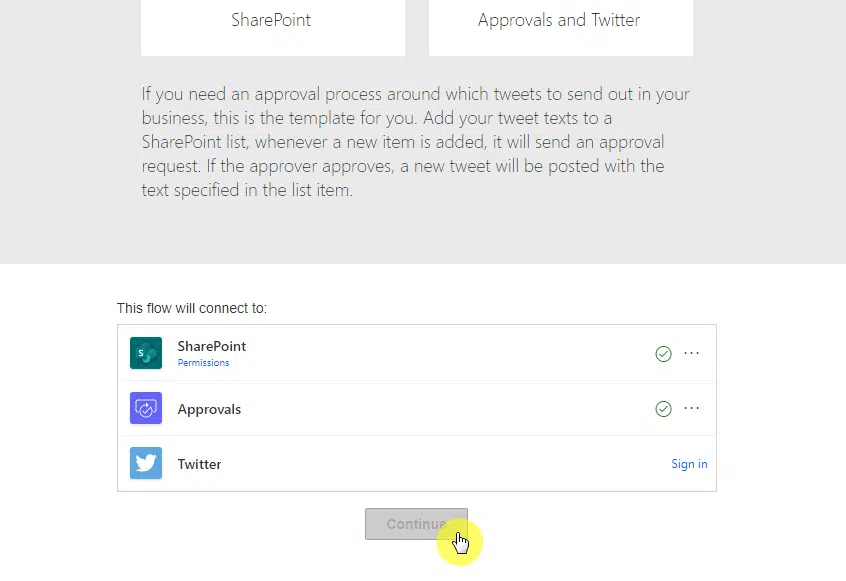
SharePoint offers several out-of-the-box workflows that cater to common business processes, like approval workflows, feedback collection, and more.
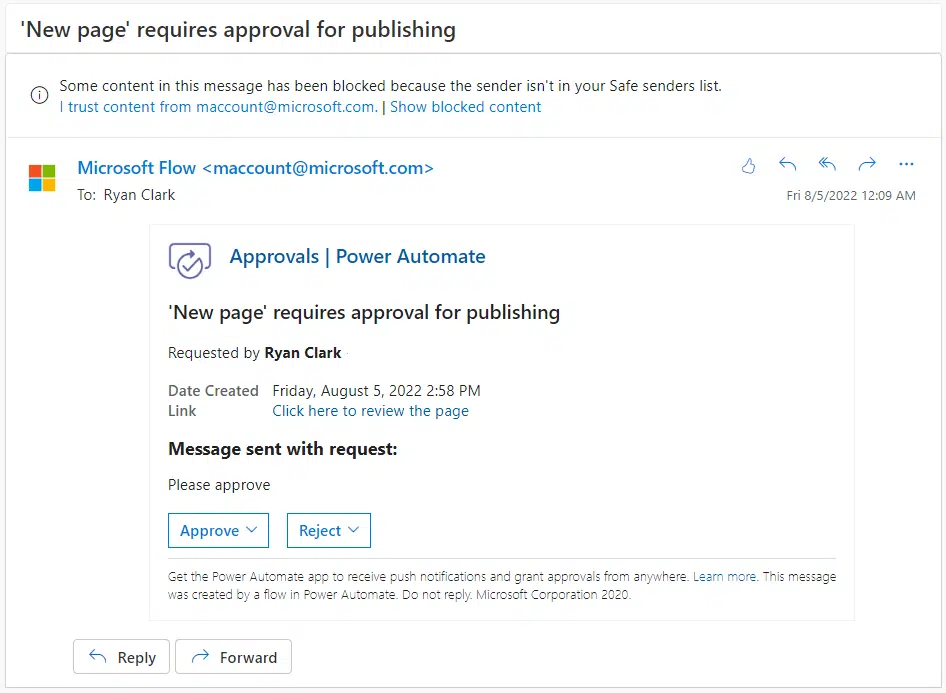
Besides these, SharePoint also allows you to create custom workflows using Microsoft Power Automate.
Understanding the different types of workflows and their purposes is crucial to identifying which workflow suits your business needs.
Related: How to Streamline Business Processes With Power Automate
2. Design Workflows for Common Business Scenarios
Identify repetitive or time-consuming tasks within your team or organization that can be automated.
Common scenarios include document review and approval processes, onboarding procedures, or incident reporting.
By automating these processes, you can ensure consistency, reduce errors, and free up valuable time for your team.
3. Implement and Test Your Workflows
Once you have identified the processes to automate, use Power Automate to create your workflows.
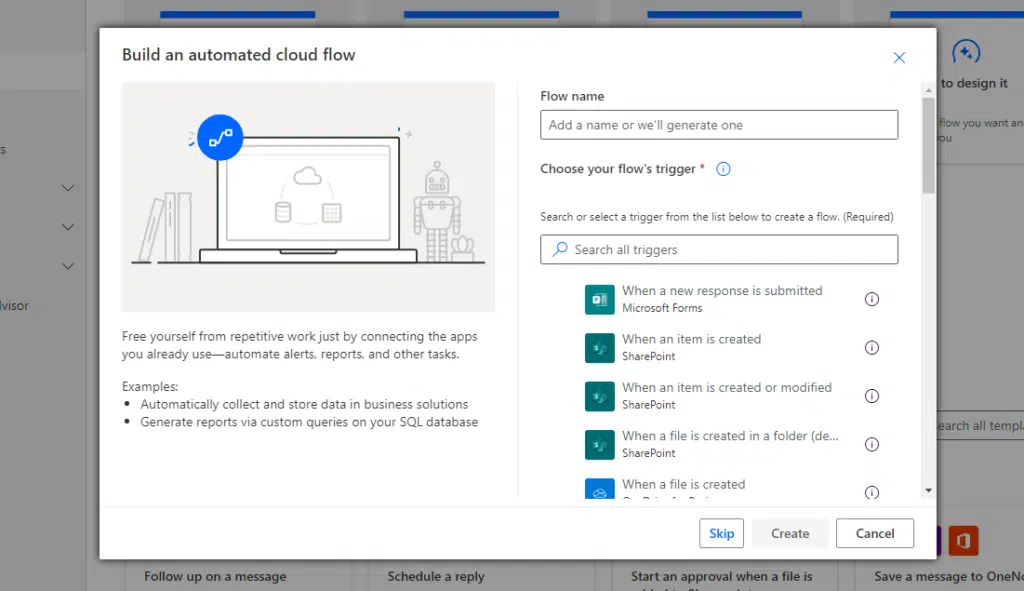
This tool provides a user-friendly interface to design workflows without needing extensive programming knowledge.
After setting up a workflow, it’s important to test it thoroughly to ensure it operates as expected and addresses the needs of your process.
SharePoint can be as exciting as it is transformative for your work life.
Every expert was once a beginner, and SharePoint is designed with your growth in mind
Still have questions or need clarification on any SharePoint features? Don’t hesitate to leave a comment below.
For more personalized guidance and business inquiries, feel free to reach out through my contact page.


