

Last Updated on August 26, 2023
Finding a way to keep your worksheets and Excel files safe?
In this article, I will show you how to protect your worksheet in Excel, undo the protection, and protect the whole file — step-by-step.
Let’s get started.
Table of Contents:
How to protect Excel sheet
Did you know that there is a button you can click right inside the ribbon to protect your sheet?
Open the Excel file with the worksheet you want to protect and make sure you’re inside that worksheet.
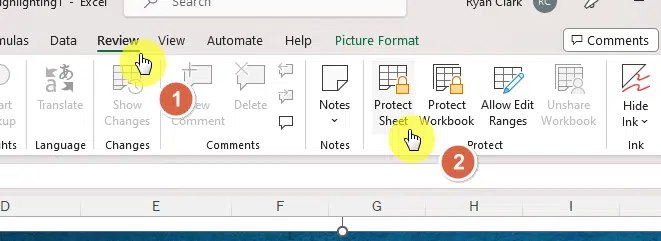
Go to the review tab and click protect sheet:
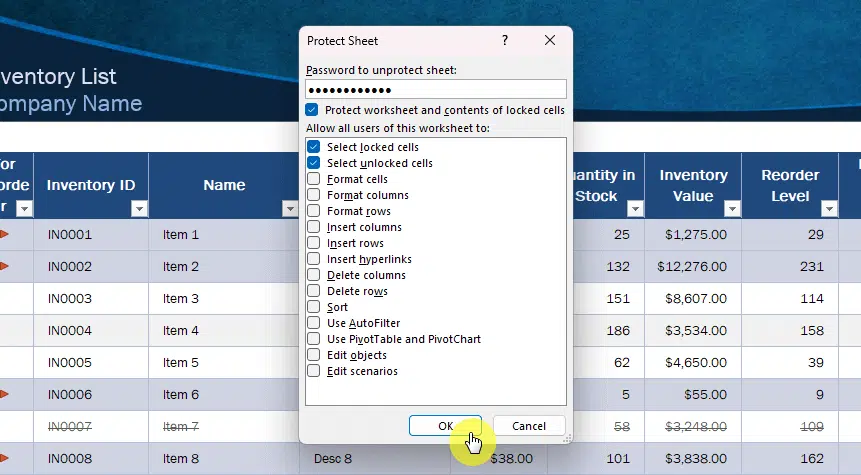
This will open a dialog box that enables you to lock your Excel spreadsheet.
There are two sections in this box:
- Password field
- What users can do with the worksheet
The first one is where you enter your desired password to protect the worksheet.
If you leave this part blank, the user can simply click on a button to unprotect the sheet if he/she wants to do more with what’s allowed.
The second part is where you specify the allowable actions before the user or anyone has to unprotect the sheet.
By default, this is set to allow all users to:
- Select locked cells
- Select unlocked cells
If you want to add more, simply select that action and click on the ok button:
Note: If you entered a password in the box, you will need to reenter it to proceed.
You now have a protection by locking a sheet in Excel.
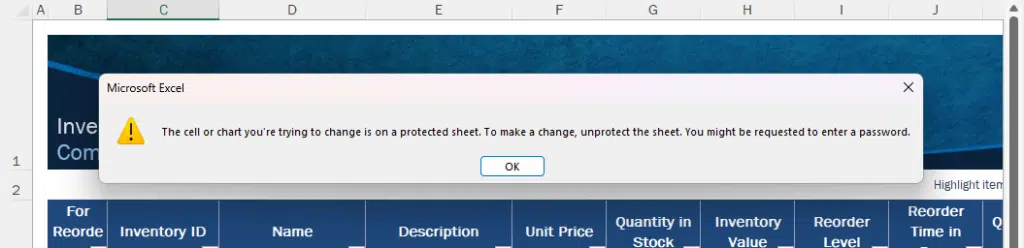
When a user tries to edit or modify the worksheet, a dialog box will appear prompting the user to unprotect the sheet.
Sign up for exclusive updates, tips, and strategies
How to undo the sheet password protect
Protecting the sheet is a good way of avoiding accidental edits.
But can a user undo the sheet protection?
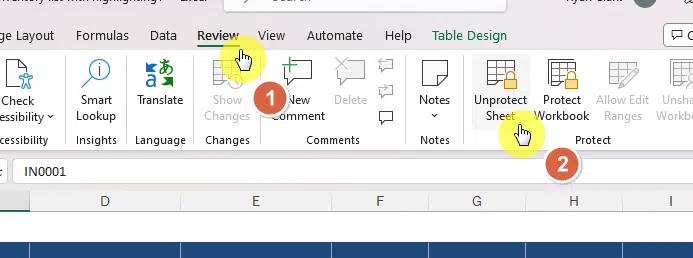
The most obvious answer is the same place where the protect sheet button is located:
Another dialog box for unprotecting the sheet appears.
Enter the password and click the ok button:
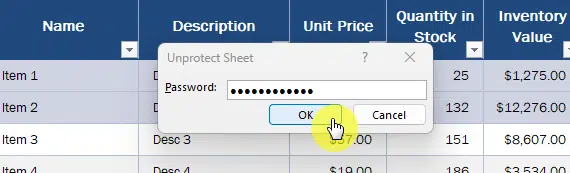
Note: If you didn’t set any password, then the user can proceed to click the ok button.
Right after that, the sheet will be open for modification and the button will return to protect the sheet.
Besides the review tab in the ribbon, you can also find the unprotect option when you right-click on the worksheet tab:
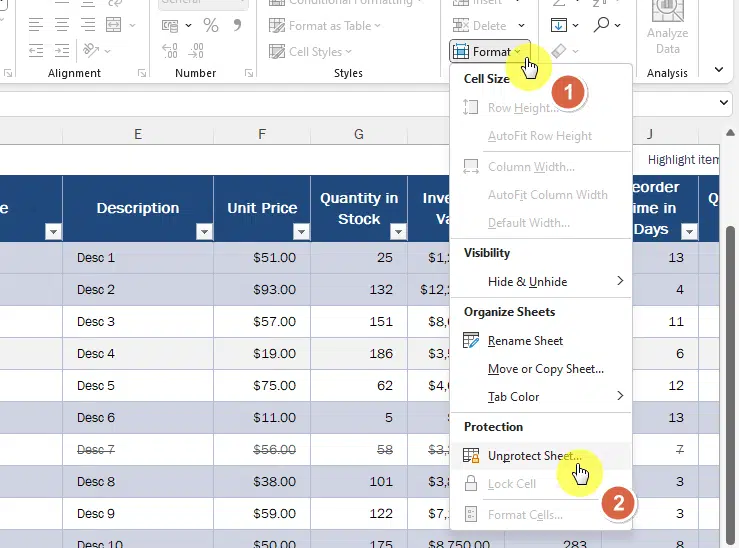
If you’re in the home tab in the ribbon, you don’t need to go far from there.
Just click the format button > unprotect sheet:
How to protect the Excel workbook structure
But what if you want to lock the workbook structure?
This means the users won’t be able to add, delete, rename, and move worksheets.
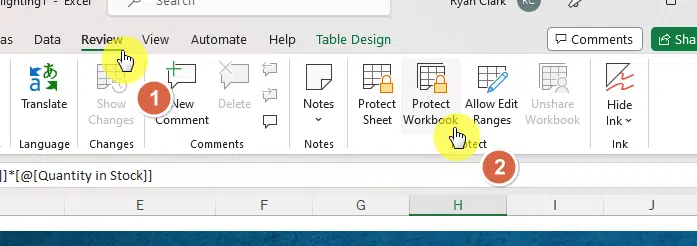
The option is also found in the review tab > protect workbook:
This will again bring a small window with two sections:
- Password field
- Protect workbook for
The structure option refers to the workbook structure — users won’t be able to configure the sheets and view hidden worksheets.
The windows option is greyed out by default since all workbooks from Excel 2013 up have their own top-level window already.
In any case, right after you enter a password (optional), click on the ok button:
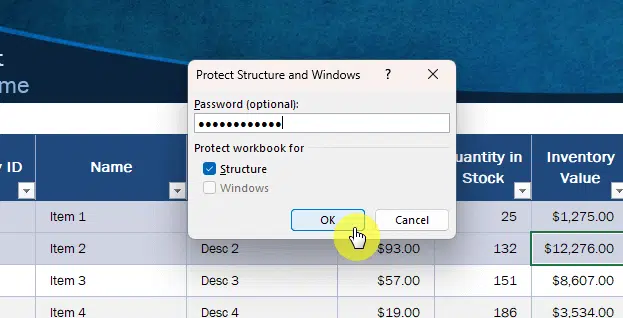
Once again, reenter the password and click on the ok button.
When the workbook structure protection is live, you won’t see any difference in the worksheets.
You and any users will be able to edit the contents on the worksheet unless you have enabled the protect sheet feature.
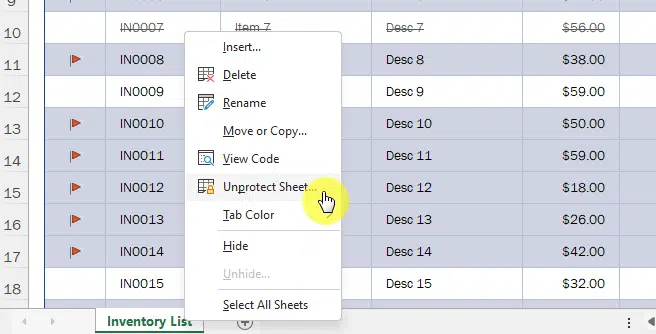
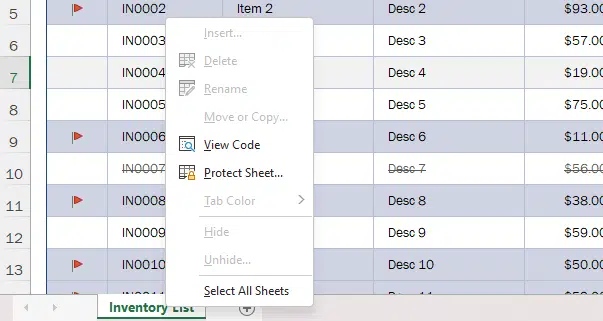
However, you and the users won’t be able to add/delete/rename sheets, even if you right-click on the current sheet tab:
If you want to undo this feature, all you have to do is click on the protect workbook button again from the ribbon.
Once again, enter the password or directly click the ok button if you left the password field earlier as blank.
How to prevent others from opening the Excel file
But what if you want to restrict access to the file?
Unfortunately, the protect workbook feature earlier is only for protecting the structure. The contents are still fair play.
If you want to completely prevent others from even opening the file, go to the file tab first from the ribbon:
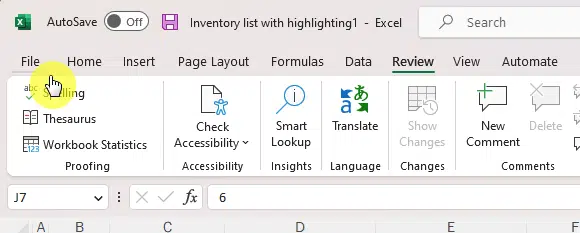
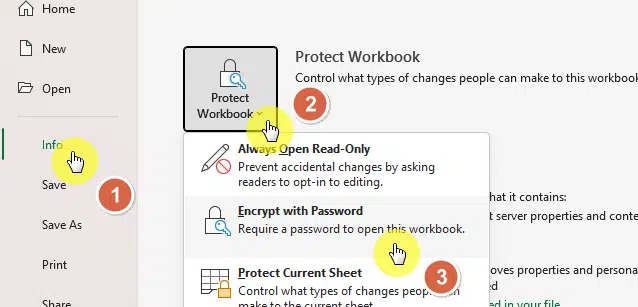
On the file tab, navigate toward the info page.
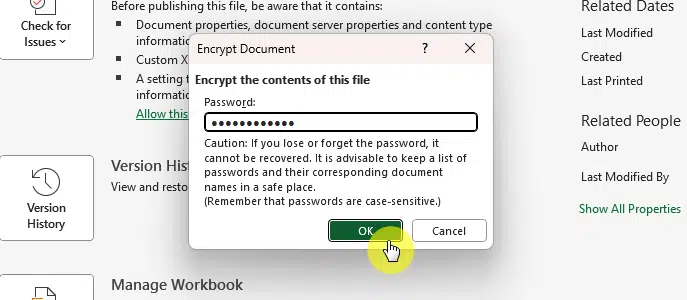
Then, click the protect workbook drop-down menu and select encrypt with password:
Enter a password and click the ok button.
By the way, it’s vital that you keep the password since you won’t be able to recover the contents of the file without it.
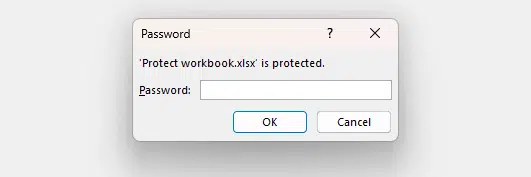
That’s it. Your Excel file is now encrypted.
If you or anyone tries to open it, the following window will appear:
If you don’t want to encrypt the Excel document anymore, simply go back to the encrypt with password option.
Leave the password field blank (don’t write anything) and click the ok button. The file is now unencrypted and won’t require a password.
How to use password protection for editing
In the protect workbook menu, there is an option to have the file always open in read-only access.
You can level it up by adding password protection when editing — but this combo is done differently.
The option here is to go to the file tab in the ribbon > save as page > more options:

The save as window will then appear.
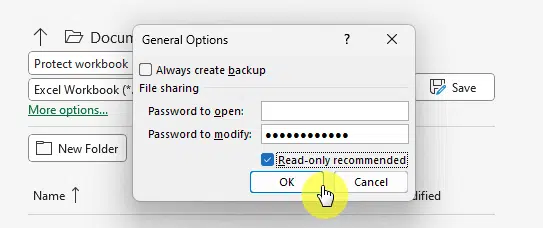
Now, click the tools button below the window > general options:

Another window will appear where you can enter a password to open and modify.
- The open option has the same effect as the previous section.
- The modify option asks for a password if the user wants to edit the content.
- If you check the read-only option, the file will also open with read-only access.
Hit the ok button to proceed:
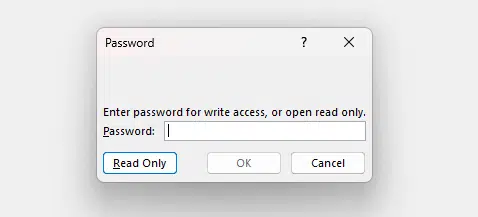
When a user opens the file, he/she will see a password window.
If the read-only option was selected, there will be a read-only button on the window for opening it in that access.
Once again, if you want to remove the password, go through the steps again, delete the password, and save the workbook.
Other options for protecting the workbook
You saw earlier that there are a few more options to protect the workbook.
That includes the following:
- Always open read-only
- Restrict access
- Add a digital signature
Pick your best method and remember the password, if you used any. For more questions, write them in the comments.
Do you need more expert help? Kindly send me a message through this form and I’ll get back to you asap.


