

Last Updated on April 3, 2023
Need an app for reporting expenses for your business?
In this article, I will show you how to easily set up an expense report app with Power Apps so you don’t have to start from scratch.
Let’s get started.
Table of Contents:
What are Power Apps?
Power Apps is a Microsoft tool to create custom apps for business needs without writing a single code.
There are three basic types of Power Apps:
- Canvas apps
- Model-driven apps
- Power Pages
Since we will be dealing with a canvas app in a short while, you should at least know a little about it.
Canvas apps are called as they are because they are designed through drag and drop on an empty canvas (like a PowerPoint slide).
You can also use logic through Excel-style expressions and connect the app to various data sources inside and outside of Microsoft.
Note: For more info on Power Apps, check this out: Explained: The Types of Power Apps in Microsoft Power Apps.
Sign up for exclusive updates, tips, and strategies
How to use a Power Apps template
When it comes to Power Apps, you don’t have to start from scratch.
There are a lot of templates you can use for various purposes like training, human resources, and for utilitarian purposes.
Related: Creative Ideas for Microsoft Power Apps: Sharepoint-Ready?
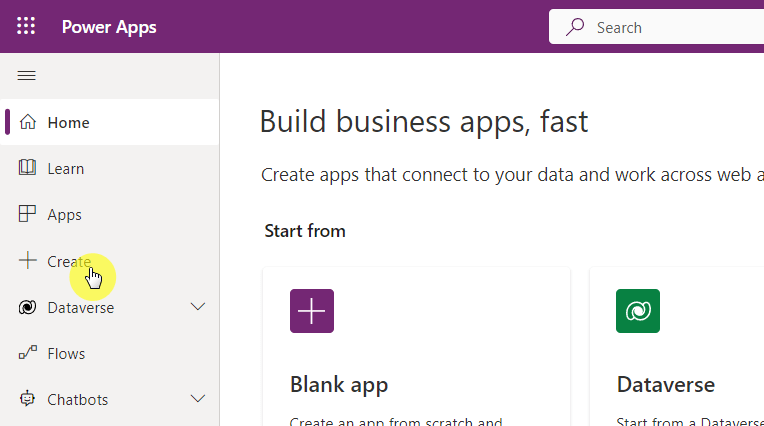
To use a template, head over to Power Apps and get to the create page:
If you scroll down, you will see a list of templates to choose from.
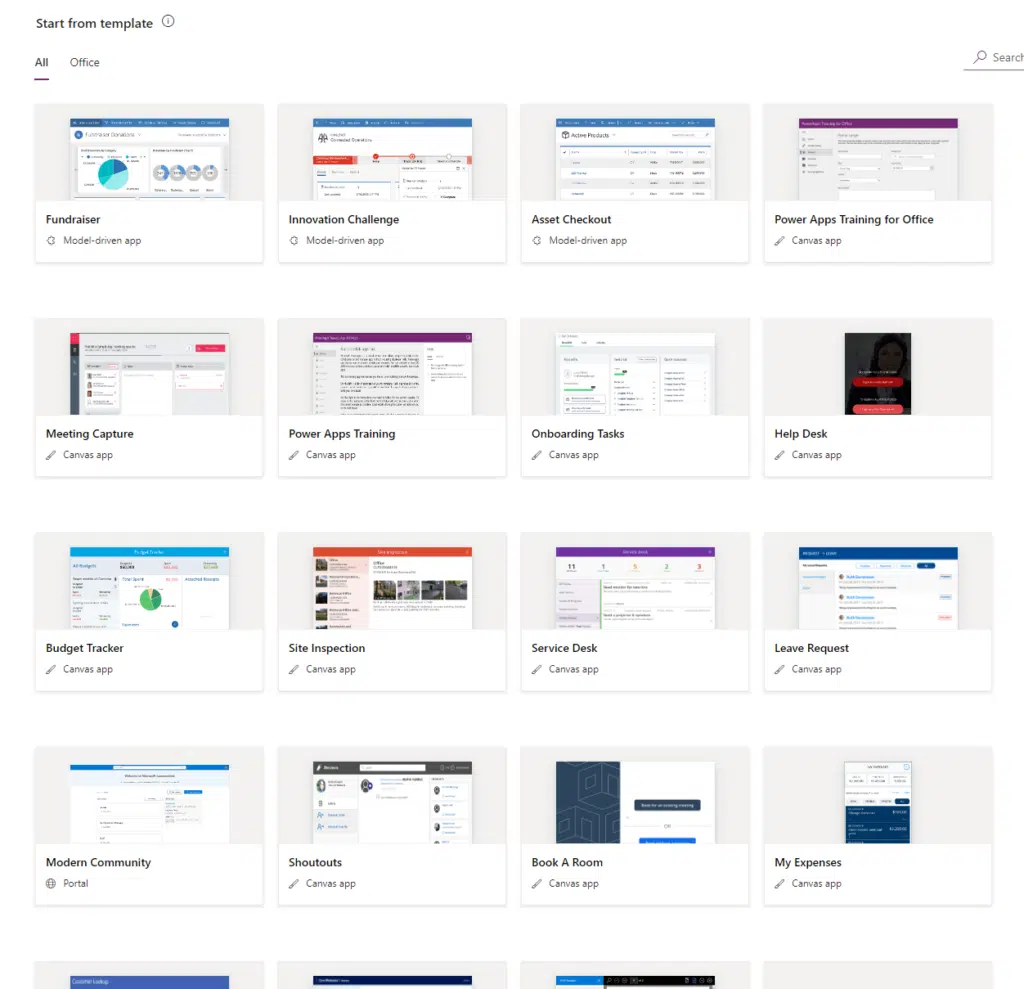
For the app we are attempting to set up, the name of the template is My Expenses:
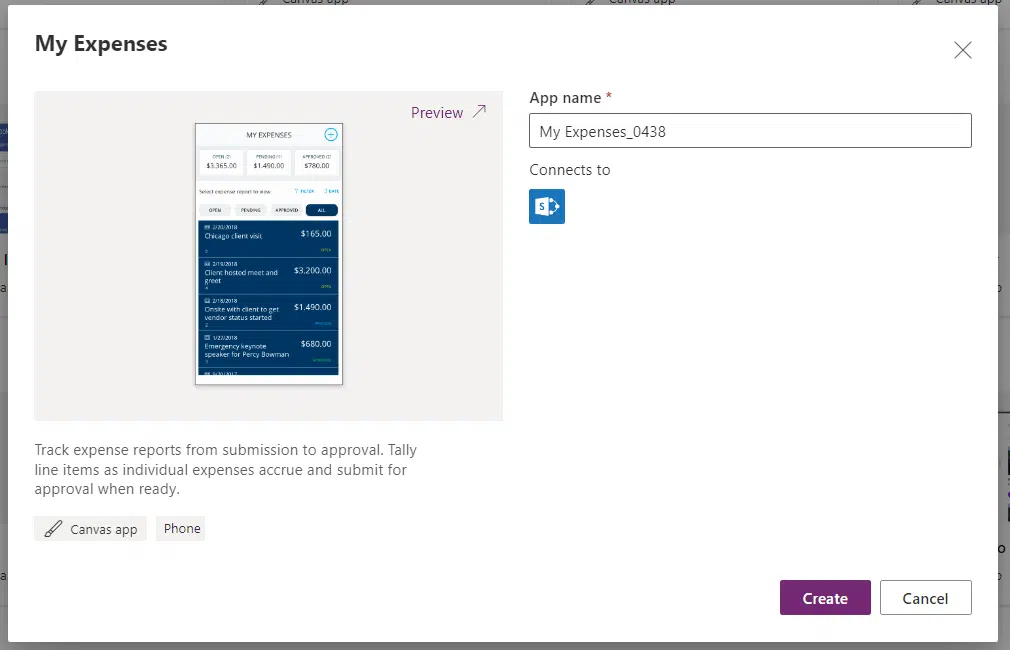
- Click on the template
- Give it a name (or use the suggested name)
- Hit the create button
Wait for a while while the system is getting things ready.
Using the My Expenses template
For starters, here is what the canvas app interface looks like:
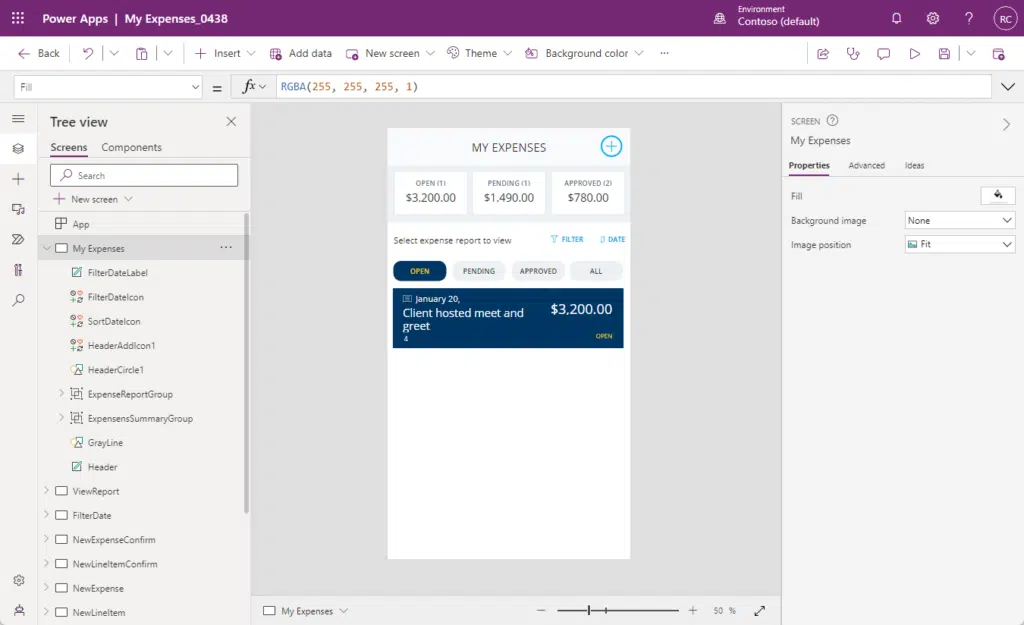
Some notes here:
- The app was designed for use on a mobile device
- The left pane contains various functions
- The center screen shows a live preview of the app
- The right pane houses various properties of a component/element
As for the app itself, here is what the home screen looks like:
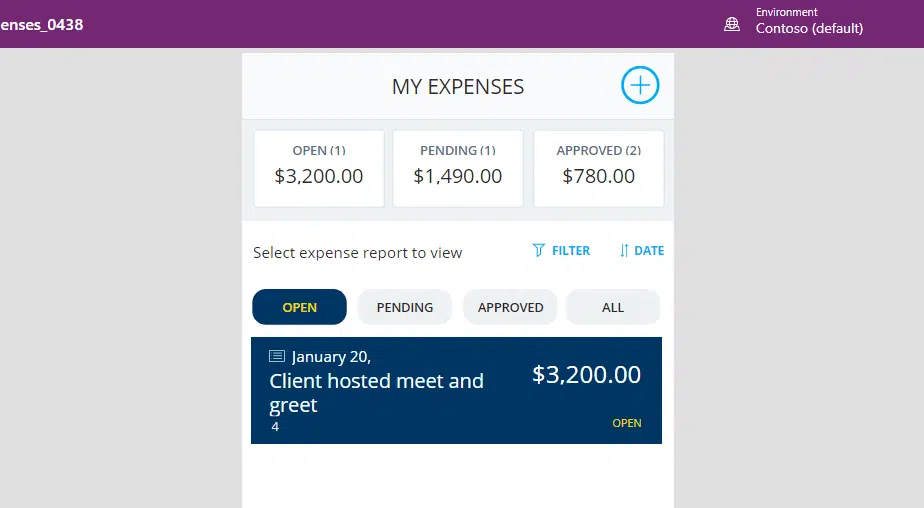
Expense reports will be displayed here and you can filter them out by categories.
The top part will show the total amount of expenses in various categories.
If you click on a report, you will see this:
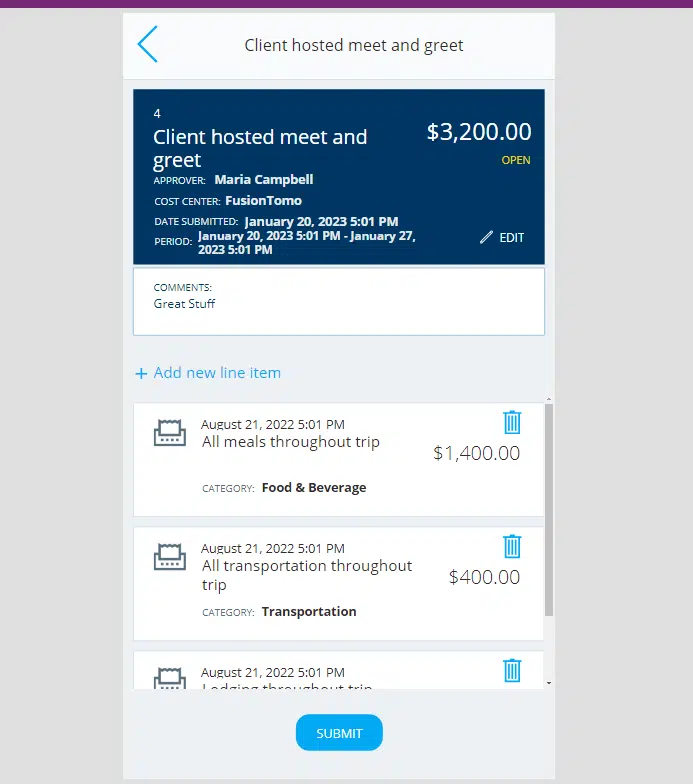
You will see the details of the event and the expenses included in the report.
Naturally, you can edit the expense report details and add or remove line items.
Since the report above is an open report, there is a submit button to submit the report.
Back at the home screen, you will see a plus button for adding a new expense report.
This will bring you to this page:
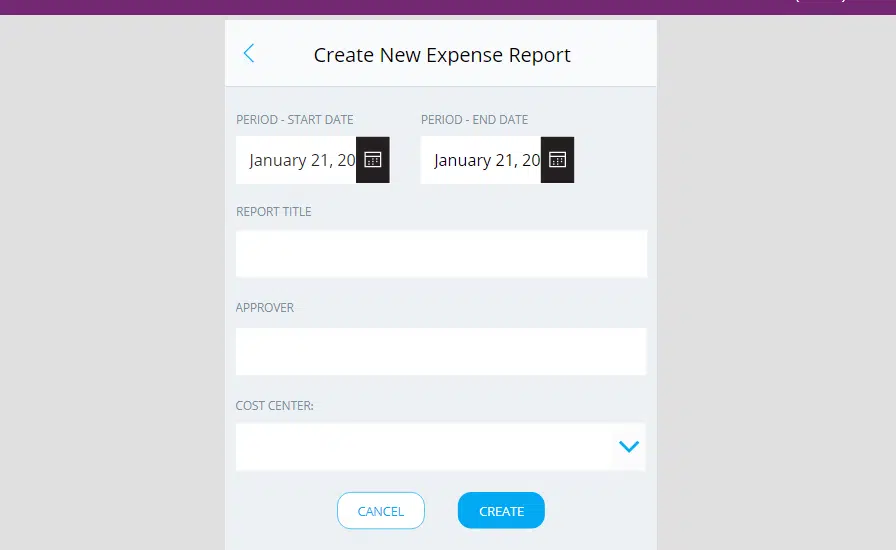
This is also the same screen you will see when you edit an expense report, only that the forms are filled out.
Once a user submits the expense report, it will then go through an approval process, with the sender receiving an email once it’s approved.
Related: Microsoft Flow Approval: Multiple Approvers (2023 Guide)
Now, for some organizations, this expense report application works just fine.
For some, however, you may want to add some improvements like:
- Option to upload or add all the receipts
- More filter options
Create your own custom app for reporting expenses
The beauty of Power Apps is that you can further improve the app and you can update it to use any data source.
But if you want, you can always create your own custom expense report application using Power Apps without the template.
How do you feel about the expense report template? It’s a great place to start if you really need a custom app.
For business inquiries, please drop a message using the form on this page and I’ll get back to you as soon as possible.


