

Last Updated on December 31, 2022
Do you want to make all files open in read-only by default?
In this article, I’ll share a trick I learned on how to enforce the read-only mode to files in SharePoint Online and OneDrive.
Let’s get started.
Table of Contents:
Always Open Read-Only
I always hear a question from clients if there’s a way to make all files in SharePoint open in view mode only.
Unfortunately, as of today, there is no built-in method or feature (or any one-click button) to change the default settings.
However, I found one that might work. The twist though is that you can do the change inside a Microsoft Office app.
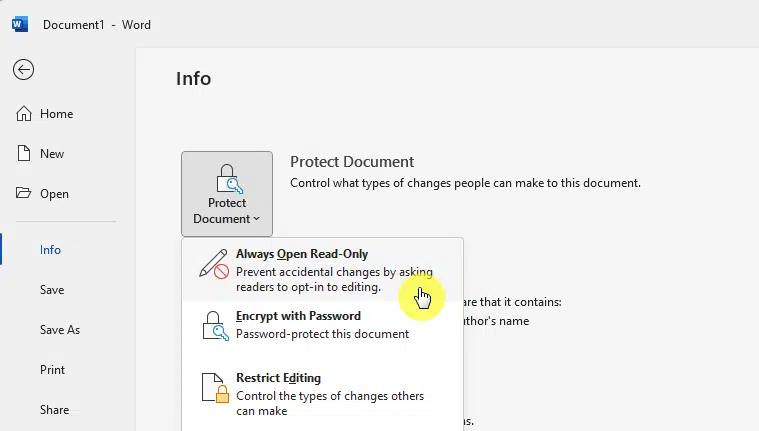
For example, if the file was a Word file, simply open it in the desktop app.
Once there, go to File > Info > Protect Document and then click the always open read-only option:
Even if you upload this read-only file to a SharePoint online site or to OneDrive, the settings will stay in effect.
When a user opens the file while in SharePoint and the files open in the browser, that user will see a message like this:
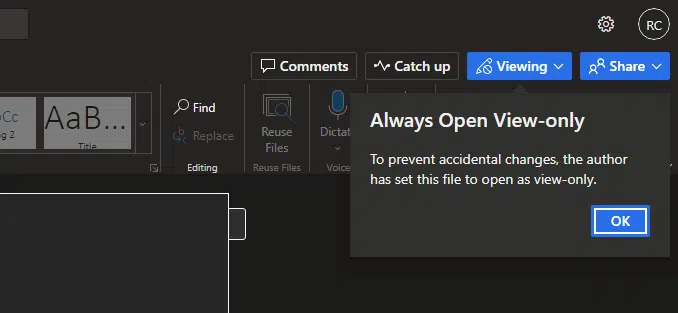
In case the user opted to open Office files in their desktop app by default (like what I showed in this guide), a notification will still appear.
It looks like this:

Even if it’s not available by default (yes, even in the SharePoint admin center), it’s still possible to make a file read-only.
The caveat is that you need to open it first in a desktop app and make the change.
Sign up for exclusive updates, tips, and strategies
Other methods to try
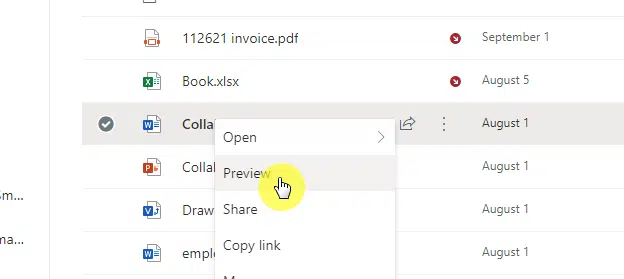
You might have noticed this already. But if you open a file in preview, the file opens in the browser in view mode.
The user simply has to file select or right-click directly on a file and click preview:
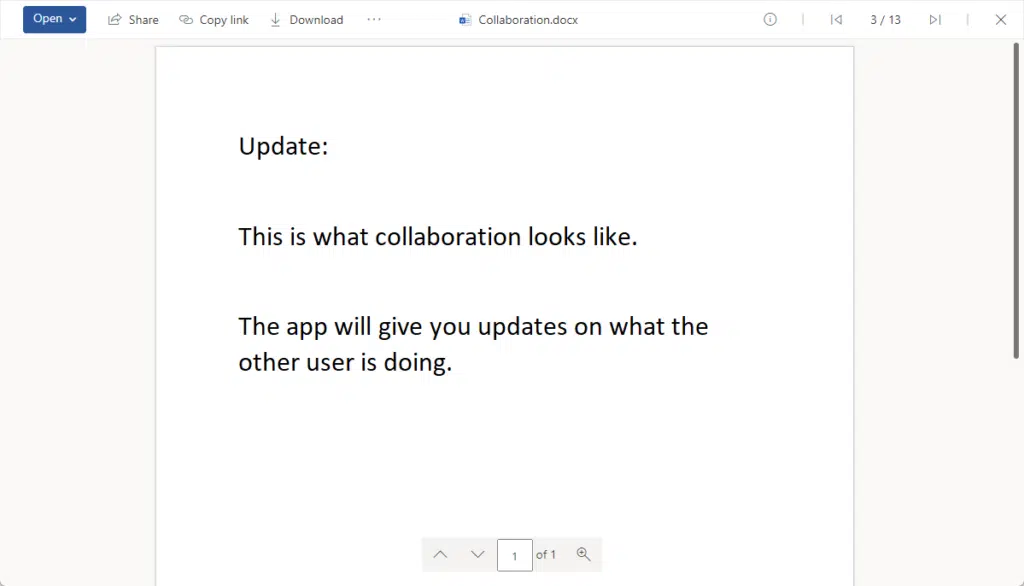
This is the previewed file:
The obvious downside to this is that a user might forget about doing this with every file (not to mention, it’s easily forgettable).
The other end of the spectrum is to enable the checkout feature.
Right-click on a file, go to More > Checkout:
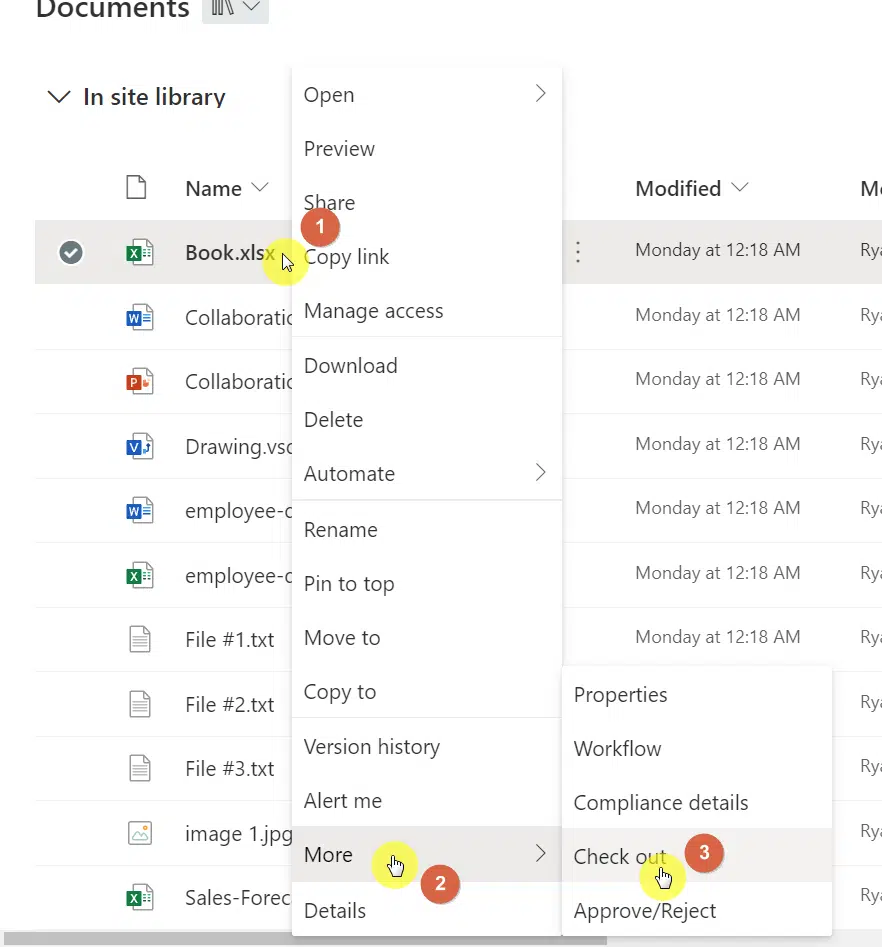
When a document is checked out, users can still open the file and see the updated version. However, it will only be in read-only mode.
The view will not change until the file is checked in.
Personally, I feel that the checkout feature is unnecessary than important in most cases. It also adds more steps for end users.
Note: For more information on the checkout feature, read this guide: Do you have to check out a document in SharePoint Online?
Sharing links permission
On the bright side, you have better control when we talk about sharing files and libraries with other users.
You need to go to the SharePoint admin center > Policies > Sharing and choose the default permission for sharing links:
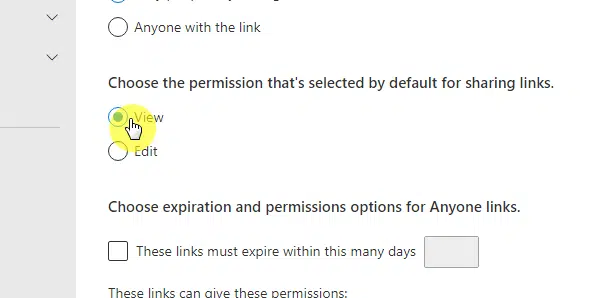
This method affects all shared links in the tenant, not only on a specific entire site.
It’s also worth noting that internal users with the right permissions might be able to edit permissions on the file and go to edit mode.
If you share files with external users, it might also help to change the permissions of files (and folders) to view only.
Still on the same page in the admin center, see the next option down and change the options to view:
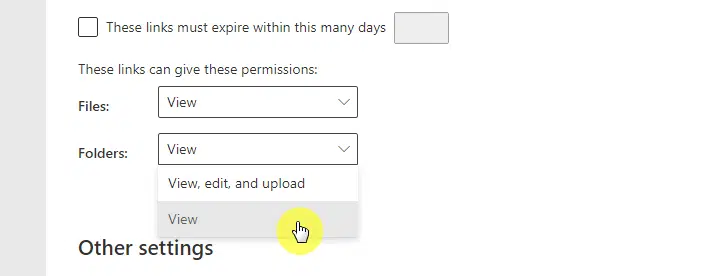
Don’t forget to save the changes you made.
Making a file read-only
Again, there is no default feature or option to make a document read-only.
The best method I know is to open individual documents in the native desktop app and change the default view.
Unfortunately, the effect doesn’t happen to the entire document library or to files in the SharePoint site. It’s only for that specific file.
Do you know of any other roundabout methods to make a file read-only in SharePoint? Share your thoughts below.
For business inquiries, kindly send me a message through the form found here and I’ll get back to you asap.


