

Last Updated on April 29, 2023
Do you want to make use of the new Viva Connections?
In this article, I will show you how to enable Viva Connections in the Teams app both in the admin center and in the Teams app.
Let’s get started.
Table of Contents:
What is Viva Connections?
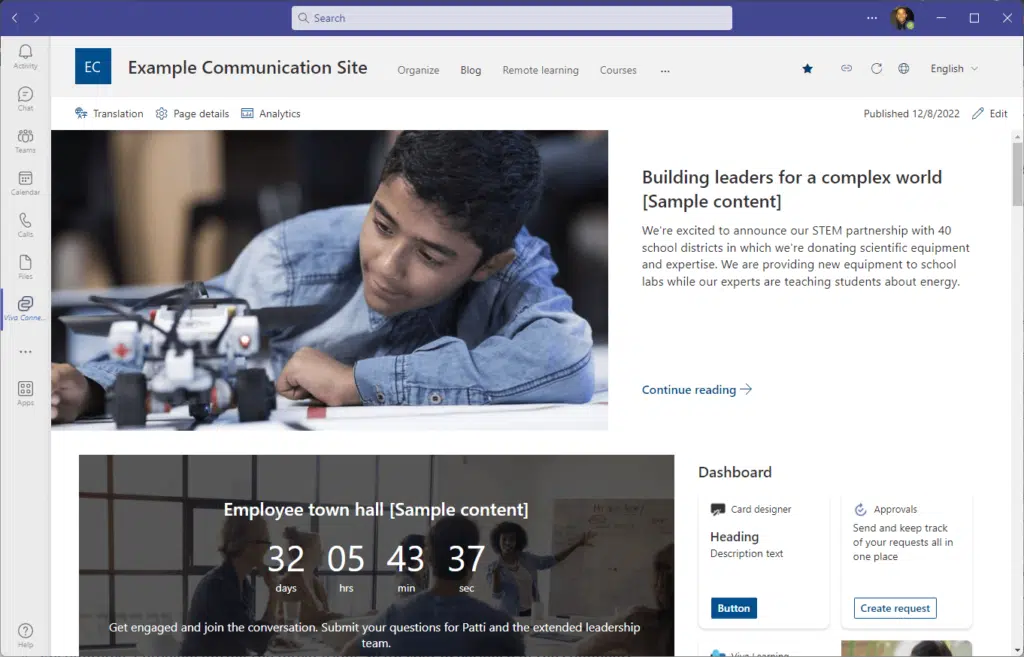
Viva Connections is one of the current four modules of the new Microsoft Viva (a new employee experience platform).
Primarily, Viva Connections was made to serve as a gateway to internal communications, information, and policies.
Its notable features include:
- Create your own dashboard
- Set up a brandable SharePoint home site
- Integrate with other HR platforms and providers
Viva Connections run in both the mobile and desktop apps of Microsoft Teams.
Note: For more information about Microsoft Viva, read this article: Microsoft Viva: The New Employee Experience Platform.
Sign up for exclusive updates, tips, and strategies
How to launch Viva Connections in Microsoft Teams
Although setting up Microsoft Viva Connections is easy and fast, there are a few things you need to do first.
Step #1: Prepare the home site
The first step here is to actually create the home site for your Microsoft Viva Connections.
Since the app is designed for human resources and internal communications, it’s better if you create a communication site.
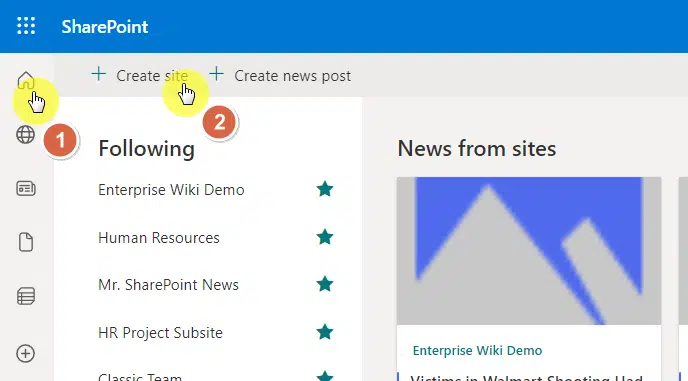
For that, navigate to your tenant first and do the following:
- Click the home button
- Hit the + create site button
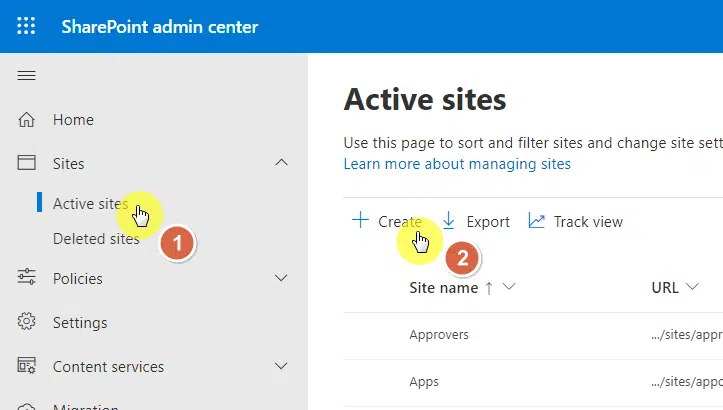
If you have already enabled the global navigation, you can create a new site from the SharePoint admin center.
Then go to active sites and click the create button:
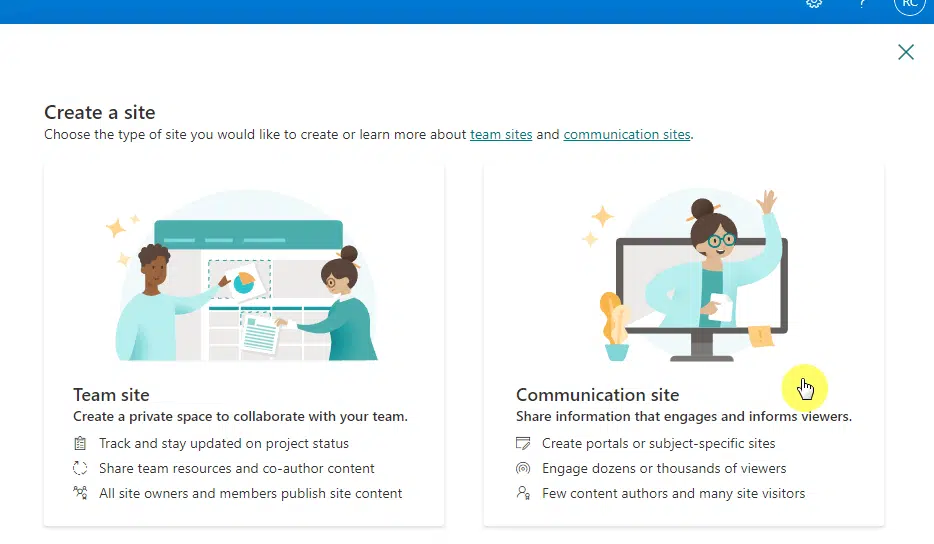
Simply choose the option to create a communication site:
From there, fill out the site details like the name and description.
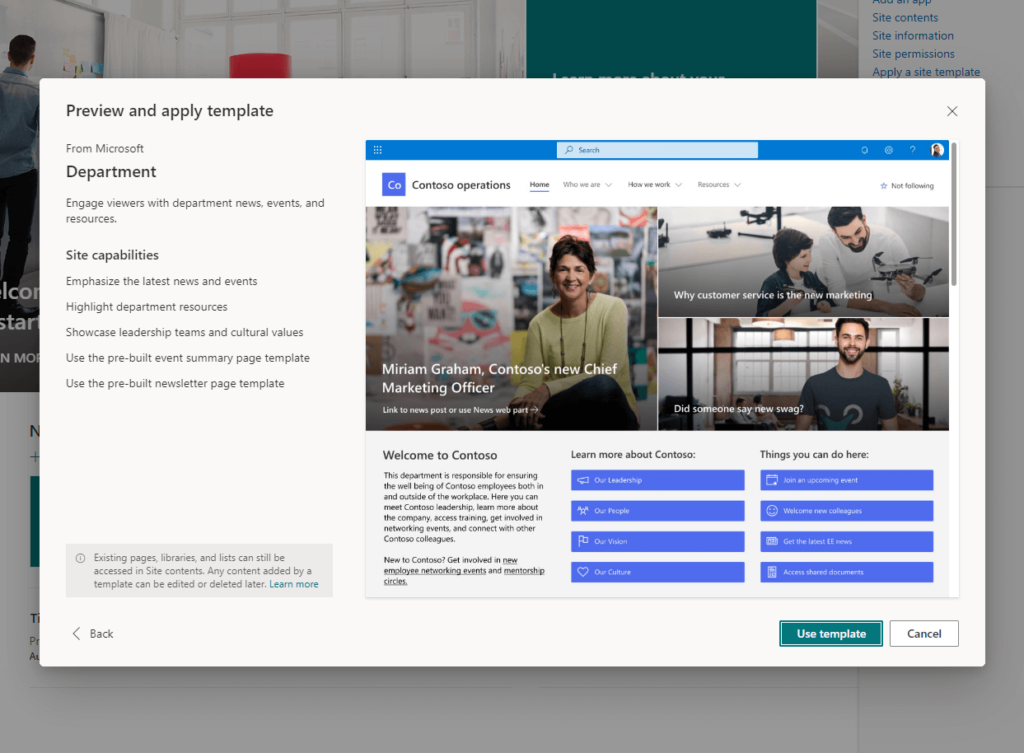
You can also take it further and literally create a human resource site.
There are templates you can use like the department template and all you have to do is configure it according to your branding.
The process doesn’t end here since you can add various elements to the site to show policy documents, news, links, etc.
Since it will serve as your home site, make sure to consider the navigation and the design of the site.
Note: For a more detailed guide, check this out: How to Create a Human Resources Site in SharePoint Online.
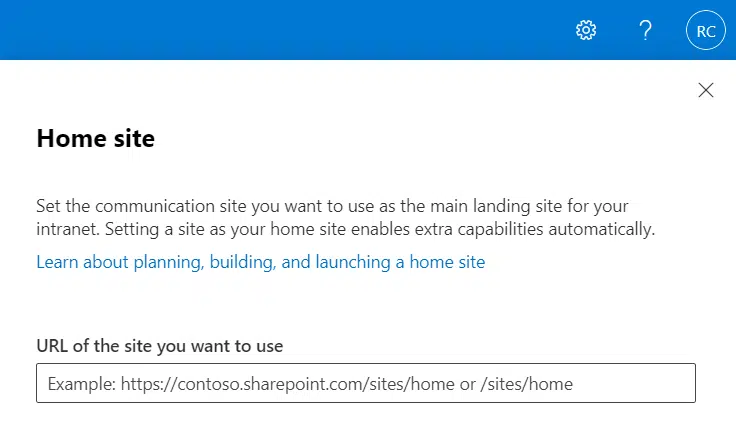
To designate the home site in SharePoint, simply go to the SharePoint admin center.
Go to settings > home site:

If there’s already a designated home site, you can cancel and replace it with the new home site.
All you need to do is copy the link to the communication site you created and paste it into the field provided.
This isn’t really a requirement. But having the app bar helps your users.
Through the SharePoint app bar, they can find important content and resources (and you can customize this according to your liking).
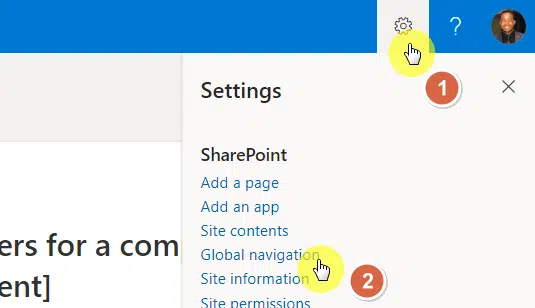
To set up the app bar, go to the newly created site and navigate to gear icon > global navigation:
Note: You can only set this up on a communication site. Another reason why it’s important to use a communication site as the home site.
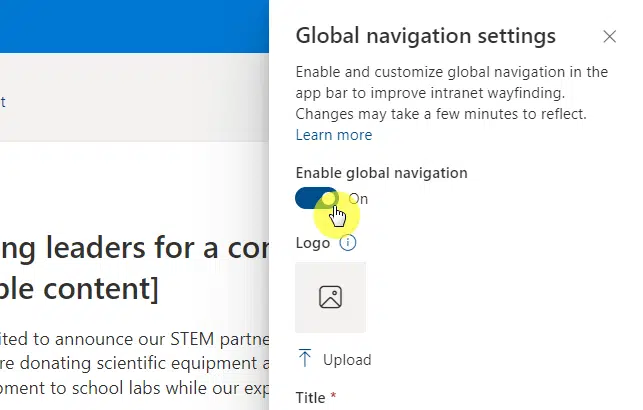
On the right pane, simply enable the global navigation.
You can also upload a logo, change the title, and specify the navigation source:
About the navigation source:
- Home site navigation will replicate the home site navigation you have on that communication site
- Hub or global navigation will replicate the hub navigation if the communication site is part of a hub
Both options will allow you to customize the global navigation and add more links and labels.
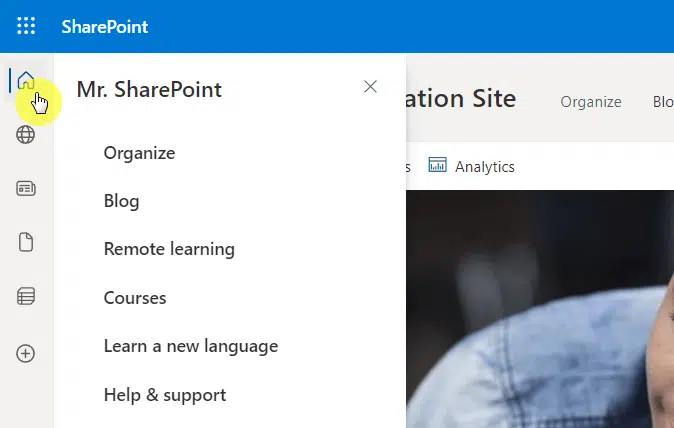
This will convert the home button to global navigation instead of bringing you to the start page as it used to.
Step #3: Create dashboard cards
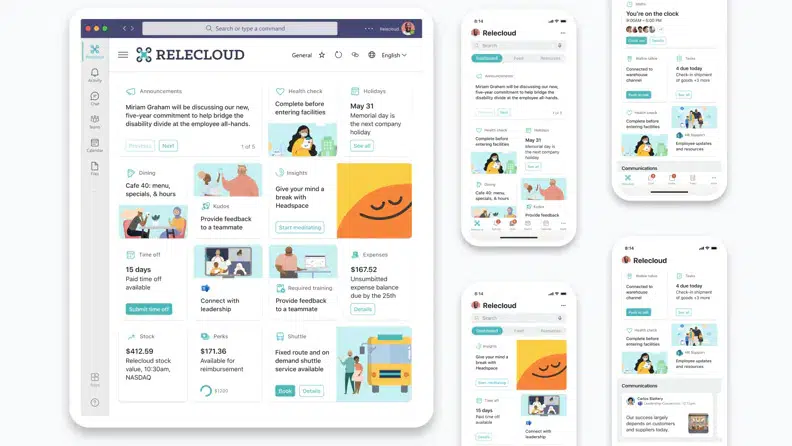
The magic happens through the dashboard cards as they bring a personalized landing experience to your users.
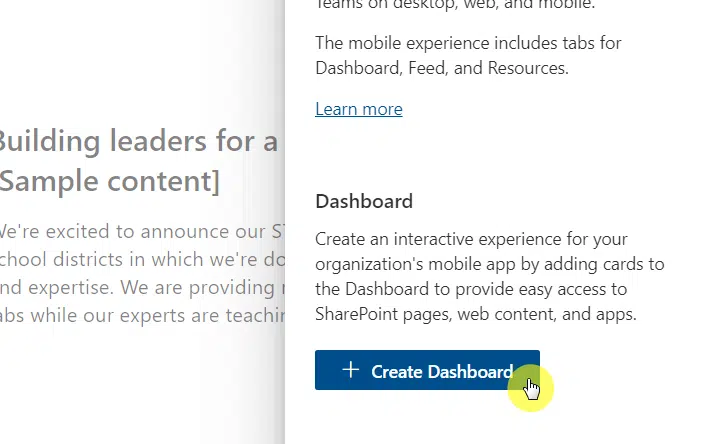
However, you can only create and configure the dashboard from the home site through the gear icon > manage Viva Connections:

Click the create dashboard button:
The system will bring you to the dashboard designer page.
On this page, you can add dashboard cards and preview the dashboard’s desktop and mobile views.
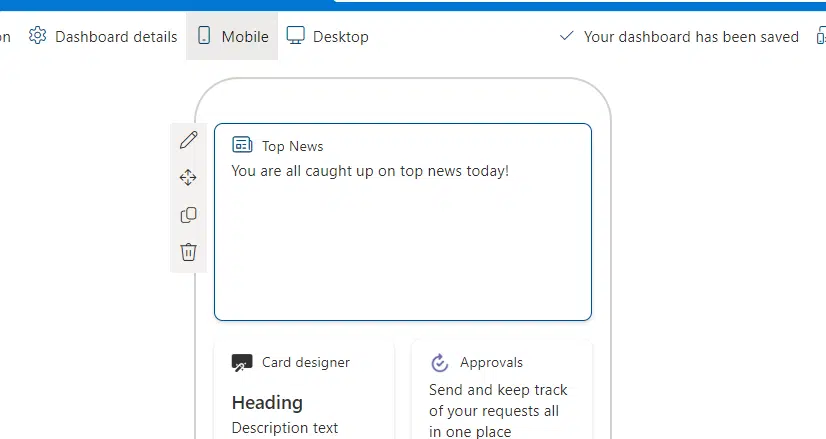
You maximize the dashboard in such a way that your users will be able to discover your organization’s resources and do their assigned tasks.
Audience targeting is also applicable here so the cards your users see are those that really apply to them.
Note: For more information on audience targeting, check this article: The Ultimate Guide to SharePoint Audience Targeting 2022.
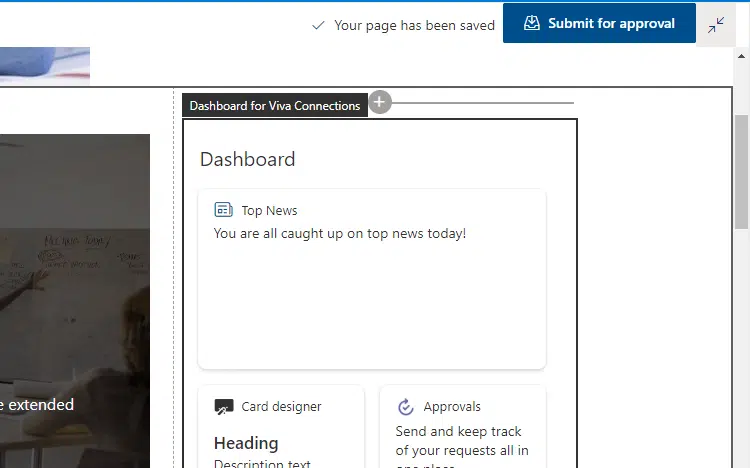
After creating the dashboard and adding dashboard cards, you can add the dashboard web part to the home page:
Step #4: Add the Viva Connections app in the Teams admin center
Now that all the preparations are done, let’s proceed to the most important part.
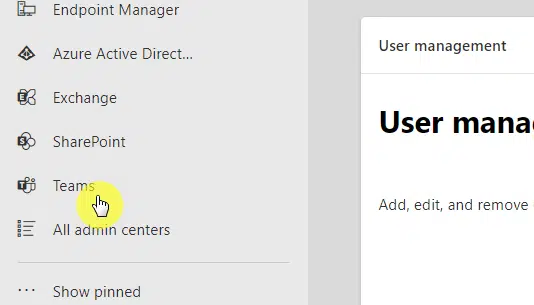
Go to the app launcher > admin > Teams:
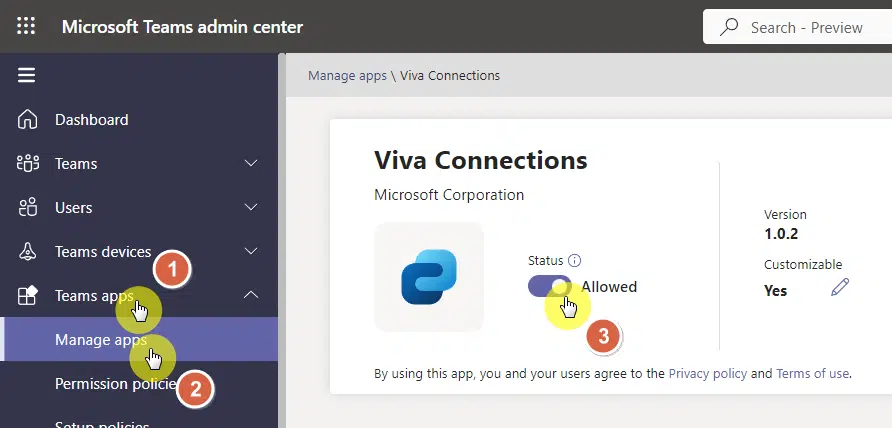
In the admin center, go to Teams apps > Manage apps and find Viva Connections on the app list (use the search bar in the table).
Change the status to allowed:
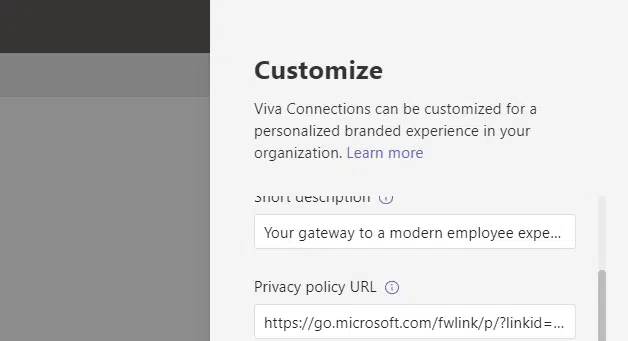
To customize the app, click the three buttons beside the app box > actions > customize:
On the right pane, you can change the details of the app like its name, description, and logo if you want to use your own branding.
Don’t forget to click the apply button if you made any changes:
This integration gives Teams an intranet-like capability.
Note: For more intranet options in Teams, read this article: Microsoft Teams: Intranet Alternative to SharePoint Online?
Step #5: Enable the Viva Connections app in Microsoft Teams
The last step is enabling Viva Connections in the Teams app.
On the Teams app:
- Click the three dots on the left panel
- Find Viva Connections
- Click the Viva Connections option
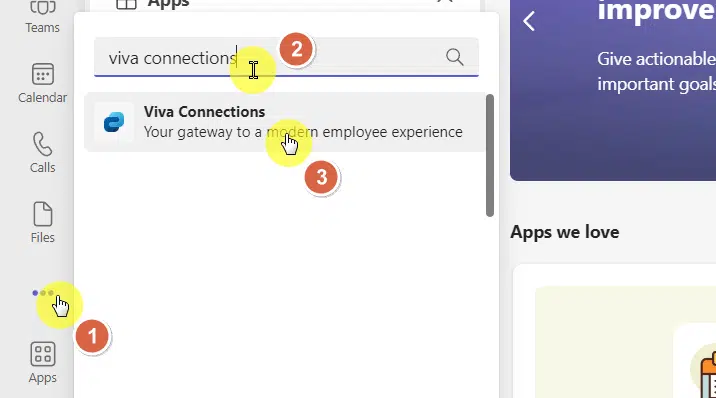
All you have to do here is click the add button:

After that, Viva Connections will be able as an app in Teams.
You can see that the first site shown is the designated home site:
Encountered a problem during the integration? Share your experience in the comments so we can all pitch in.
For business inquiries, kindly send a message through the form here and I’ll get back to you as soon as possible.


If you want to make your SharePoint Home site be the default landing page for Viva Connections Desktop then you’ll need to:
If you change $true to $false then it will load the default Viva Connections landing page instead.
You will also want to make sure that you set the right Audiences for Viva in the M365 Admin Center.