

Last Updated on January 5, 2024
Need an approval flow with multiple approvers?
Fortunately, if you already know how to edit a simple approval flow, then it will be easy for you to configure it for multiple approvers.
In this article, I’ll walk you through creating a flow approval for multiple approvers through Power Automate.
Let’s get started.
Table of Contents:
Create a Microsoft 365 Group
What I like about Power Automate Flows is that you can make use of Microsoft 365 groups and use it as a parameter.
I’m quite sure now that the gears in your head are rolling…
The first step is to create a Microsoft 365 Group for the approvers. Now, this isn’t really a requirement.
However, you will have an easier time controlling the flow and future uses if you group the users together.
Now, there are a lot of ways you can create a group. One is to to go the Microsoft 365 admin center and go to the active teams and groups:

From here, all you have to do is complete the form and provide the necessary information:
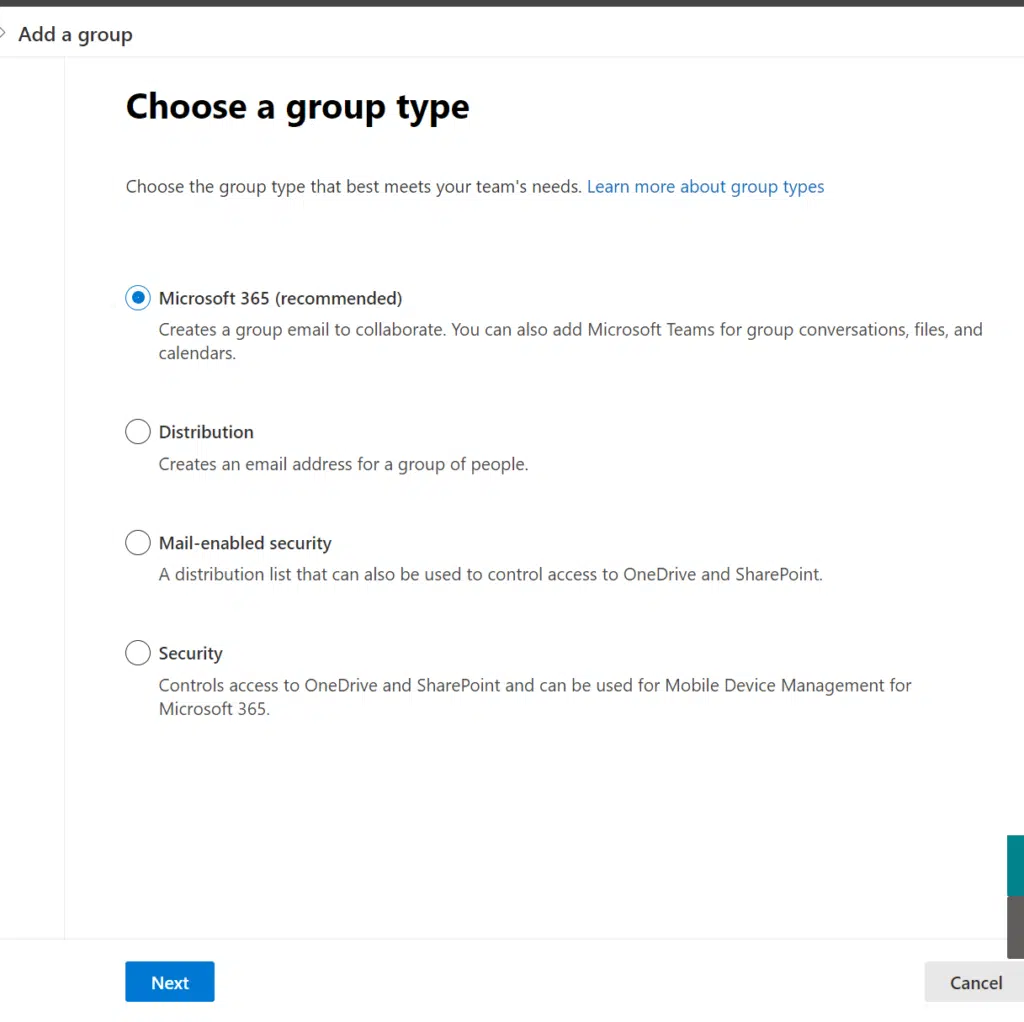
By the way, this method automatically creates the following group assets:
- SharePoint site collection
- Outlook group calendar
- Outlook email distribution list
- Planner
Note: For more information on how to create a Microsoft 365 group, check out this article: How to Create a Microsoft 365 Group: The Ultimate List.
Sign up for exclusive updates, tips, and strategies
How to create a multi-approval workflow
Now that you have a group, all that remains is to create the multi-level approval Microsoft Forms workflow.
If the approval flow is directly connected to a SharePoint document library, then you don’t need to go through complex steps.
There’s already a template you can use:
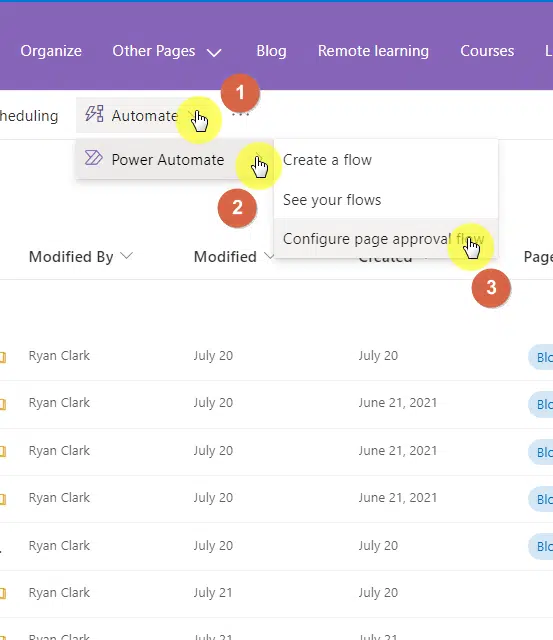
- Go to the target site document library
- Click the configure page approval button
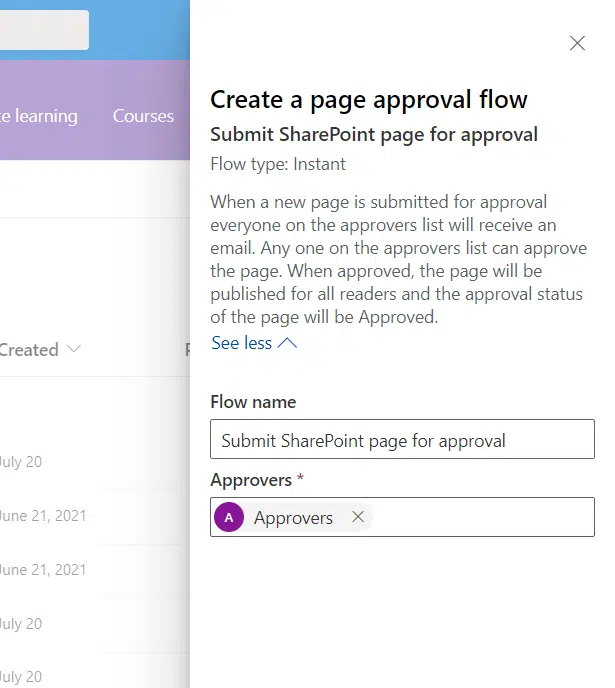
Continue with the page approval flow on the right panel:

This is what happens on the next screen:
- The system will show you the apps needed for the approval action.
- Sign in on the apps that you weren’t signed in to yet.
- Click the continue button

This is where the importance of the group lies.
In the approvers field, you cannot only enter a username, but you can also provide the group name and the system will easily recognize it:
You may have to go to Power Automate to customize the approval type of the flow and change it to everyone must approve.
Note: For more information on editing a PowerApps flow approval, check out this article: How to Make an Approval Workflow for SharePoint.
Through Power Automate
If you want more options, you can go to Power Automate and check out the available templates for automated and instant cloud flow.
You can also create your own flow from scratch — but that may be a little complicated for most users.
Anyways, simply start with either an automated cloud flow or instant cloud flow and check the available triggers:

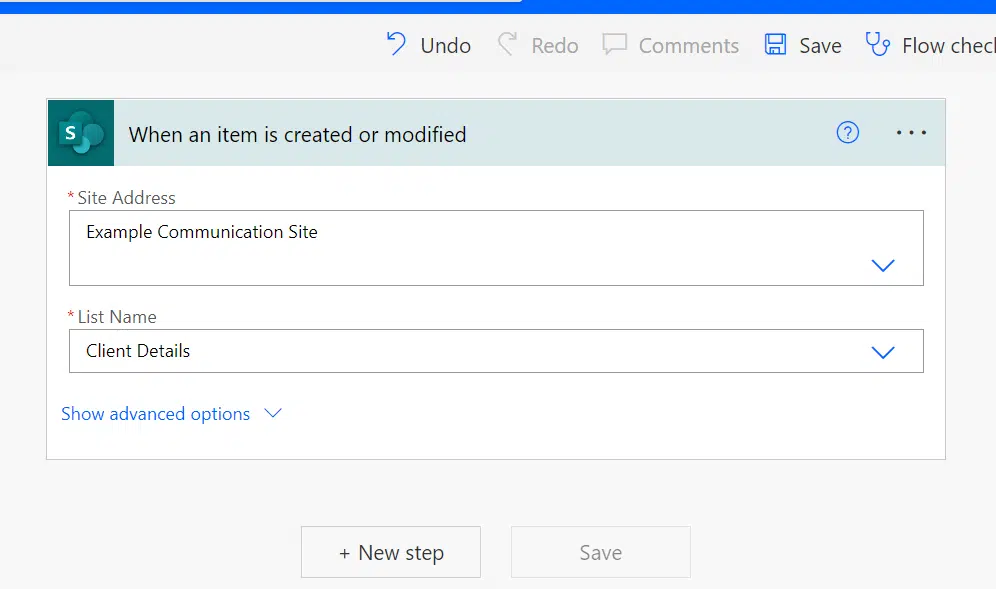
On the next screen:
- Identify the target site
- Provide the list name (or library name, whichever is applicable)
- Click the next step button
Continue with the next step:
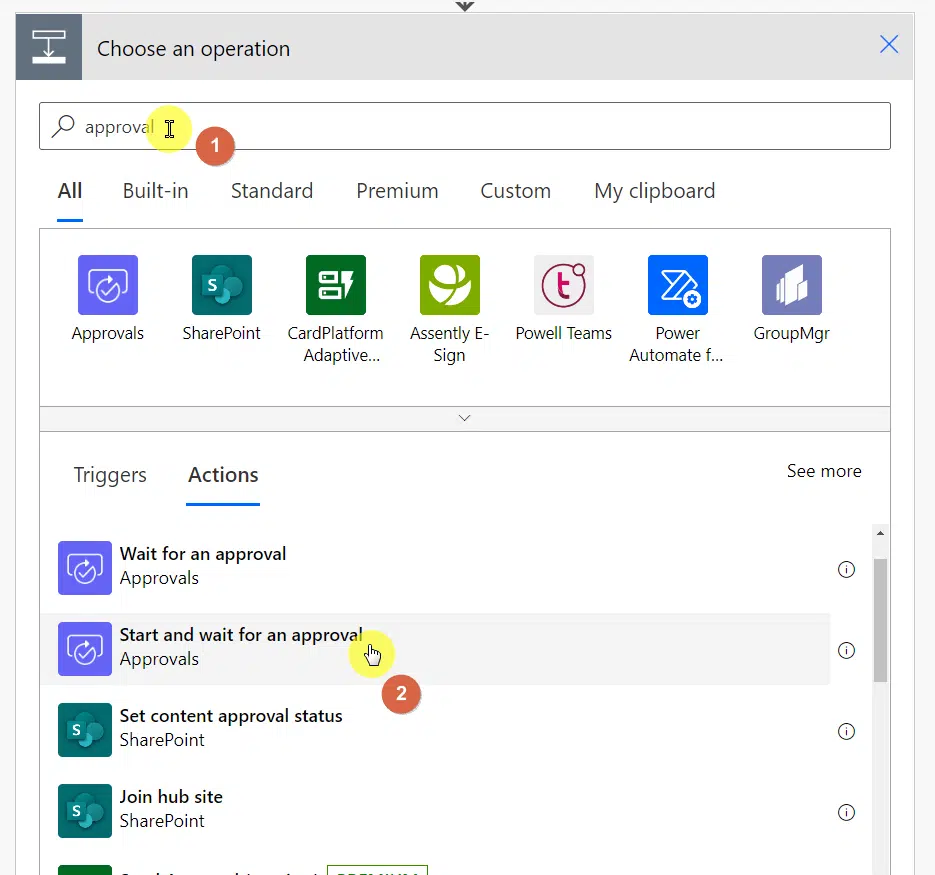
- Search for approval actions
- Select the start and wait for an approval option:
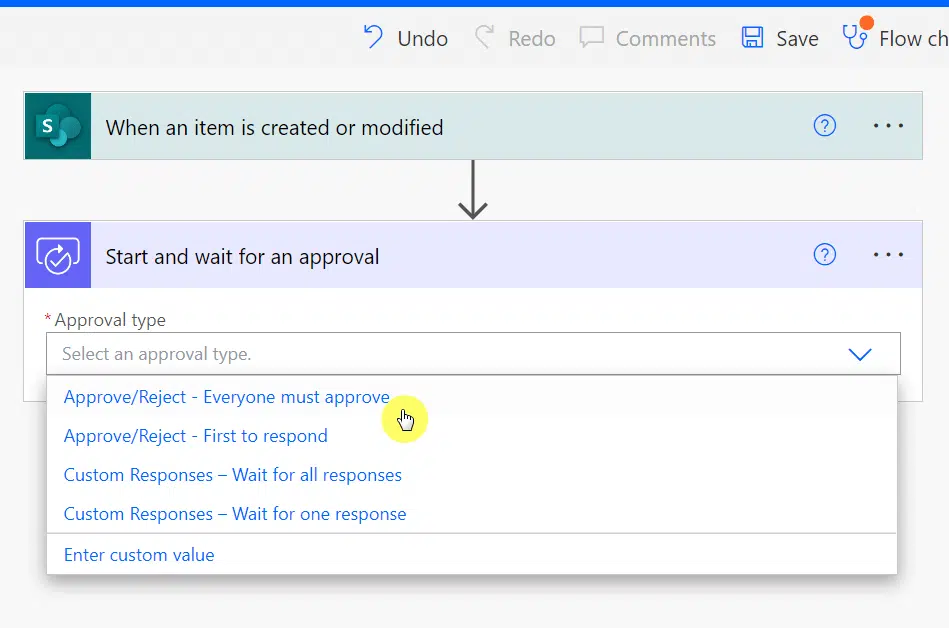
In the next part, you will have to select the approval type.
Since you’re using a multi-approval approach, it makes sense that you want everyone to approve:
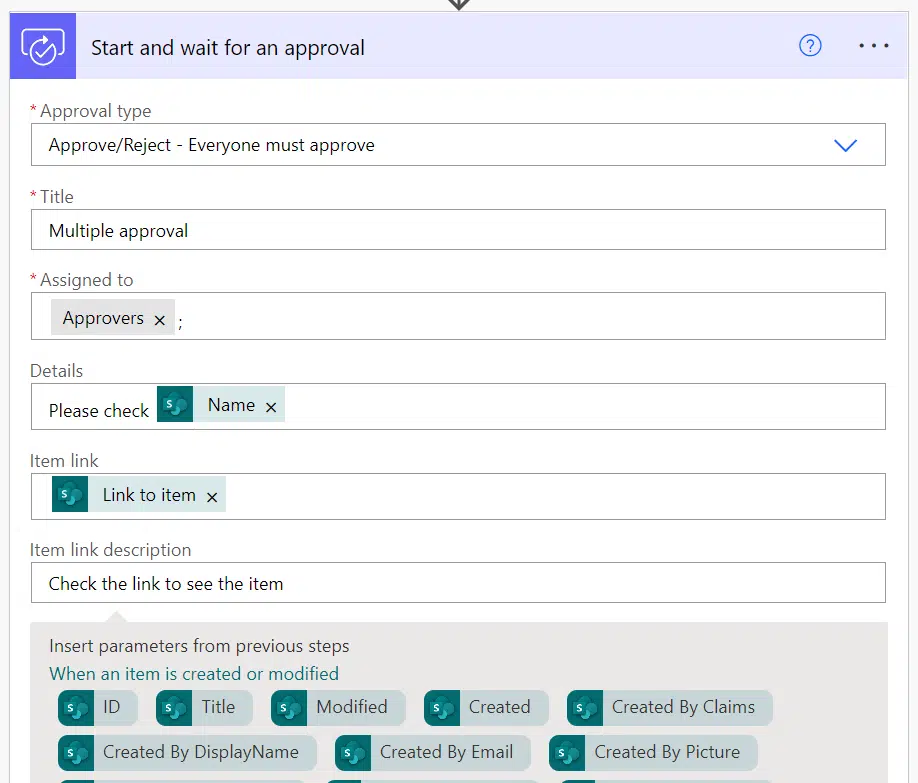
All that’s left now is to finish the rest of this step:
- Assigned to: The Microsoft 365 group you created
- Details: Please check {name of the item}
- Item link: {Link to item}
- Item link description: Check the link to see the item
You can then save the approval first before proceeding with the next step.
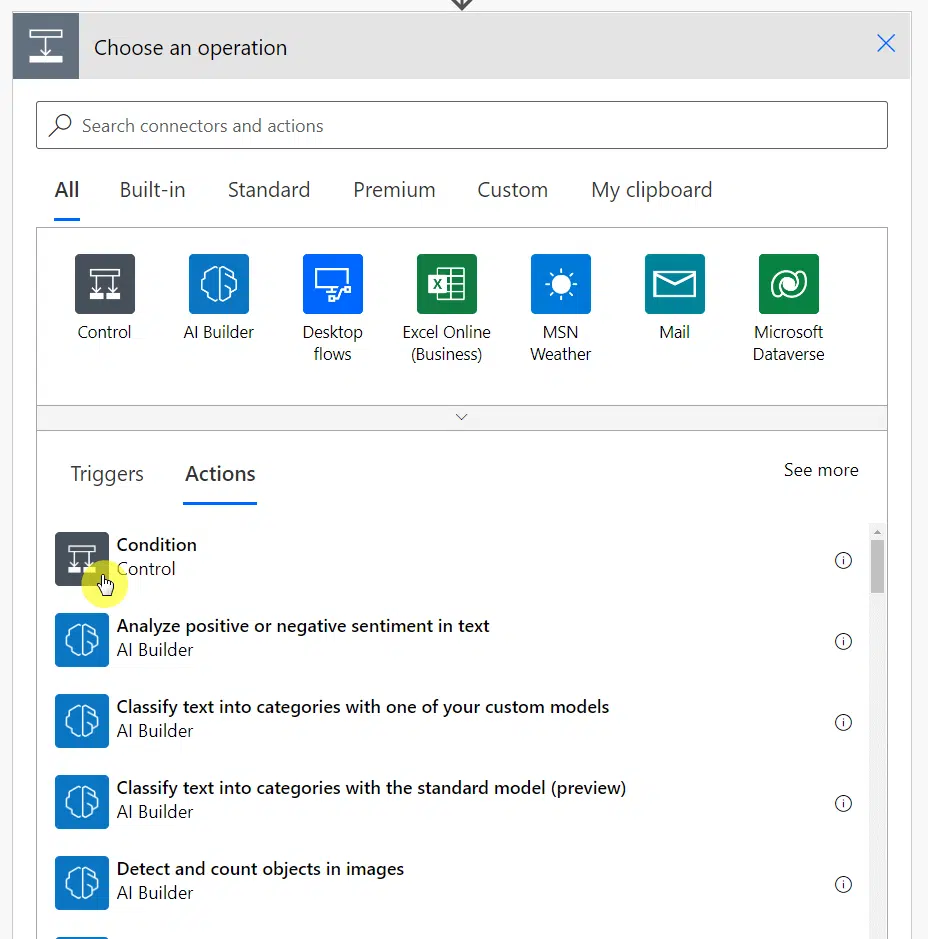
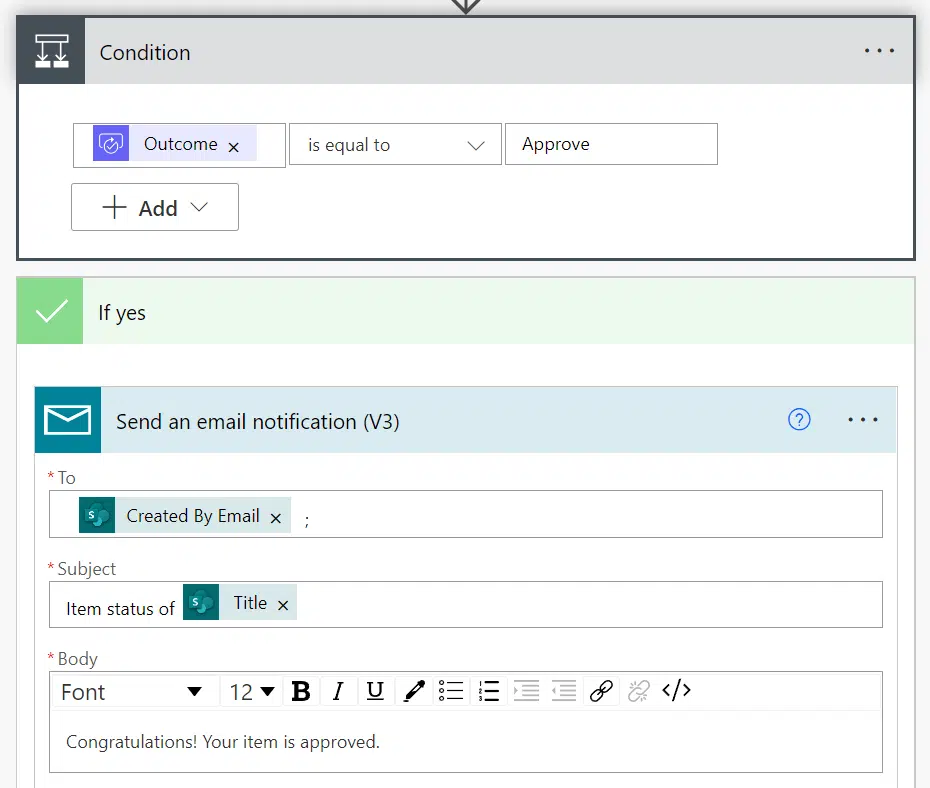
For the next one, choose the condition action:
Here are the next steps:
- Configure the outcome to equal to approve
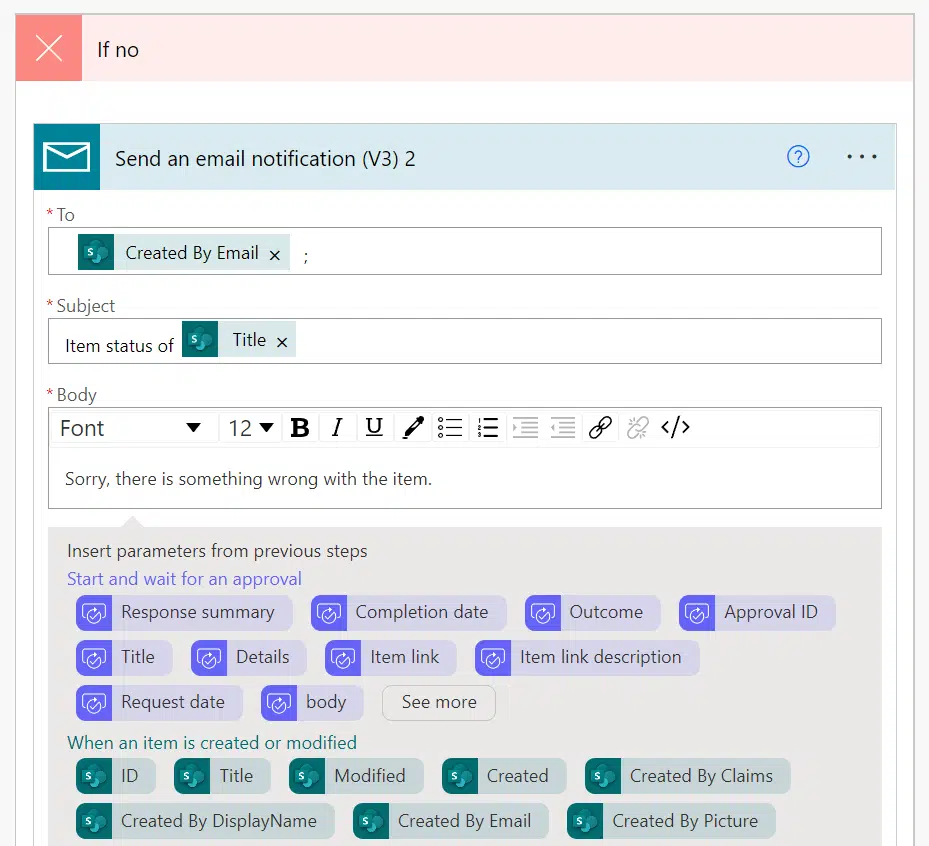
- Set up what happens if yes (preferably an email notification)
- Set up what happens when rejected (preferably an email notification)
Make sure to save the flow. Once you do, it’s now ready to go.
I recommend that you test it out first and make the necessary changes before informing users of the new update.
Once the flow is working, the system will automatically send a Power Automate approvals reminder to the recipients based on the condition and time specified.
Everything clear on creating this type of approval action? If not, feel free to leave a comment below.
Need professional help? Send me a message through this form and I’ll get back to you asap.


How to remainders for approvers,If anyone misses an approval.