
Last Updated on January 5, 2024
Do you need a landing page?
Well then, if you’re already using SharePoint, you don’t really need to use any other tool. SharePoint already has everything you need.
In this guide, I’ll show you how to make a landing page in SharePoint Online using the modern experience and features.
Let’s get started.
Table of Contents:
A landing page is a single page that is designed to capture a visitor’s attention and persuade them to take a specific action, such as submitting a form or making a purchase.
It’s also a great way to provide a central location for your content and improve the user experience on your site.
You can use a landing page for the following:
- Introduce new users to your site
- Provide information about your organization
- Highlight specific content on your site
- Persuade readers to do something specific
Sign up for exclusive updates, tips, and strategies
What to include on the landing page
There are a lot of elements you can include on a landing page — although I don’t recommend you stuff it out with everything.
Instead, think of the elements you need to get the message across on what you’re trying to do with your landing page.
Things you can include on the landing page are:
- Hero section
- Banner images
- Headlines and subheadlines
- Quick links
- News or announcements
- FAQ section
- Contact section
- Contact form
Although you may have different elements on a landing page, the steps you need to take are generally the same.
What it will boil down to later on is how you configure your landing page so that it can do what you want it to do.
Before we start, here’s a sample landing page I created in a few minutes:
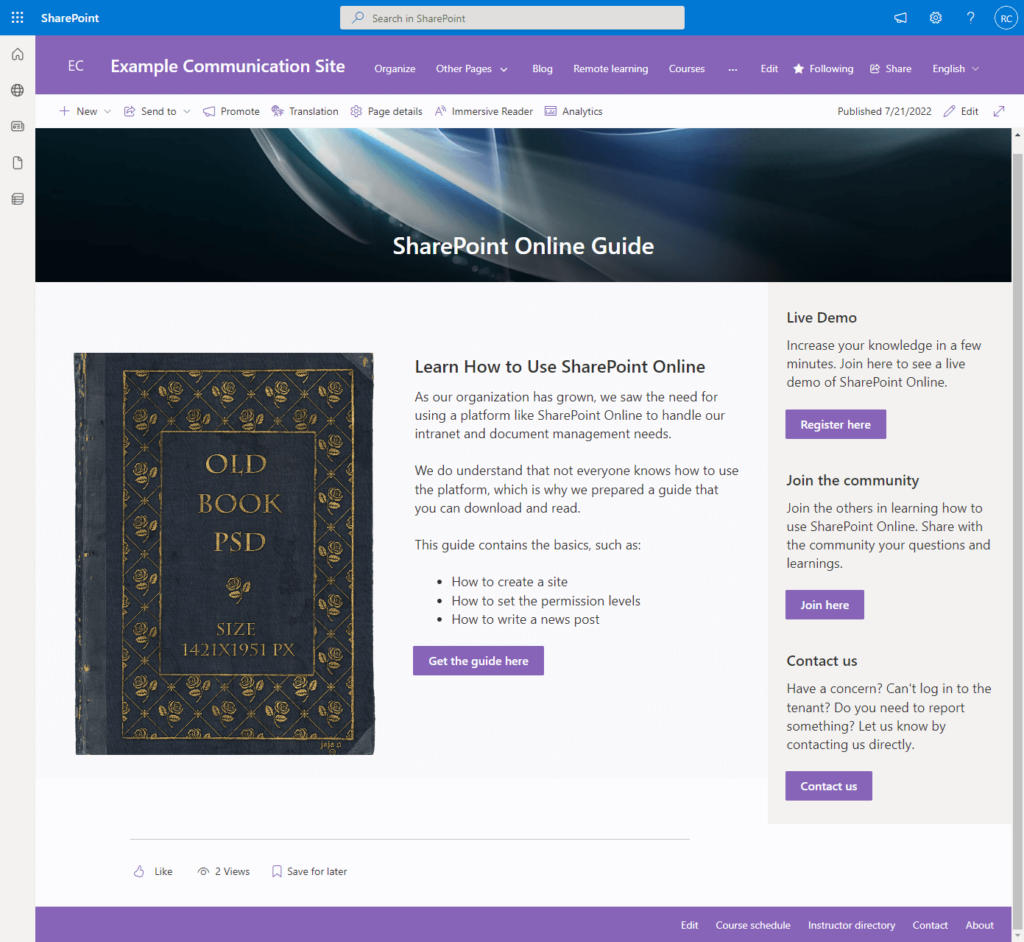
Like what you can see, the main target of this landing page is those in the organization who are new to SharePoint Online.
Note: This is a simple landing page meant only to demonstrate the steps. You can always create more complicated landing pages as you wish.
Step #1: Create a new page
The first step is to create the new page itself. Because of the modern experience, things are easier to do.
Here’s how:
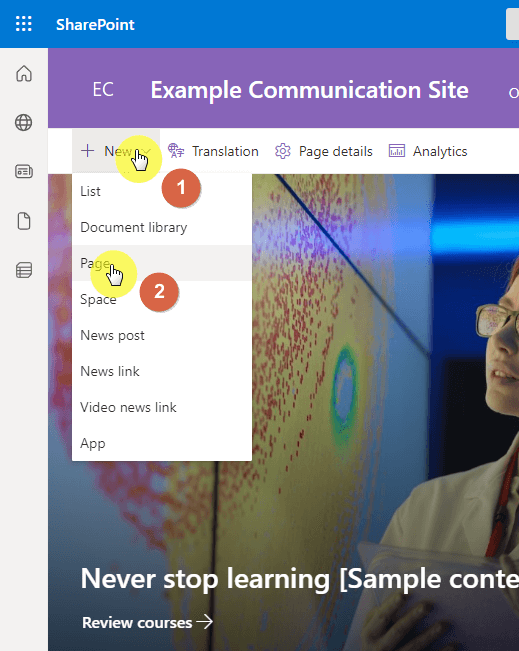
- Go to the homepage of the site
- Click the “New” button from the command bar
- Select the “Page” option
From there:
- Select the template to start with
- Click the “Create page” button at the bottom
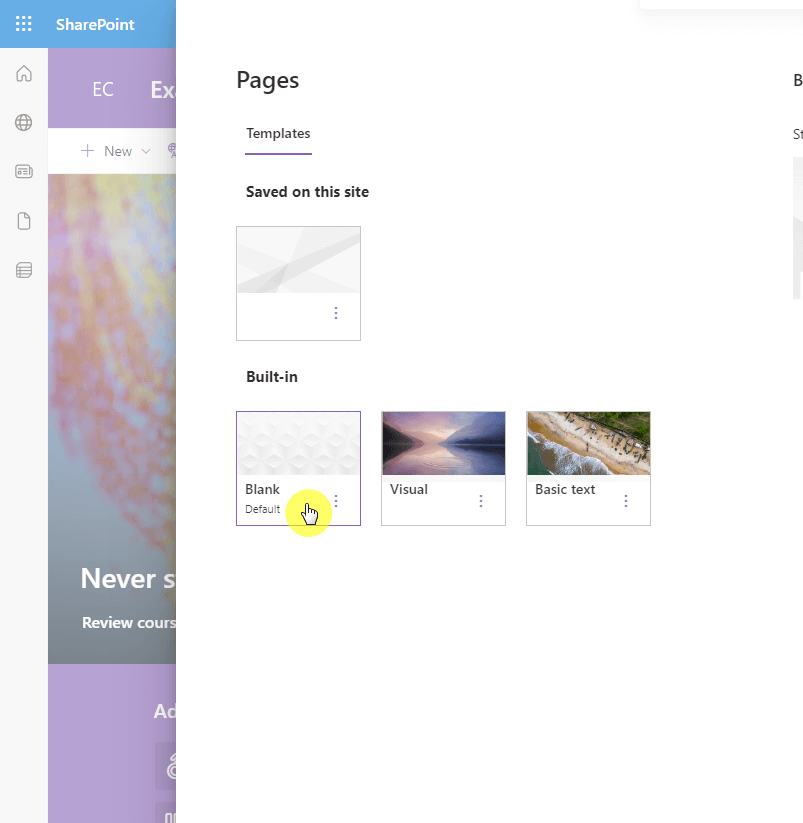
For the page I created in this example, I started with a blank template as I wanted to design the layout from scratch.
Related: Using Site Templates in SharePoint Online: Beginner’s Guide
Step #2: Customize the title area
Once again, the end look of this landing page is the one I have shown you before I started out with the first step.
Feel free to do this part in your own way. If you’re still practicing to see how things work out, follow the steps in this section.
- Change the name of the page in the title area
- Close the author button
- Click the pencil button on the left part

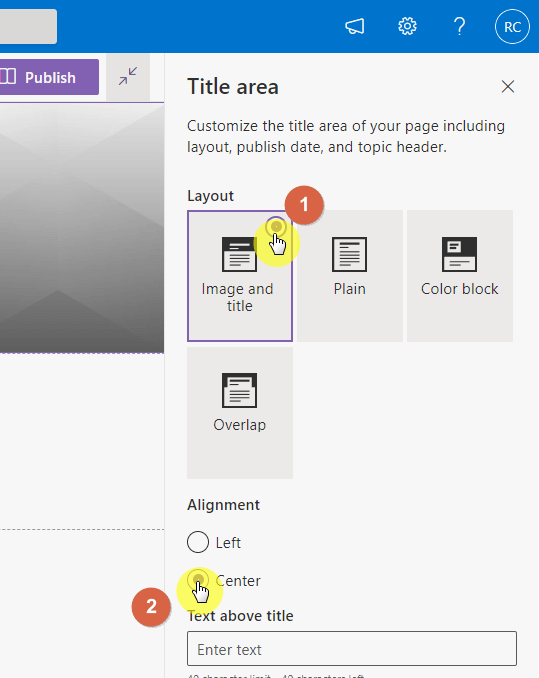
On the right panel:
- Change the layout to “Image and title”
- Center the alignment of the title area
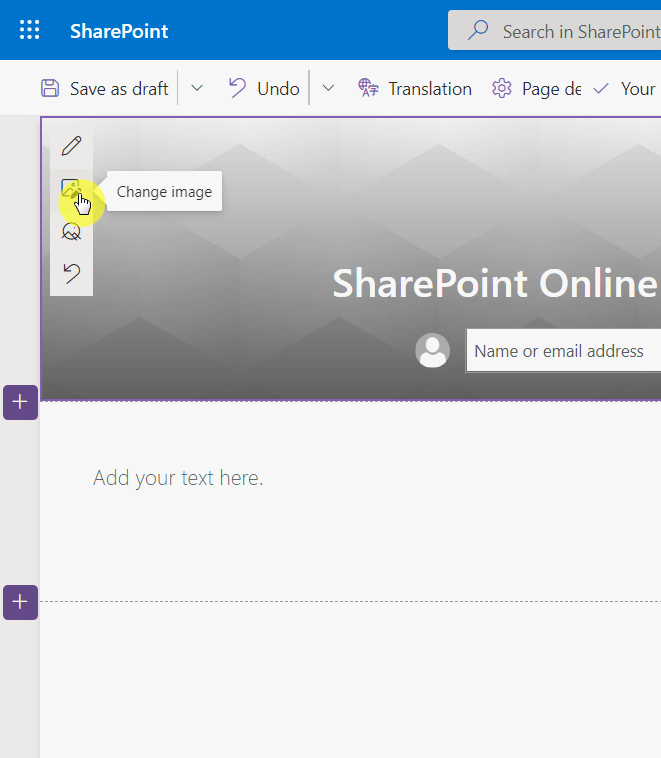
To change the image of the title area:
- Hover your mouse over the title area
- Click the image button on the left side
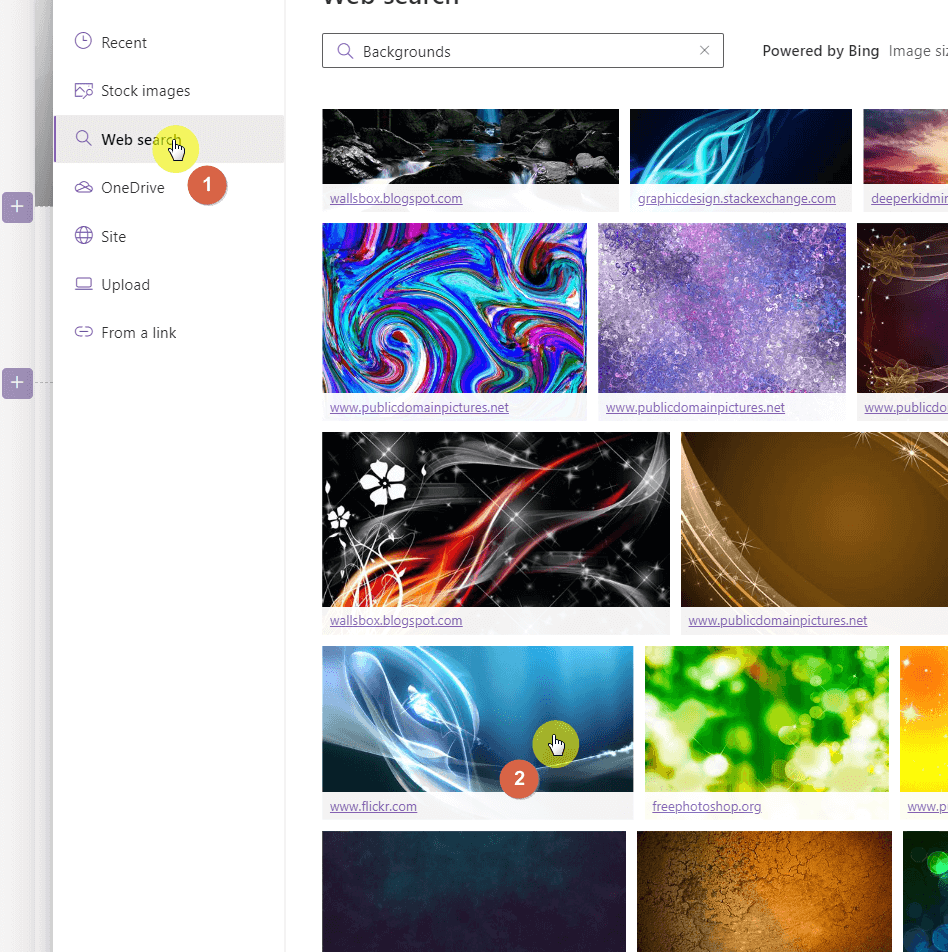
For the background:
- Go to the web search tab
- Find a suitable background image to use
- Click the “Insert” button
Step #3: Configure the main body
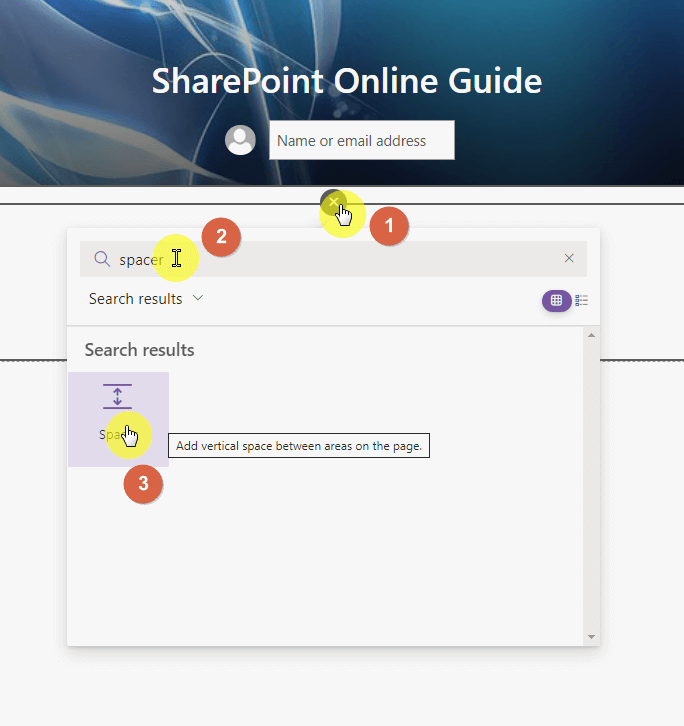
To put in some space between the title area and the area below it:
- Hover over the section
- Click the add button
- Find the “Spacer” web part
- Set it to the preferred size (used 16 pixels in the sample)
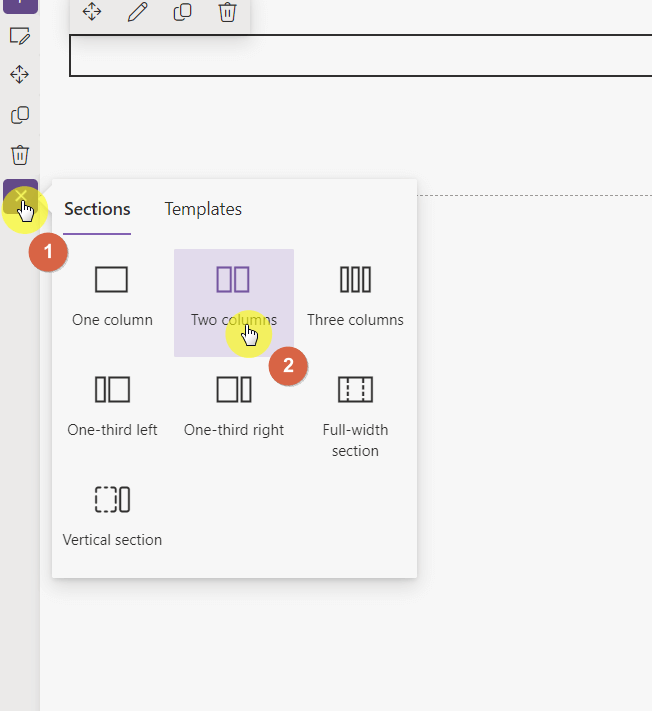
To add the section with the image and text:
- Click the plus button to add a new section
- Select the “Two columns” option
To add the image part:
- Hover and click again on the target section
- Find the “Image” web part
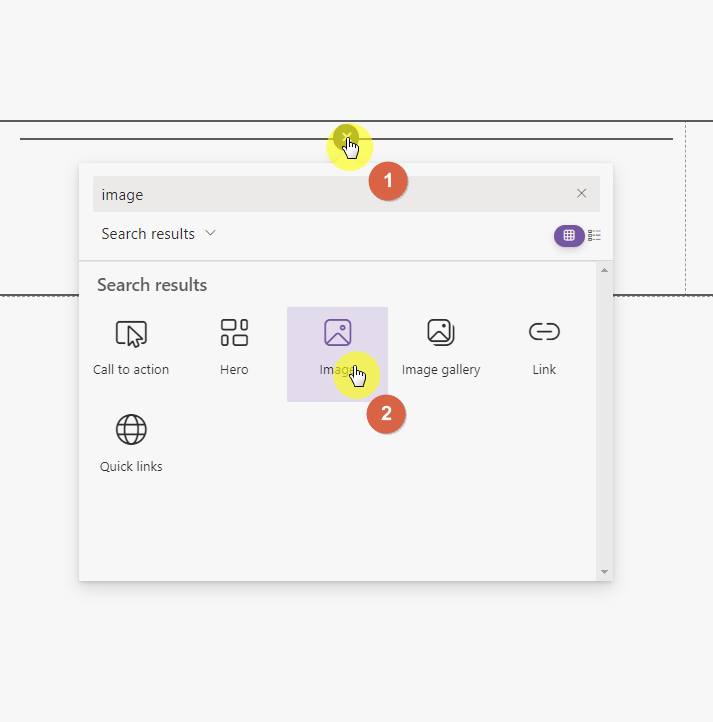
To find the right picture:
- Click the “Browse images” button
- Go to “Web search” tab
- Use the search function
- Click the right image to use
- Click the “Insert” button
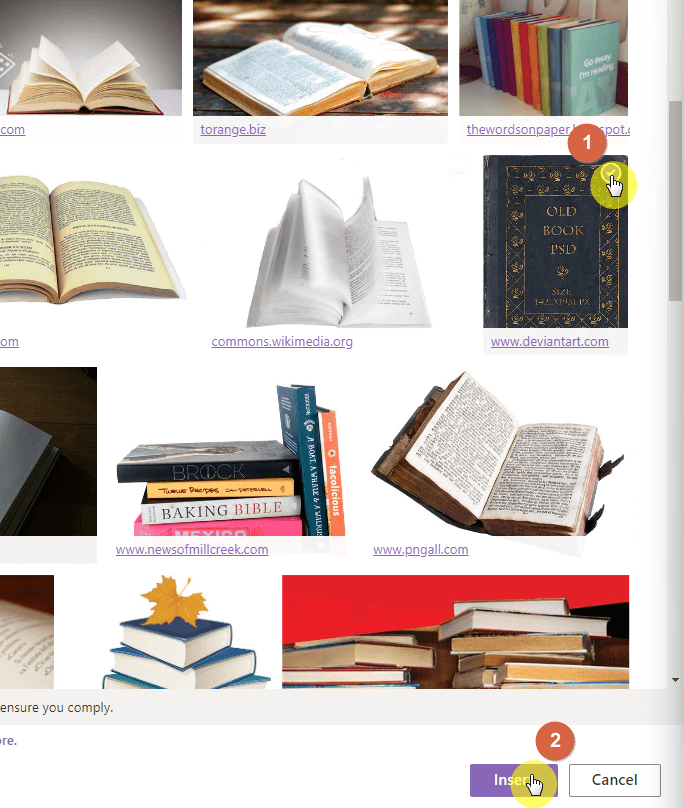
Note: The results shown here are only those with creative commons licenses. These are free to use by anyone.
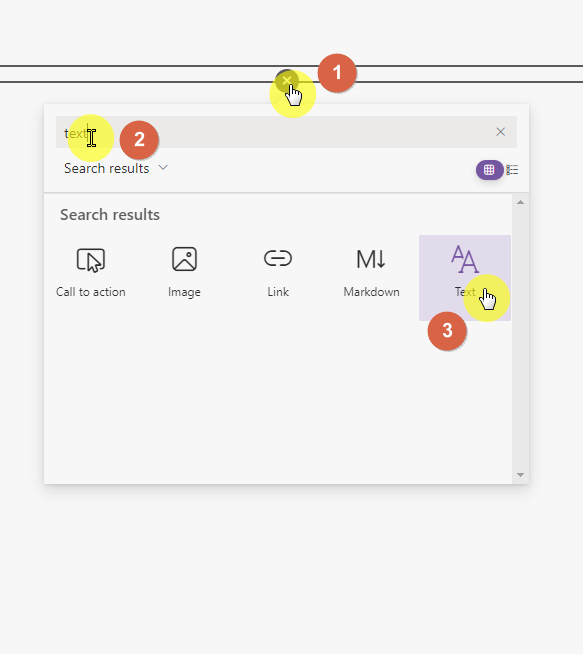
For the text part:
- Go again to the target section
- Find and click the “Text” web part and use it
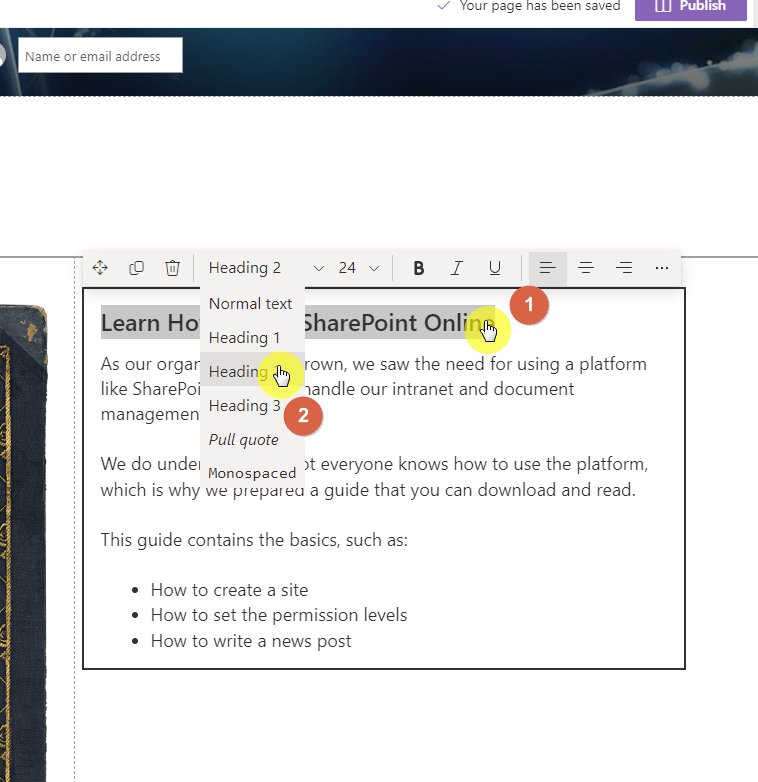
To format the text:
- Write the content first on the box
- Highlight the part to format
- Select to apply the formatting options
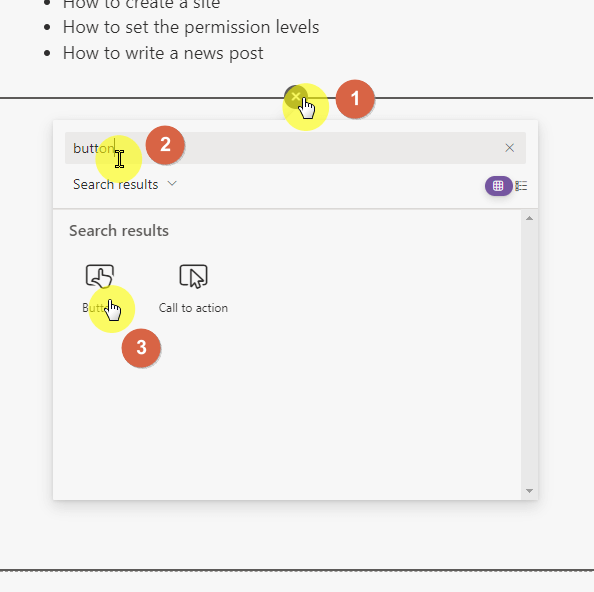
To add a button:
- Go to the target section
- Find and click the “Button” web part
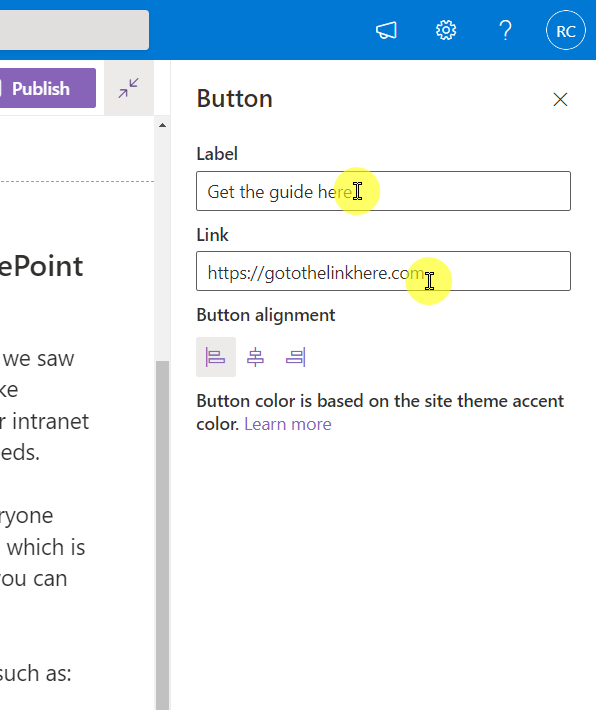
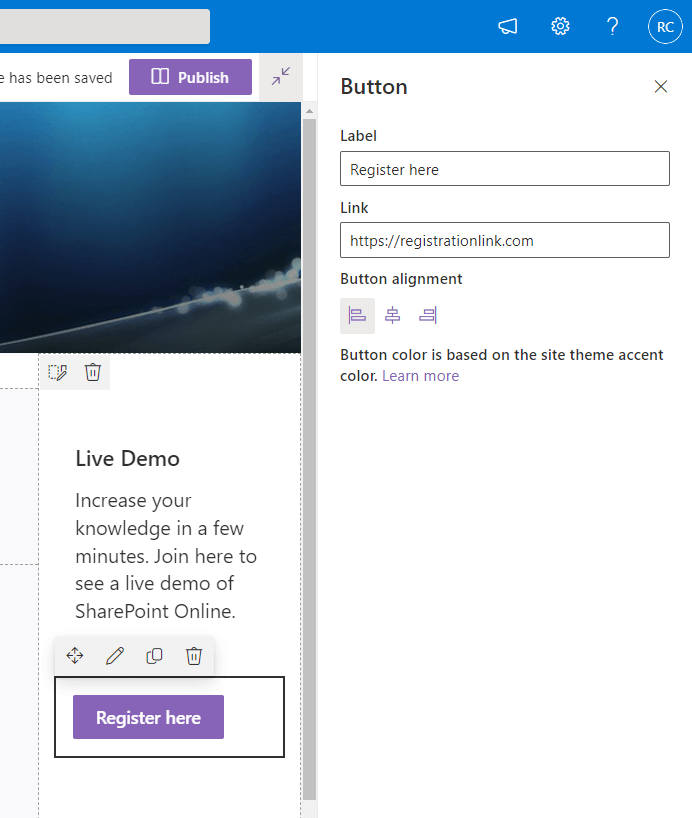
The next part is configuring the button:
- Click the pencil button for that button
- Enter the label (the text inside the button)
- Provide the link where the button points to
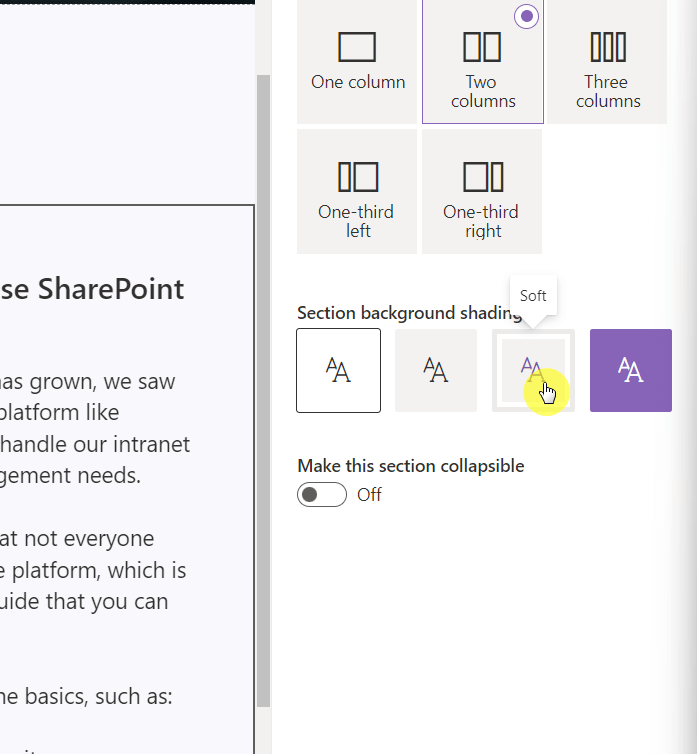
Before leaving this section, let’s change the section background shading:
- Click the target section
- Click the edit section button on the left side
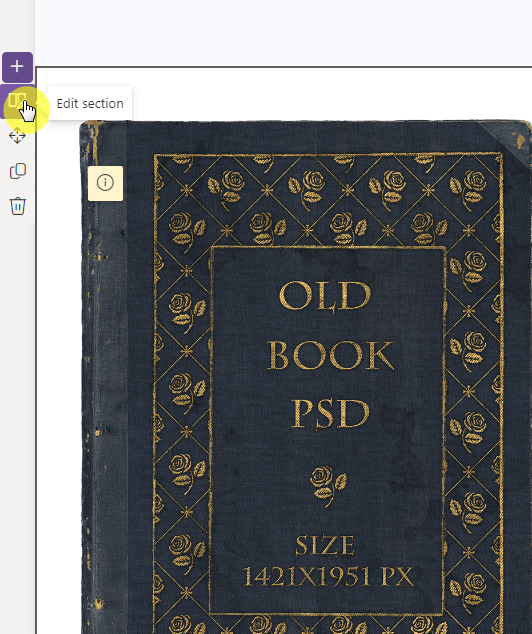
On the right panel, select the soft shading option:
Step #4: Customize the side panel
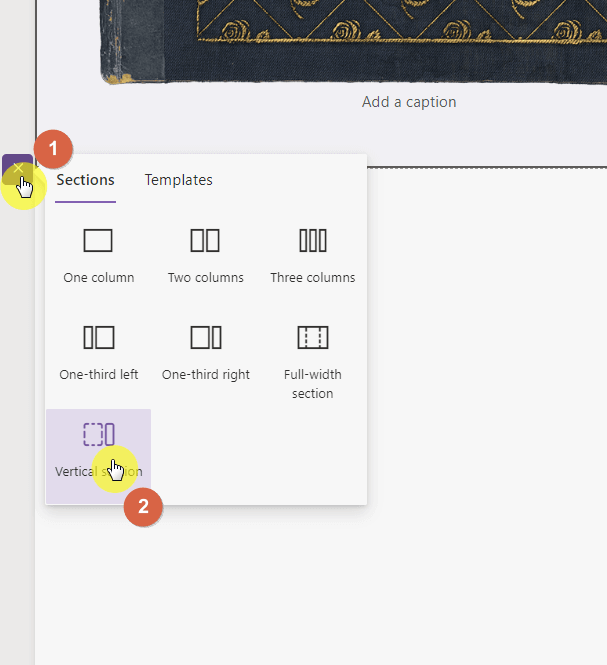
To create the side section as what you have seen in the sample image:
- Create a new section
- Select the vertical section option
For the next part:
- Complete the text part
- Add another button here
To finish up the side panel part:
- Duplicate the first text-button twice
- Edit the duplicates
- Apply a neutral background shading
Step #5: Make the landing page the homepage (optional)
If you followed the steps earlier, the page you’re looking at now will be looking quite similar to what I showed before the first step.
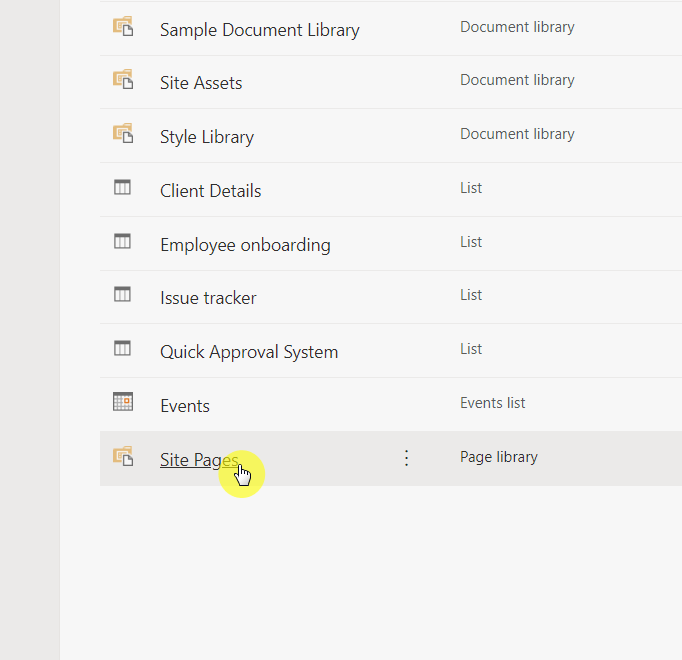
Now, if you want to make the landing page the homepage, you will have to take a few extra steps by going to the site pages library:
- Click the gear icon in the upper-right corner of the paghe
- Select “Site contents” from the options
Click the “Site Pages” library:
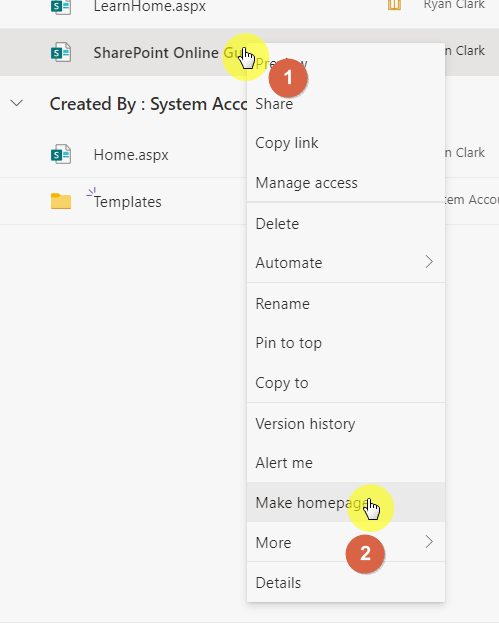
To make the page the new homepage:
- Right-click on the landing page first
- Select the “Make homepage” button
If you go back now to the homepage of the site, you will see the landing page instead.
As you have seen, creating a landing page in SharePoint is easy. In fact, it’s just like creating any other pages for the site.
This will be easier and faster on your part if you have a rough draft of the layout and design of the landing page.
Do you have questions about making a landing page in SharePoint? If so, share your thoughts and questions below.
For inquiries and other concerns, please use the site’s contact form and I’ll get back to you as soon as possible.


