
Last Updated on June 8, 2024
Do you send newsletters to users regularly?
If that’s the case, then you know that newsletters can be a great way to keep your team or organization up to date on the latest news and developments.
In this article, I’ll share some tricks on creating and promoting newsletters straight from SharePoint.
Let’s get started.
Table of Contents:
Create a news post on your site first
The modern experience in SharePoint brings with it a lot of benefits — including an easy way to create a gorgeous-looking newsletter.
The best news here is that you don’t even need to do a lot of customization on the news post itself.
Follow the steps below to create your own news post:
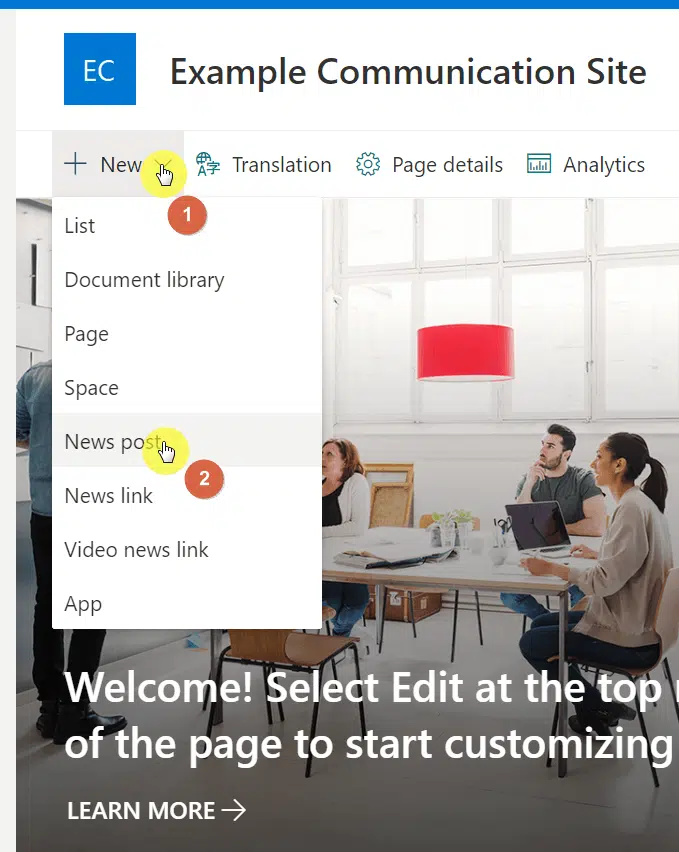
- Click the “New” button on your site
- Select “News post” from the list
Note: You can also use the “Page” option. The email options I’ll discuss later can also be applied to pages you create.
You will then be presented with three options:
- Blank: Best option if you want to start designing the news post from scratch and add the columns, texts, images, and other elements by yourself.
- Visual: The best-looking news post template that comes with a featured image and placeholder images.
- Basic text: Comes with a two-column template with a featured image at the top — more emphasis on the text formatting.
Related: Using Site Templates in SharePoint Online: Beginner’s Guide
To proceed:
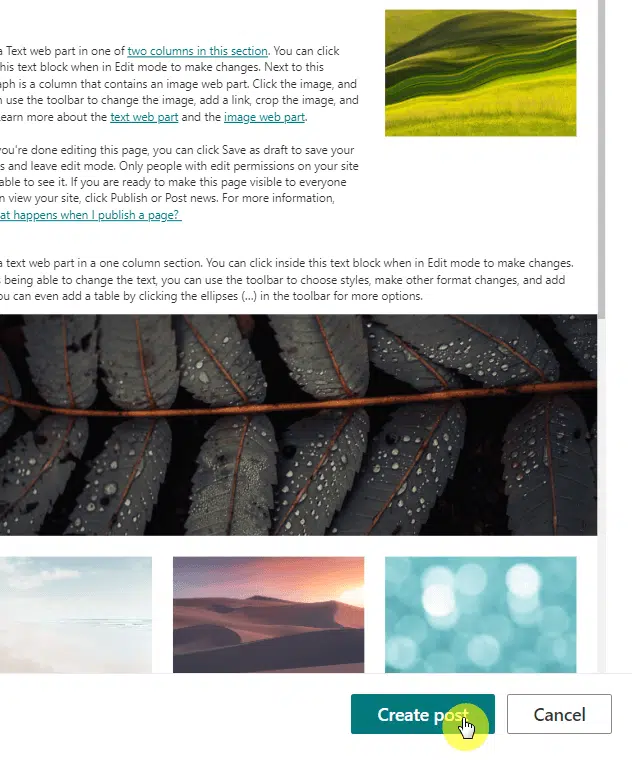
- Select the template you want to start with
- Click the “Create post” button at the bottom
From there, all you have to do now is complete the news post:
- Write the texts of your news post
- Replace the images in the post
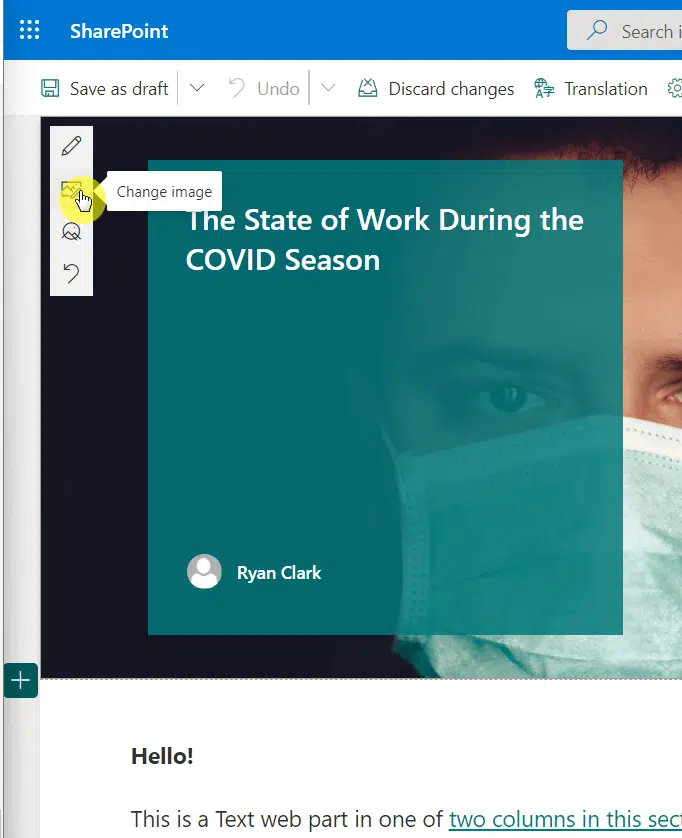
To replace the featured image:
- Hover your mouse over the image
- Click the “Change image” button
To replace the images inside the post:
- Click on the image you want to replace
- Click the edit (pencil) button
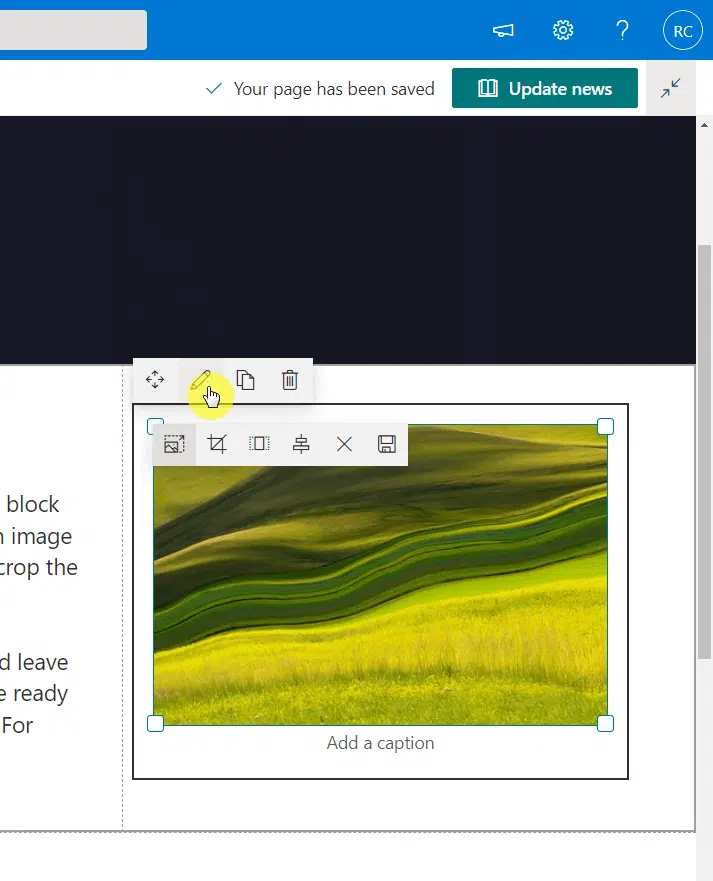
Note: You can also delete the image by clicking on the trash button. With that, only the image will be deleted, not the section.
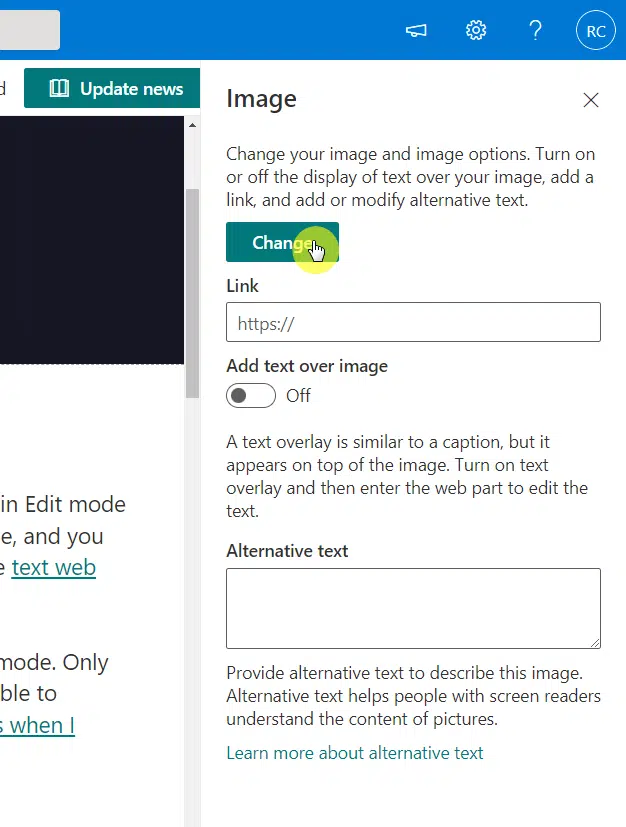
Once you click the pencil icon, a right panel will appear.
Click the “Change” button to replace the image:
When you’re ready to publish the news post, click the “Post news” button at the upper-right corner of the page:

Sign up for exclusive updates, tips, and strategies
Send the news post by email
Now that you have a news post, there’s no need to compose a fresh email regarding that news post.
That’s because you can directly send an email to the users about that news post straight from the page.
On published a news post or page:
- Click the “Send to” button on the command bar
- Select the “Email” option

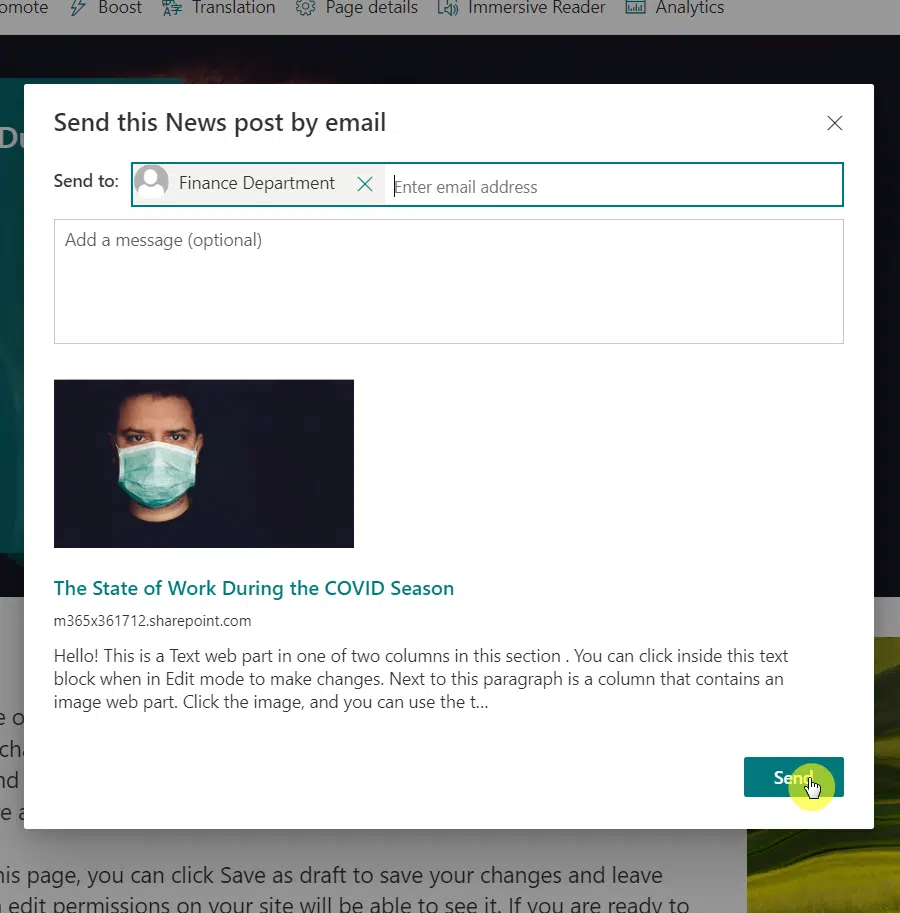
That will open a small window where you can enter the email address (which can also be a distribution list or security group) and a message.
Simply click the “Send” button to send the email:
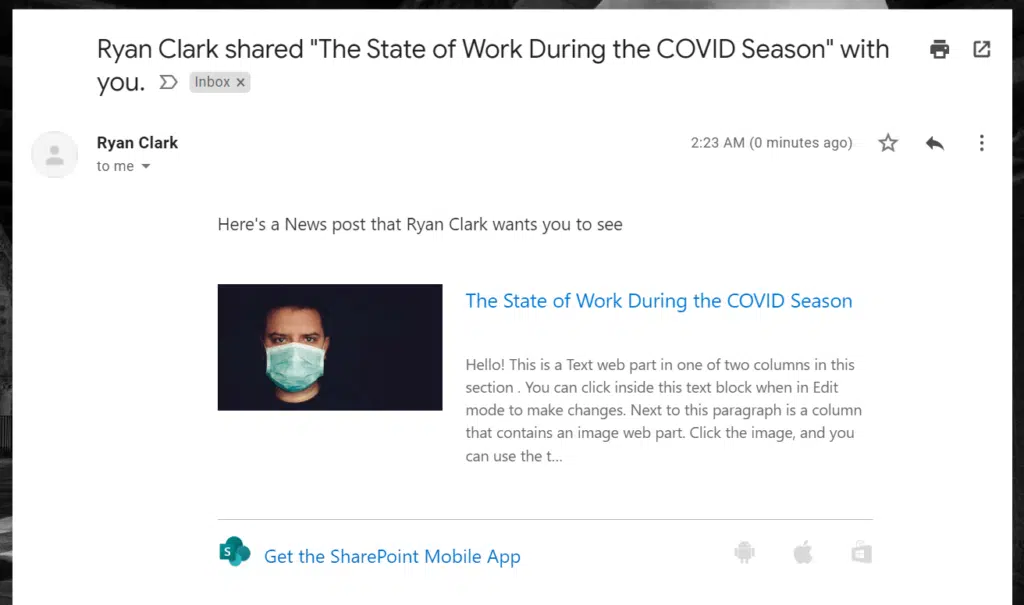
This is what the email looks like:
Email a news digest option
This one works well if there are more than one news posts you want to send.
If you’re using a communication site, one of the default web parts is a news widget (you can add this widget to any type of site).
Note: To create a different kind of site, check this guide: How to Create a SharePoint Site From Template: Full Tutorial.
Here are the steps:
- Navigate to your site’s homepage
- Click the “See all” link on the news widget
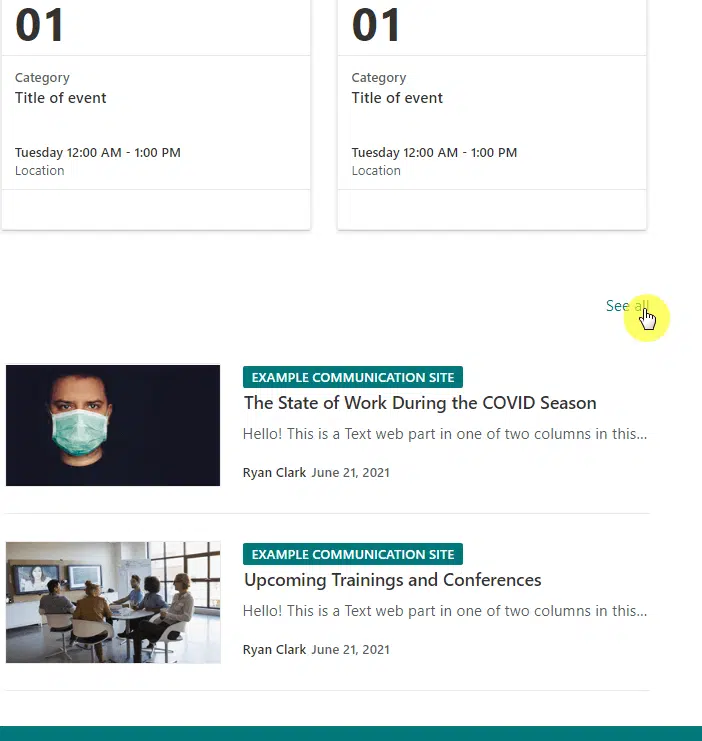
Note: This link will only appear once you have a lot of posts created (or have more than the maximum posts seen on the widget).
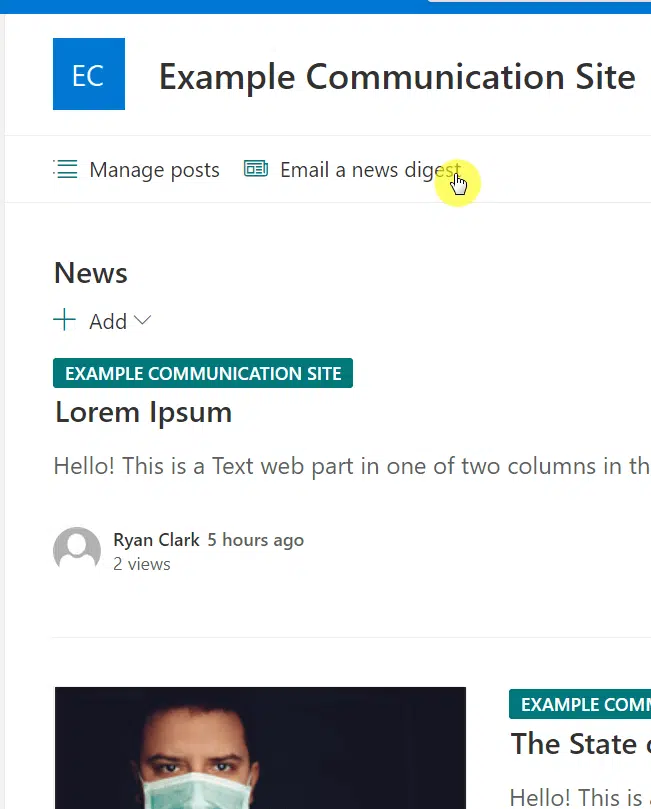
On the next page, click the “Email a news digest” button from the command bar:
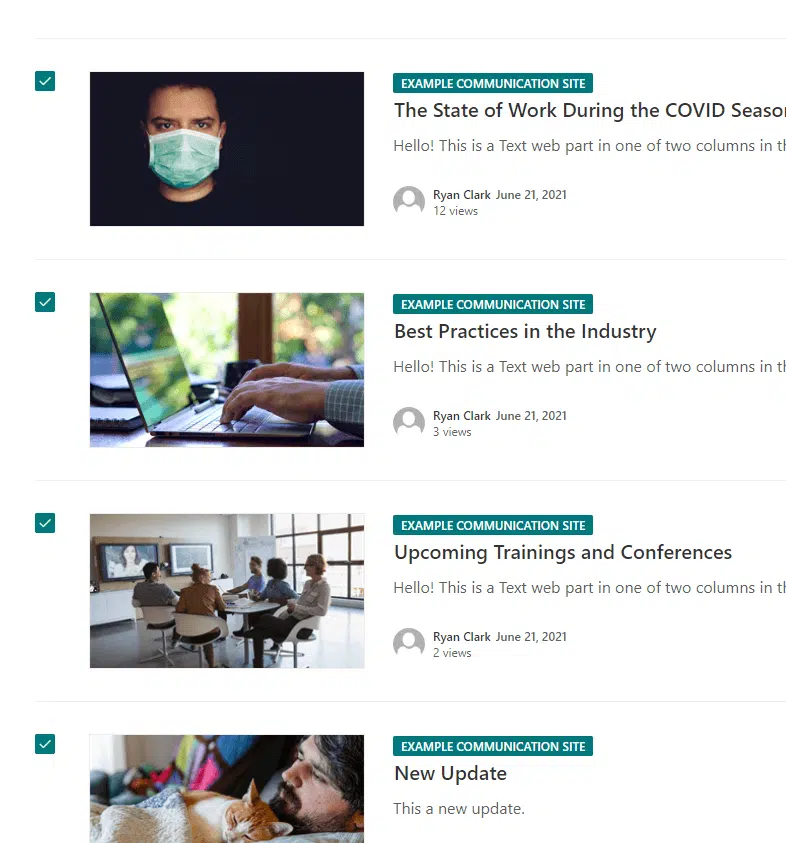
After that:
- Select the news posts that you want to include in the news digest
- Click the “Next” button at the bottom
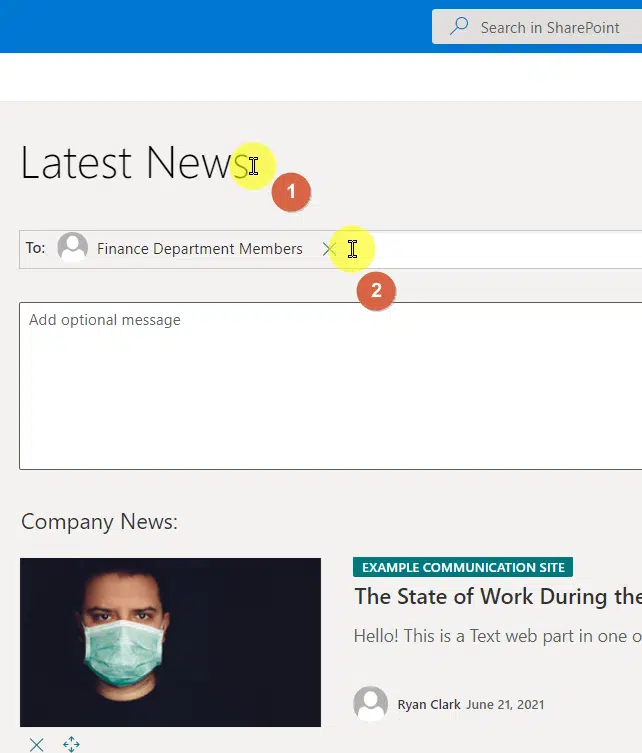
On the next screen:
- Provide a title to the email (which will also be the page title)
- Enter the recipient of the news digest email (which can be a security group or distribution list)
- Click the “Send news digest” button at the bottom
Note: This method will create a new page in your site pages library that will basically replicate the email you sent.
This is what the news digest email looks like:
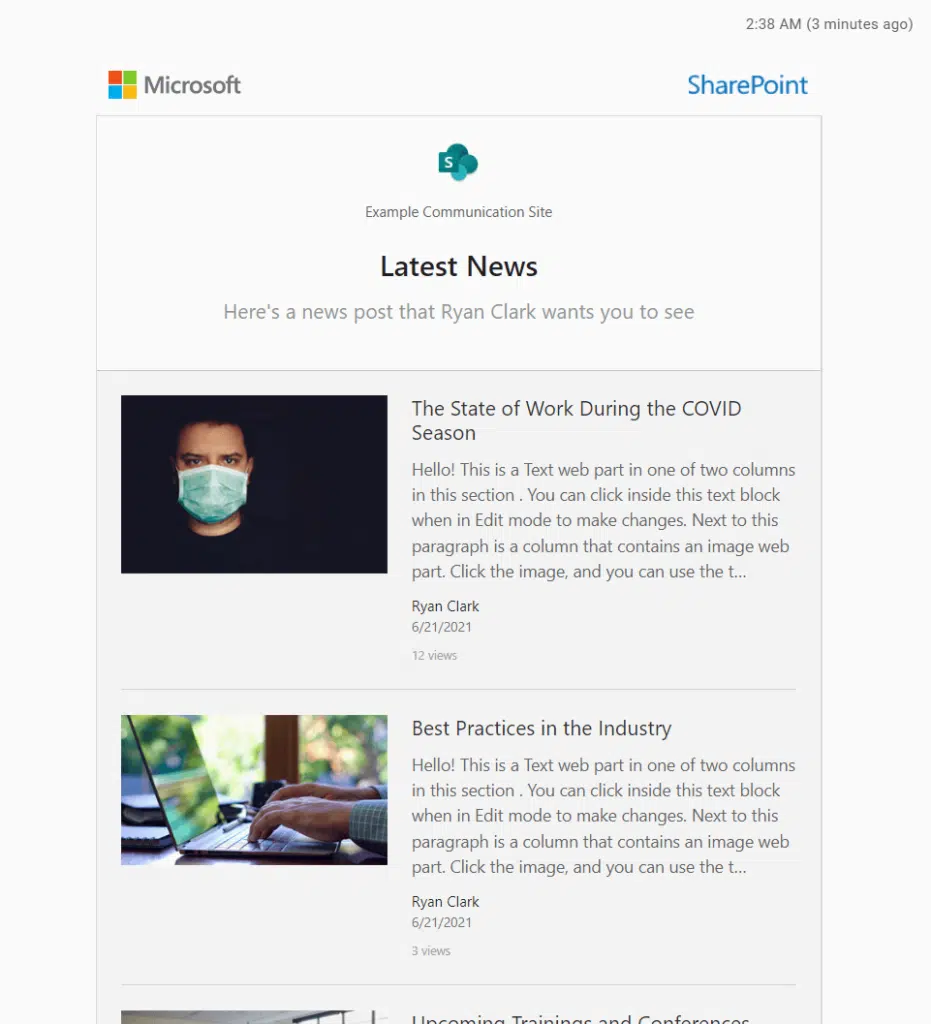
As you can see, this option sends a better-looking email. The cool thing here is that these emails aren’t only updates since you can enter your own message as well.
So how do you feel about these newsletter options in SharePoint? Share your thoughts in the comment section.
For inquiries and other concerns, please use the site’s contact form and I’ll get back to you as soon as possible.


