
Last Updated on March 30, 2025
Need to delete a site?
In this guide, let’s talk about how you can actually delete a site in SharePoint Online safely.
Let’s get started.
Table of Contents:
Things to Know Before You Delete
Before deleting a site, there are a few things worth checking to avoid mistakes and make sure nothing important gets lost.
Here’s a quick list of what to keep in mind:
- Decide if deletion is necessary (like maybe archiving is enough)
- Know what happens after deletion
- Review site content
- Notify team members
Deleting a site collection means losing not just the site but all the data, lists, and document libraries within it.
That’s why the first in the list is to decide whether or not deletion is really necessary, or maybe archiving can work.
Archiving puts the site in a kind of cold storage; not deleted, but it’s not active either (unfortunately, this isn’t free).
Admins should also check if the site is part of a larger hub or connected to Microsoft 365 Groups.
Checking if the site’s still being used is also smart, just looking at the usage report gives you a quick view of who’s been active.
If it’s just you, that’s usually a green light:
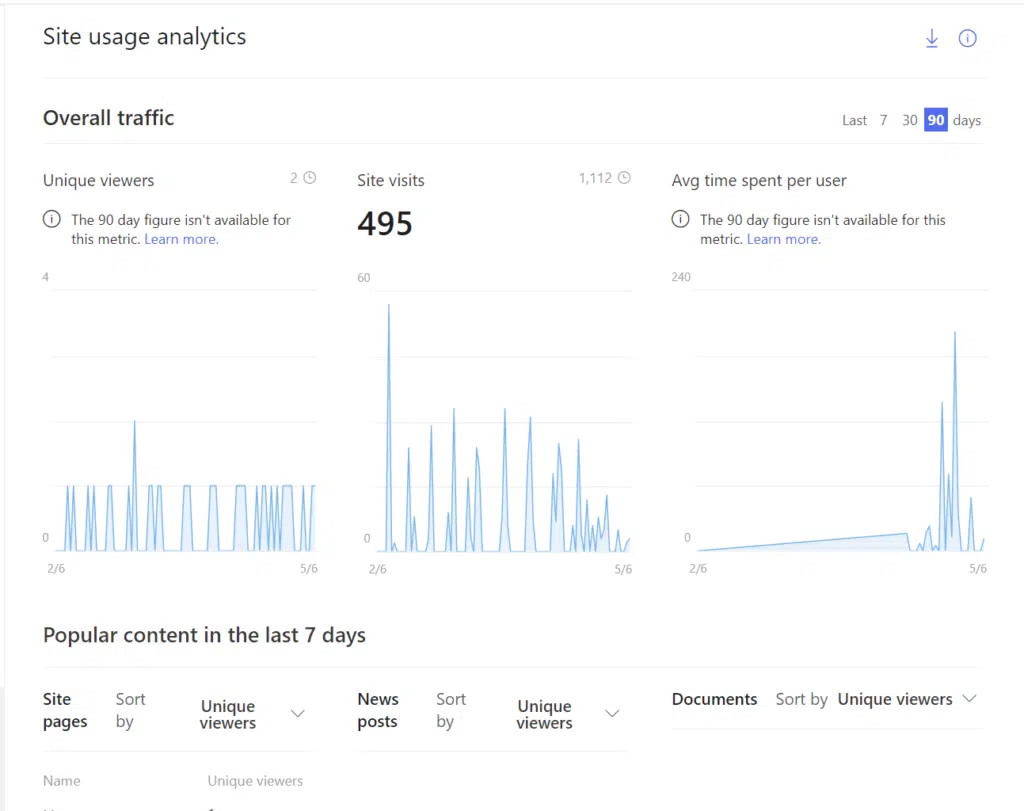
The bottom line here is that it’s a good habit to check before deleting anything. 🙂
Sign up for exclusive updates, tips, and strategies
There are at least two ways to delete a site:
1. Within the site
Navigate to the site you want to delete, click the gear icon (⚙️), then on the Site information option.
Then you will see the Delete site button:
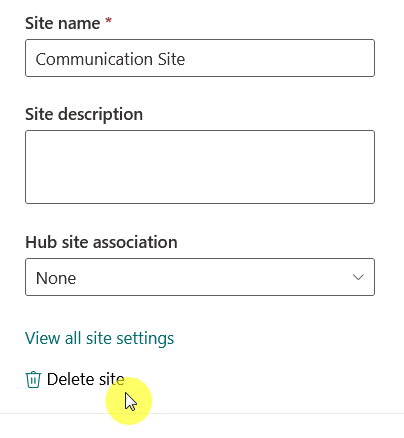
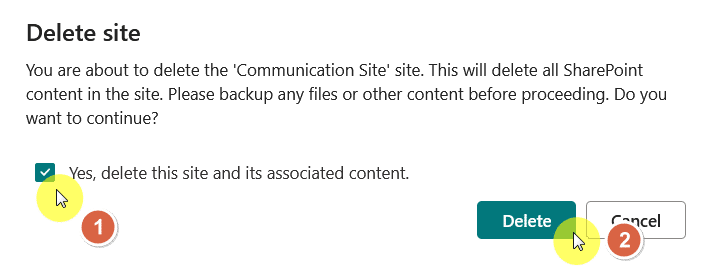
A small window will appear notifying you that you’re about to delete the site, including all its content.
Click the checkbox to confirm, and then the Delete button.
If you’re deleting a team site with a Microsoft 365 group, it will also notify you that files, conversations, etc. will be deleted.
You can also delete a site from the SharePoint admin center.
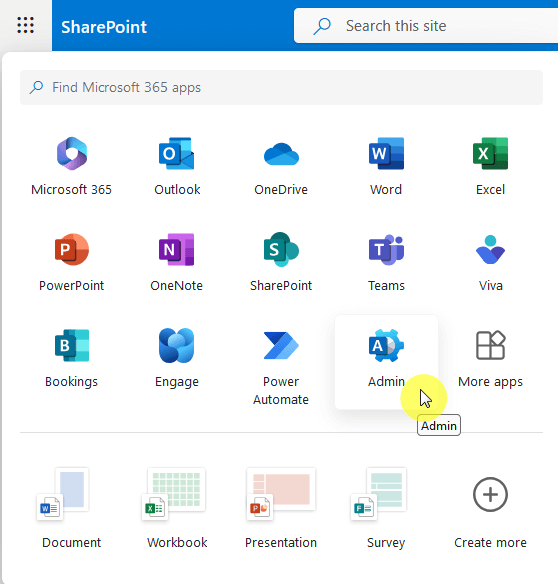
From the site or any page from Microsoft 365, click the app launcher, then the admin option.
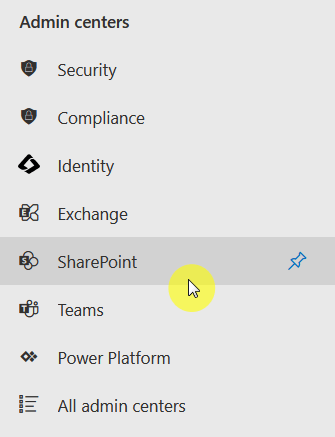
Then, show all the admin centers button from the left-hand menu, then click on the SharePoint option.
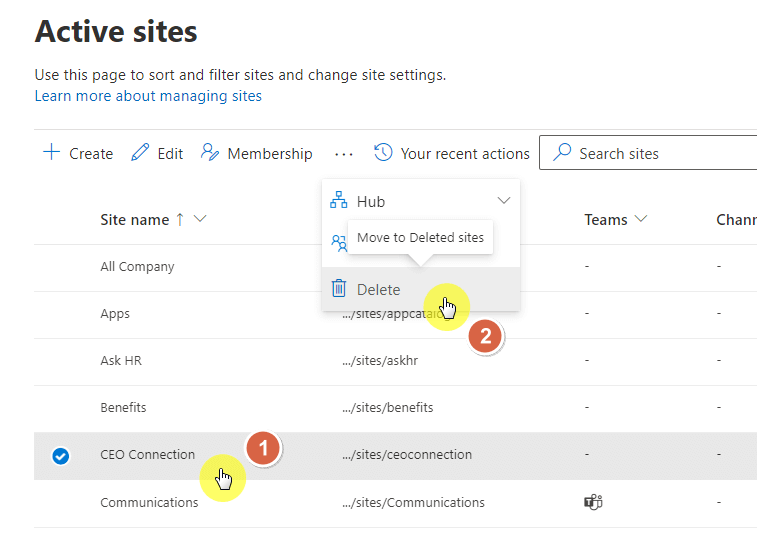
On the SharePoint admin center, find the site you want to delete and select it using the radio button on the left column.
Then click on the Delete button from the toolbar.
Similar to the earlier section, you will see a warning about deleting the site and its contents. 🙂
When Deletion Doesn’t Work
Sometimes, deleting a site doesn’t go as planned, as SharePoint might not allow you to delete it in the first place.
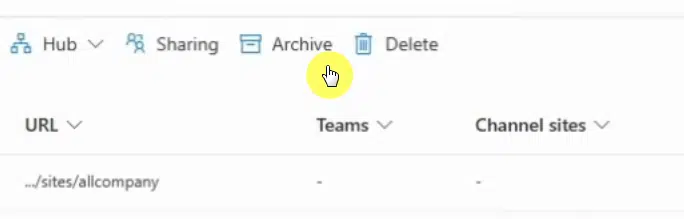
For example, you may see the delete button greyed out:
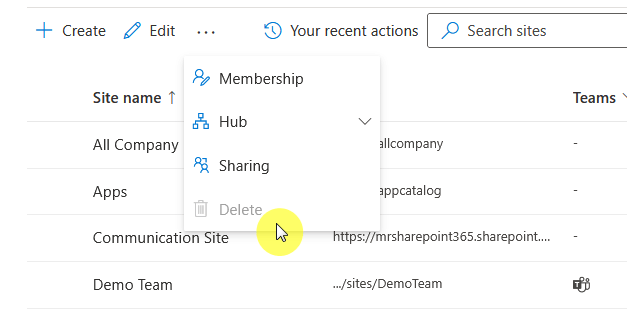
There are two primary reasons why you might not be able to delete a site:
- Compliance policies
- Hub sites
If your organization has retention or legal hold policies in place, those can block site deletion.
SharePoint won’t let you delete anything that’s supposed to be kept for legal or compliance reasons, which is good news. 🙂
Hub sites can’t also be deleted as SharePoint won’t allow you to delete a hub site while it still has other sites associated with it.
In short, if deletion fails, it’s usually because something else is connected to or protecting the site.
What Happens After Deletion
After you delete a SharePoint Online site, it’s not completely gone right away.
Here’s what actually happens:
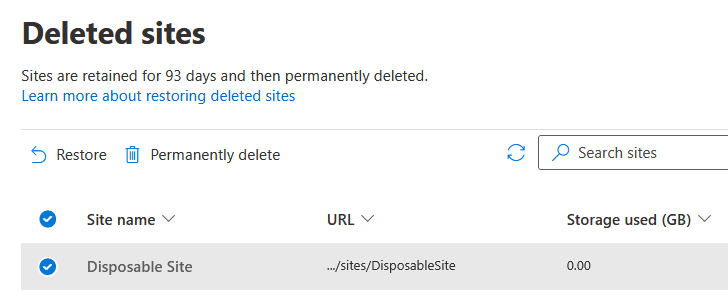
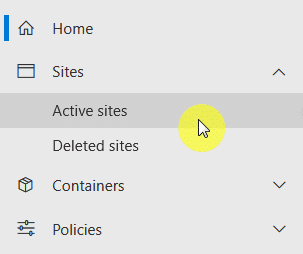
The site gets moved to the Deleted sites section in the SharePoint admin center, which is directly below the active sites page.
It stays there for 93 days, kind of like a safety net, and during that time, you or another site admin can restore it if needed.
Everything—documents, pages, lists—comes back just like it was.
If you leave it alone for the full 93 days, SharePoint will permanently delete the site and all its content.
Unfortunately, after that, recovery gets tricky or impossible unless you’ve got a backup.
Do you have any questions about deleting a site in SharePoint Online? Let me know below.
For any business-related queries or concerns, contact me through the contact form. I always reply. 🙂


