

Last Updated on January 18, 2025
Want to create a checklist?
In this guide, I will show you how to easily create a checklist in Microsoft Word that’s printable and clickable.
Let’s get started.
Table of Contents:
How to Create a Printable Checklist
You might already know this, but creating a printable checklist in Word is easy when you use custom bullets.
Take note that this is a great option for a non-interactive, print-only list, where you check boxes using a pencil or pen.
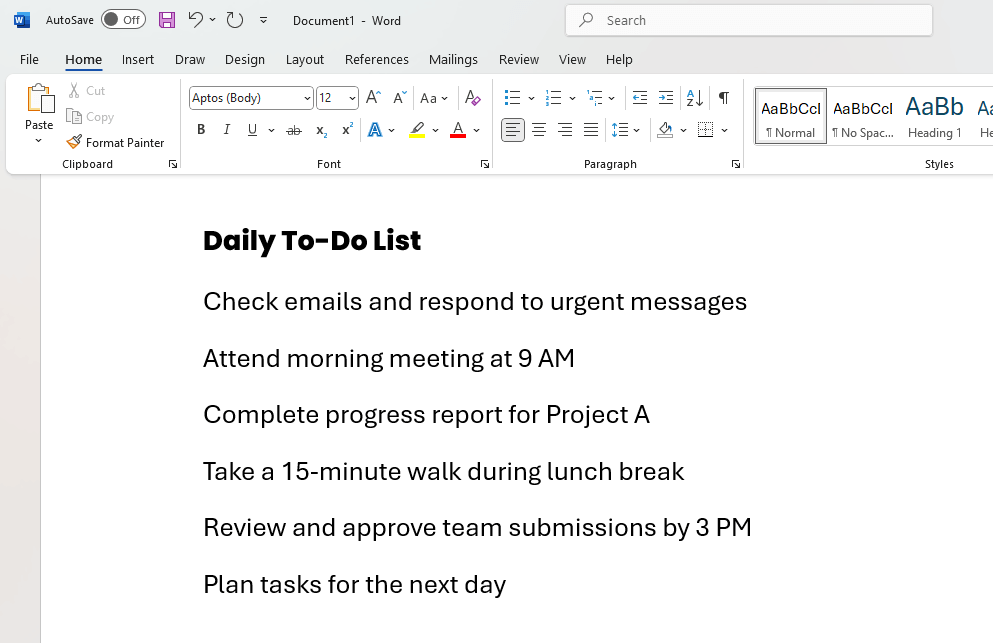
For this, open a new document and type out your list, one checklist item per line:
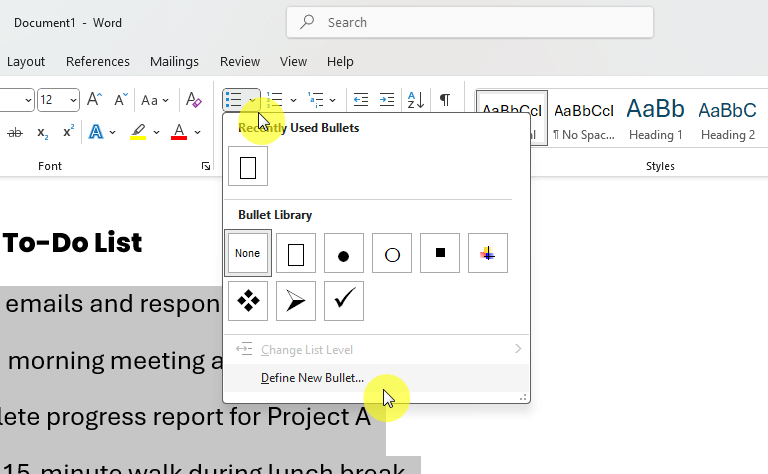
To make this easy, select the checklist items.
Click on the dropdown arrow next to the bullet icon in the ribbon (this is in the “Home” tab in the ribbon).
Then select “Define New Bullet” to open customization options:
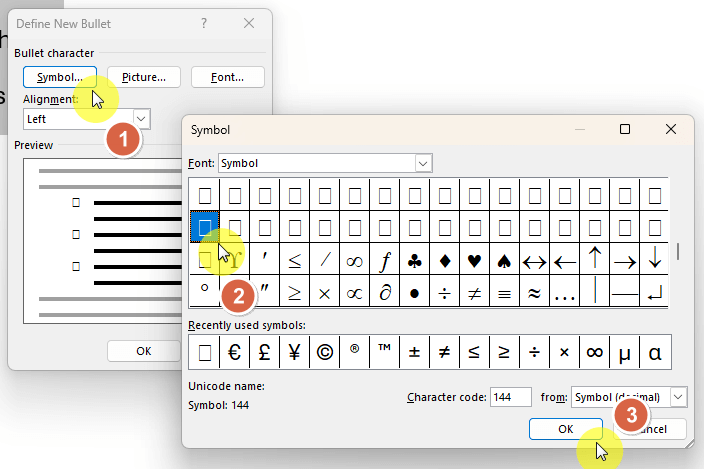
A small window will then appear.
Click the “Symbol” button, then choose a checkbox symbol from the library, and hit “OK”.
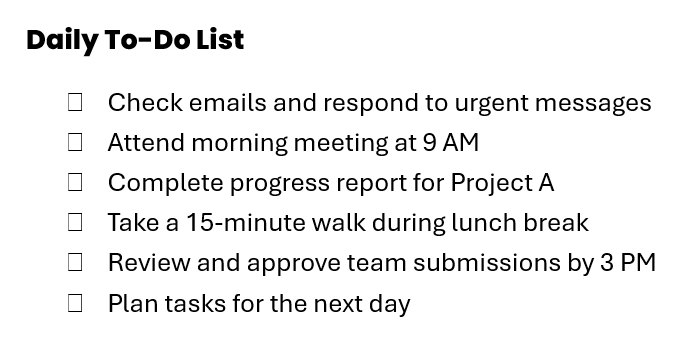
Like this:
After this, your checklist takes shape, though you may have to adjust spacing and formatting to make it neat.
If you print it, the checkboxes will appear as empty symbols, ready to be marked by hand.
Keep your checklist concise to save space on the page. 🙂
👉 Related: How to Create a Checklist in SharePoint Online (Guide)
Sign up for exclusive updates, tips, and strategies
How to Create a Clickable Checklist
A clickable checklist in Word lets you check off tasks directly on your computer.
This type of checklist is perfect for digital use, which makes it easy to manage tasks without printing.
Enable the Developer Tab
The first step here is to enable the developer tab, which is hidden by default.
That’s because the option to create “interactive” checklists can only be found here.
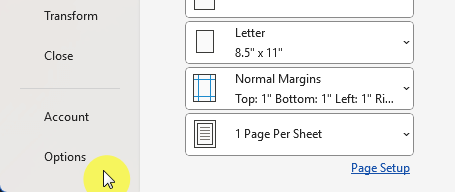
Fortunately, it’s quite easy, go to the “File” tab and click the “Options” button found at the bottom of the page.
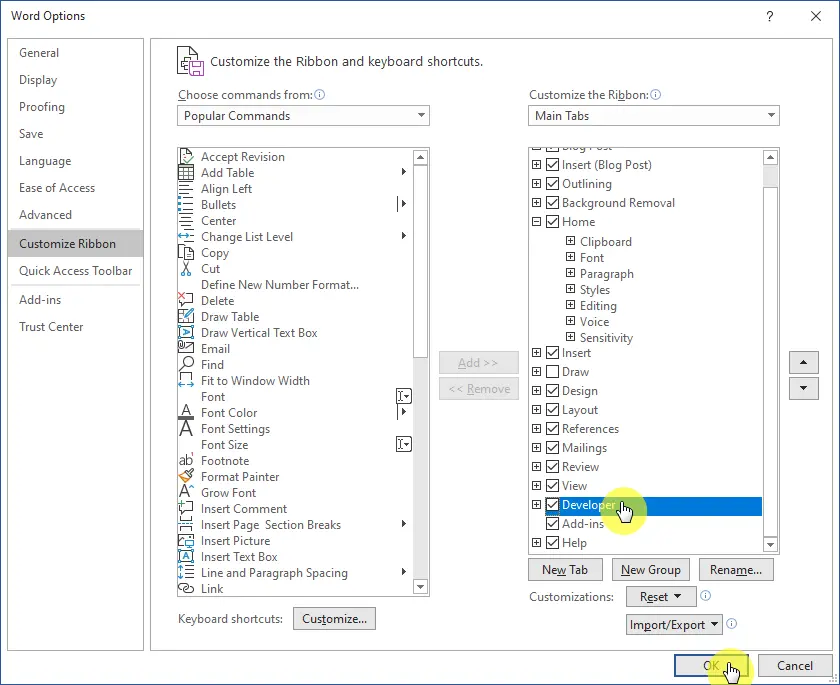
In the Word Options dialog box, select “Customize Ribbon” from the left-hand menu.
Then in the right column, find and check the box labeled “Developer”, then click “OK” to save and exit:
Once enabled, the developer tab will appear on the ribbon and give you access to advanced tools like checkbox content controls.
Insert the Check Boxes
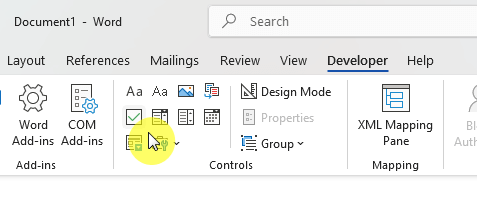
Unlike when creating a printable checklist, you need to place the cursor at the beginning of the first item in your list.
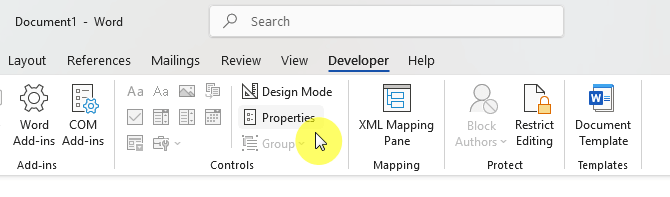
Then go to the developer tab in the ribbon and click on the “Check Box Content Control” button to insert a checkbox:
After that, move to the next line and add checkboxes to all remaining items in the list.
One thing I noticed here is that you may want to add a space before the first character of each item to make it neater.
Without an additional space, the checkbox seems too close to the items.
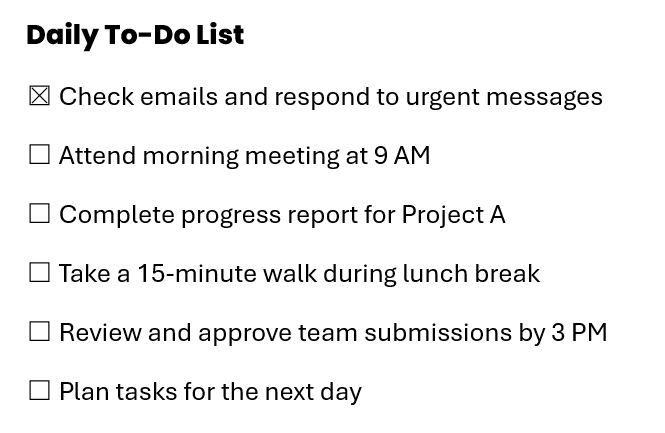
These checkboxes are clickable, so you can mark tasks as completed directly in Word.
If you’re printing the checklist, the boxes will remain blank for manual checking.
Customize the Check Boxes (Optional)
If you want to adjust how the checkboxes look or behave, Word gives you customization options.
Select a checkbox first, then go to the developer tab again but this time, click the “Properties” button:
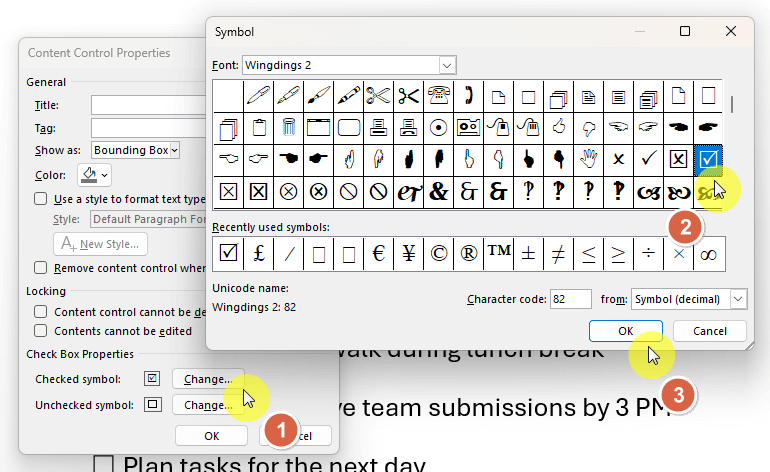
In the small window, you can change the check box properties, including the checked symbol and the unchecked symbol.
When you click on the “Change” button, you can choose a different symbol, such as a checkmark or a custom character.
Click the “OK” button once you’re satisfied:
Customizing the checkboxes can give your checklist a unique style.
For example, you can swap the default “X” for a cleaner checkmark. 🙂
Do you have any questions about making a checklist in Microsoft Word? Let me know in the comments.
For any business-related queries or concerns, contact me through the contact form. I always reply. 🙂


