

Last Updated on April 21, 2025
New to Power Automate?
In this guide, I will give you the basics of Power Automate and what makes it great for creating workflows.
Let’s get started.
Table of Contents:
What is Microsoft Power Automate?
Power Automate is a cloud-based tool from Microsoft that helps people automate repetitive tasks and processes.
It’s part of the Microsoft Power Platform and lets users create workflows, called “flows,” between apps and services.
Here’s a quick list of what it can do:
- Automate repetitive tasks
- Connect to hundreds of apps
- Let you build workflows for business processes
- Work across devices
For example, let’s say an employee submits a leave request using a Microsoft Forms survey.
Power Automate can then detect the form submission, send the request to the manager, and then wait for the response.
It can then notify the employee if their leave was approved or rejected, and then update a list or sheet with the leave details.
Handy, isn’t it? 🙂
Sign up for exclusive updates, tips, and strategies
Key Features of Power Automate
Power Automate comes with some pretty handy features that make it a go-to tool for automating tasks, especially if you’re not a coder.
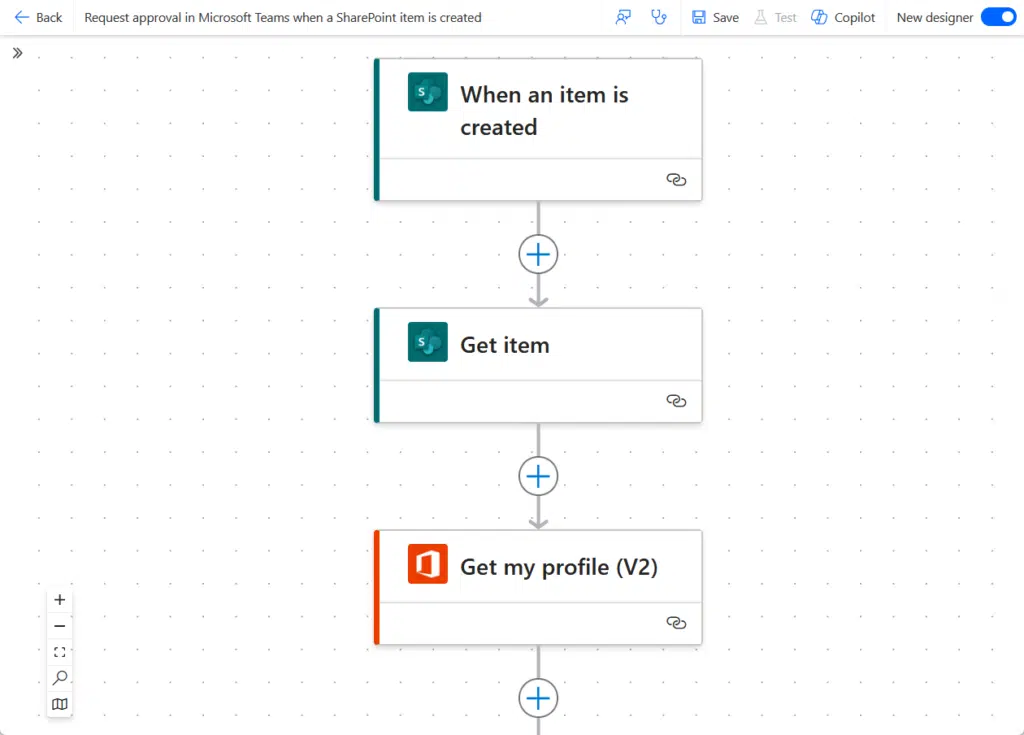
Low-code/no-code interface
One of the biggest draws is its low-code/no-code design, which means you can build flows just by dragging and dropping steps.
The visual editor literally looks like this:
Just a disclaimer here:
Most of the time, you don’t need to code, but there are situations where a bit of technical knowledge helps.
For example, basic flows like sending an email or getting approvals can be built without writing a single line of code.
However, if you’re doing something more advanced like:
- Working with APIs
- Using expressions for custom logic
- Manipulating complex data
You might need to use Power Automate’s expression language (similar to Excel formulas) or even throw in some JavaScript or JSON.
Integration with various applications and services
Another big feature is how well it connects with other apps and services.
There are over 1,000 prebuilt, certified connectors available for Power Automate, which you can check right inside.
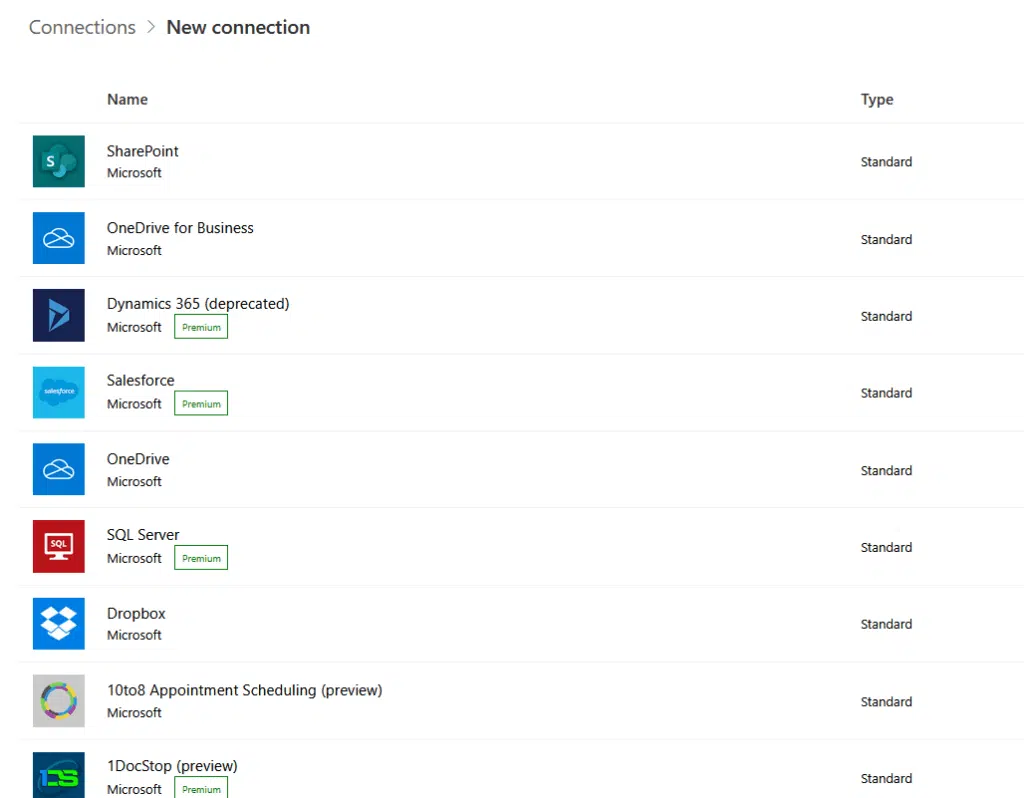
This includes apps like:
- Google Drive
- Dropbox
- Slack
- Popular apps that you would be using
Naturally, there would be a few, rare apps for which Power Automate doesn’t have a built-in connector.
Fortunately, if the service you want to connect to has an API (which many do), you can set up a custom connector.
You basically define how it should connect, what kind of data it expects, and what actions or triggers it can use.
Microsoft even gives you a step-by-step wizard to guide you through setting it up. 🙂
Pre-built templates
Power Automate also gives you pre-built templates for common workflows.
There are hundreds of them available in different categories, which you can easily browse through inside Power Automate.
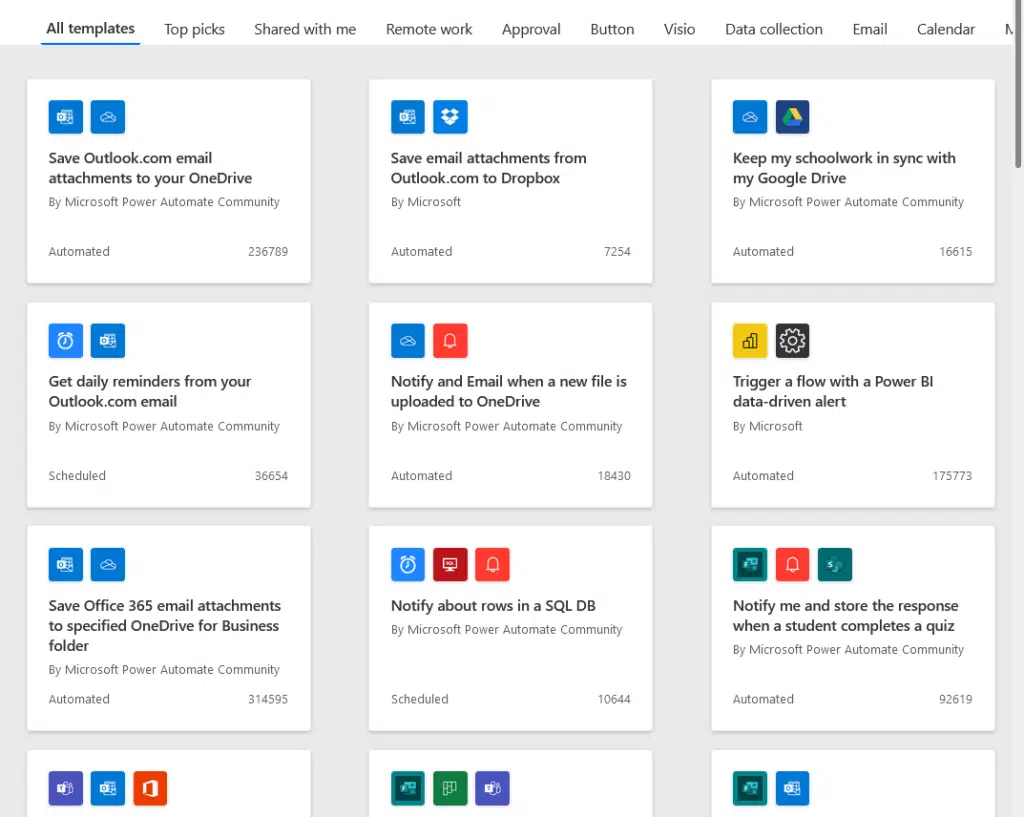
Some of the popular ones include:
- Save email attachments to OneDrive or SharePoint
- Get a notification when a new email arrives from a specific person
- Post a message in Microsoft Teams when a new item is added to a SharePoint list
- Track Microsoft Forms responses in Excel
- Send a daily weather forecast to your email or phone
What’s nice is that you can totally edit a template to make it fit your workflow.
The templates are like starting points; once you choose one, it opens up in the flow editor, where you can add, remove, or modify steps.
Want to change who gets an email notification? You can. Need it to save files to a different folder? No problem.
You can even mix in other services, add conditions, or loop through data if you want to get fancy.
AI automation capabilities like Copilot
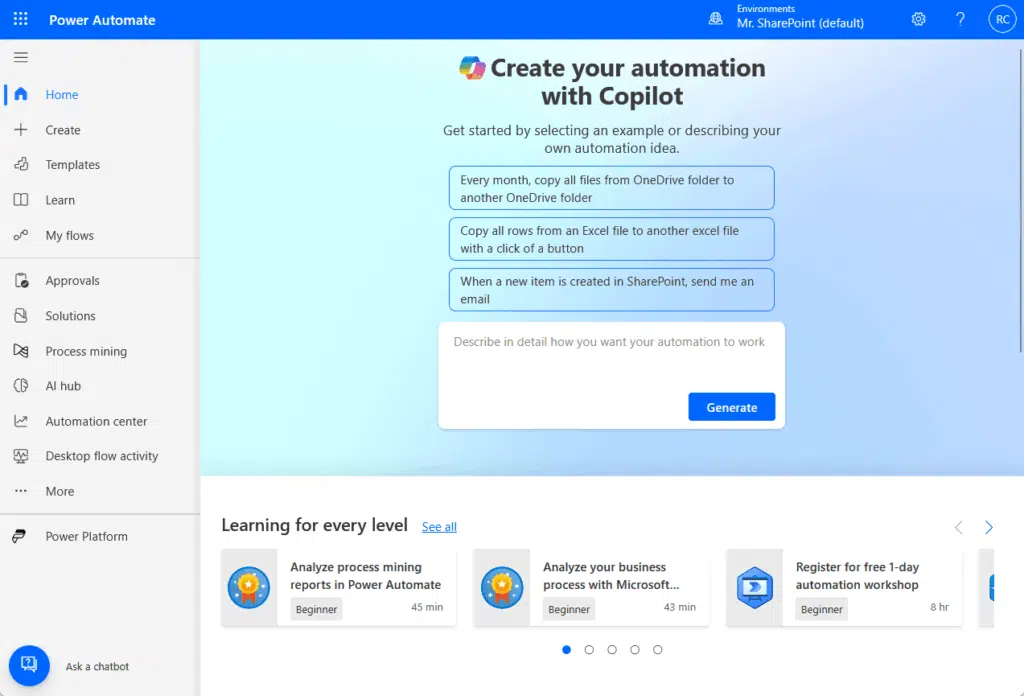
Recently, they’ve added AI into the mix with Copilot, which helps you build flows just by describing what you want in plain English.
You just tell it what flow you want to create:

Instead of manually dragging in actions and setting conditions, you can type what you want in plain English.
Copilot will then generate a draft flow that does exactly that, which you can then review, tweak if needed, and save.
It doesn’t replace the flow editor; you can still customize the flow as usual, but it makes the starting point much easier.
Types of Flows in Power Automate
Here’s a quick rundown of the main types of flows:
1. Automated cloud flow
This type of flow runs automatically when a trigger happens, like getting a new email or a file being added to a folder.
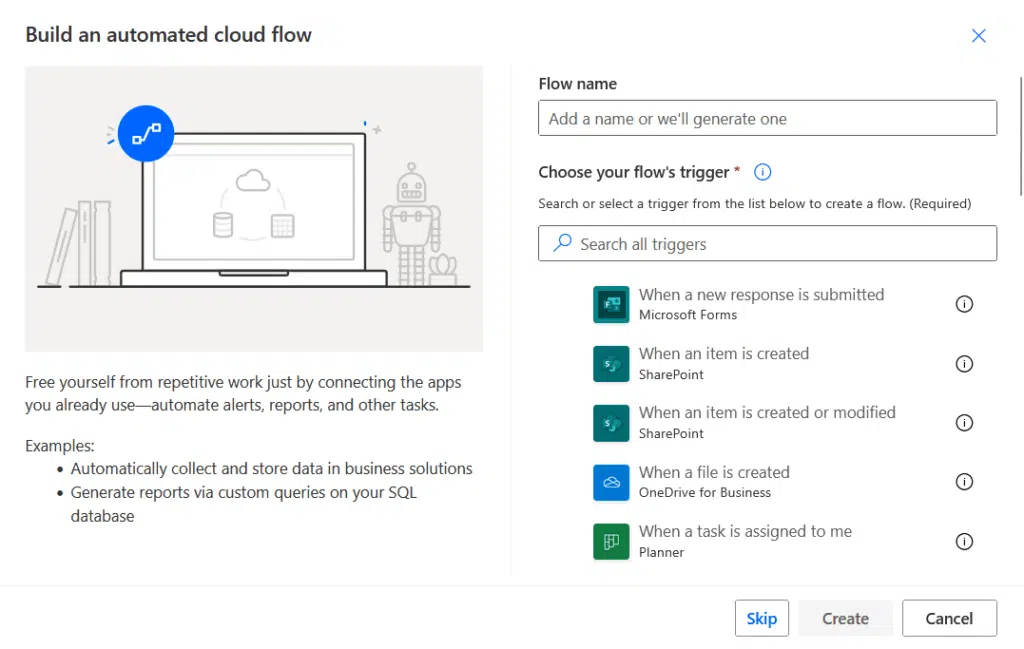
You just literally set a condition, and the flow kicks off as soon as that condition is met.
Examples include:
- Save email attachments to OneDrive automatically
- Send a welcome message when a new employee joins
- Notify the team when a new lead is added in Dynamics 365
Automated workflows are perfect for those tasks where you don’t need/want to think about them once they’re set up.
2. Instant cloud flow
As the name suggests, these flows run manually, meaning you decide when to trigger them, usually with a button.
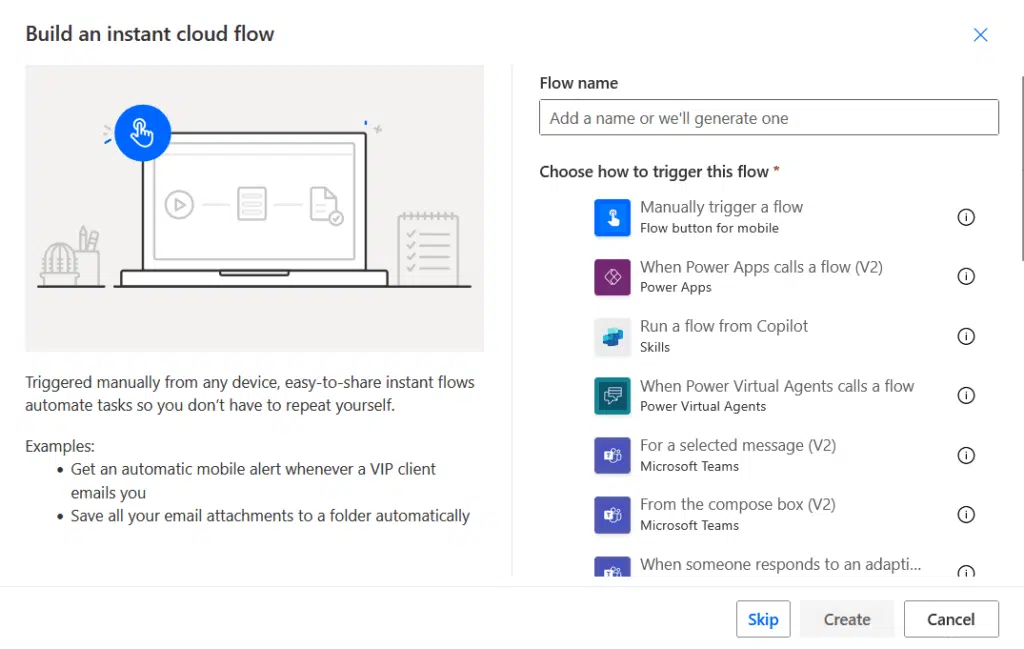
This type is good for tasks you don’t need to automate constantly, but want on demand.
For example:
- Send a quick status update to your manager with one tap
- Log your work hours manually from your phone
- Trigger a support ticket creation during a customer call
What’s nice is that you can run them from your phone, though you will need the Power Automate mobile app.
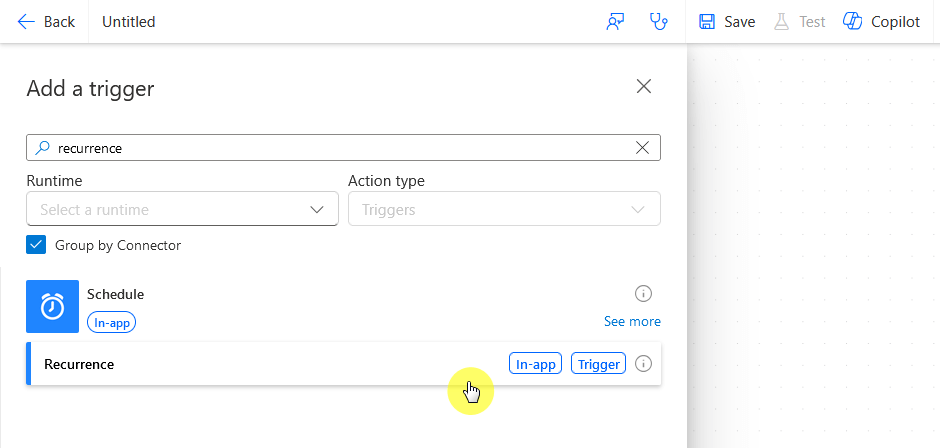
3. Scheduled cloud flow
This type of flow runs on a specific schedule, like daily, weekly, or even every minute.

These flows are great for routine tasks that happen regularly, since they don’t need a trigger besides the time set.
Some examples here:
- Send a weekly sales report every Monday at 9 AM
- Clean up old files from a folder every night
- Sync data between two systems every hour
Even if you close your browser or turn off your PC, scheduled cloud flows will still work as they run in the cloud.
As long as the flow is active and the service it interacts with is online, it will do its job on schedule, no matter if you’re online or not.
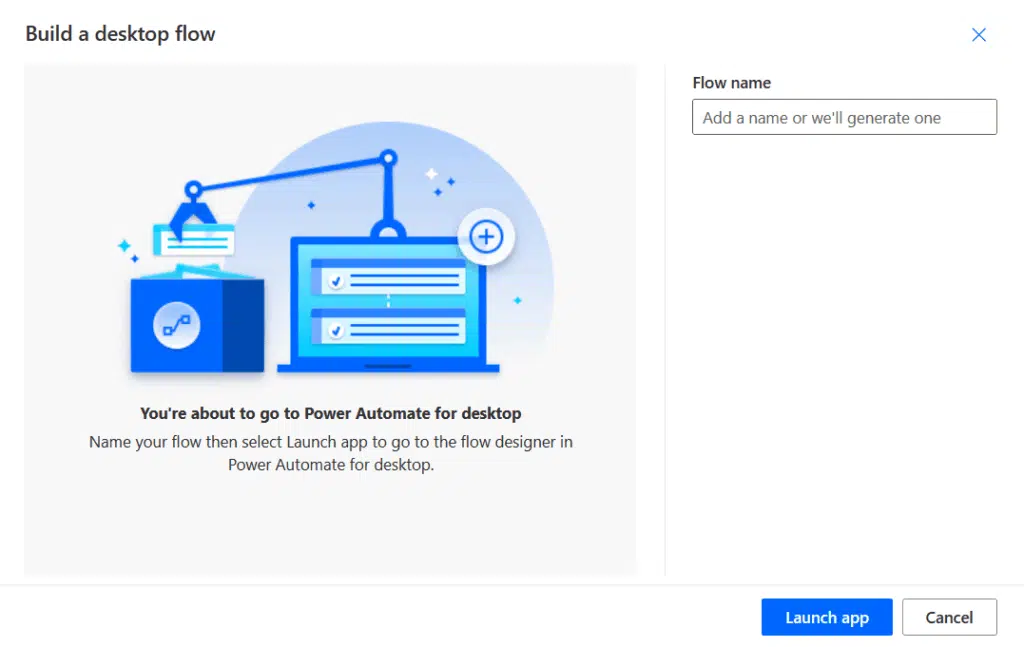
4. Desktop flow
These flows are used for automating tasks on your local computer, especially for older or desktop-only apps.
Powered by Power Automate Desktop and Robotic Process Automation (RPA), they can record mouse clicks, keystrokes, and actions.
A few examples here include:
- Automate data entry in an old desktop-only accounting app
- Extract info from a Windows-only HR system and save it to Excel
- Log into a legacy software daily and download reports
These flows are perfect when the task can’t be done through cloud apps alone.
Getting Started with Power Automate
Now that you’re familiar with Power Automate’s key features and flow types, let’s get to how you can get started with it.
How to Access Power Automate
Getting access to it is pretty simple, especially if you’re already using Microsoft 365; just go to make.powerautomate.com.
If you already have a Microsoft account, like from work, school, or even personal Outlook, you can sign in right away.
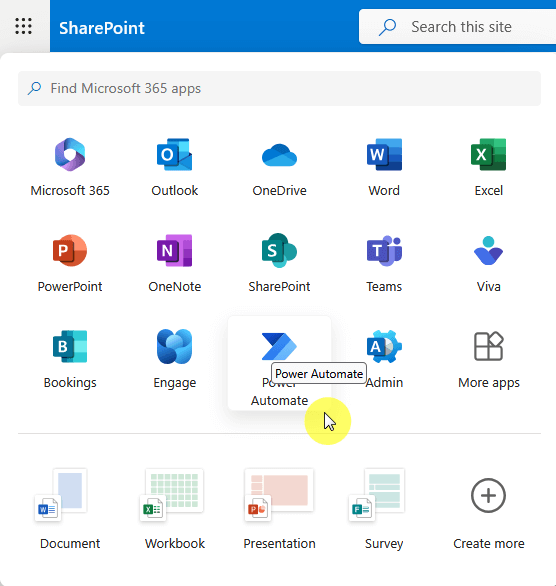
You can also go through the app launcher’s Power Automate icon:
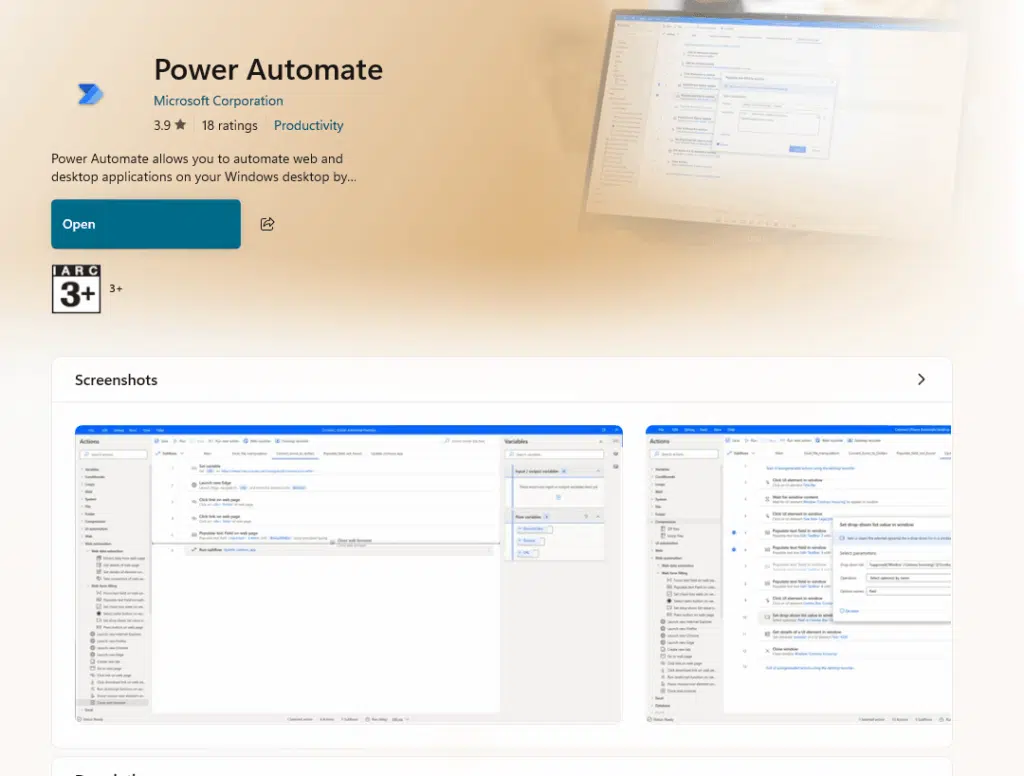
There’s also a desktop app if you want to create desktop flows using its desktop app, which should be there already.
If not, then you can easily install it from the Microsoft Store:
I already mentioned this earlier, but there’s also a mobile app that works on both iOS and Android to monitor and trigger flows.
Once you’re in, you will land on the dashboard where you can start exploring templates or building your first flow.
Once you’re inside Power Automate, the interface is pretty clean and user-friendly, even if you’re brand new.
Here’s what you will see:
- Left sidebar: This is your main menu, containing various options.
- “My flows”: This is where all your created flows live.
- “Create”: This is the place to start building something new.
- “Templates”: A great section to find ready-to-use flows.
- Top bar: Shows your profile, environment, and notifications.
When you open a Microsoft flow to edit or build, you get a step-by-step canvas.
Each step shows the app, action, and conditions you’ve added, and it’s a drag-and-drop style, so it feels pretty intuitive.
Even if you’re not technical, you will find your way around quickly, as it’s made to feel more like assembling blocks than writing code.
Creating a Power Automate Flow
You’re most likely up to date with Power Automate now 🙂 so it’s now time to demonstrate how to create custom workflows.
I recommend starting from two points:
- Template
- Copilot
If there’s not a template or anything close to what you need, then starting from Copilot would be the smart move.
Here’s what I did:
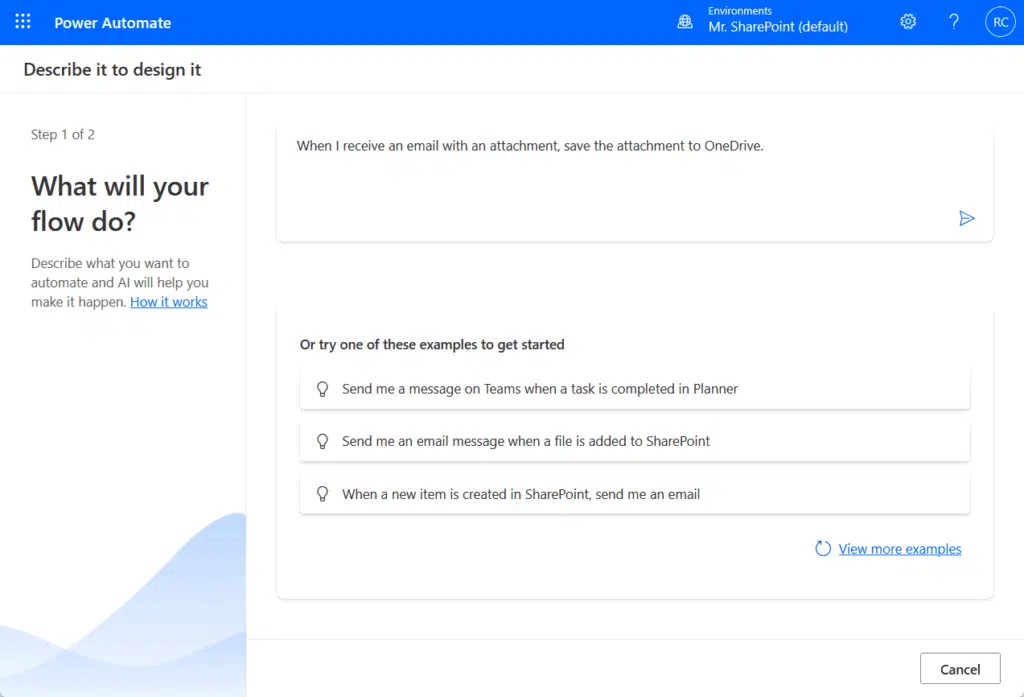
After that, Power Automate gave me a suggestion for a flow along with the trigger and what actions it will take.
If the suggested flow is accurate, then you most likely don’t need to change anything unless the flow doesn’t work.
But in case it doesn’t, you can always open each process, examine it, and tweak it as needed:
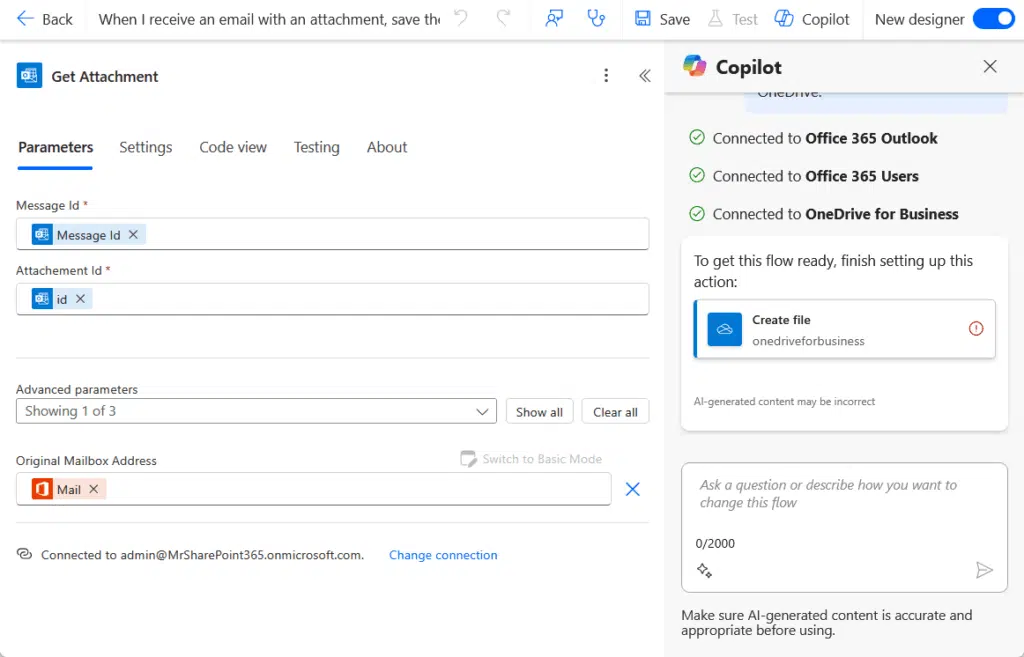
Once you’re happy with how everything looks, just save and test the flow.
You will know it’s working if you see it running in the history or get the expected result (like a saved file or notification).
Don’t worry if it doesn’t work on the first try, Power Automate gives you clear error messages to help fix things.
It’s all part of the learning process. 👌
Tips for Beginners
Before I end this article, let me give you a few tips that could help you use Power Automate more effectively.
The “Test” button is there to help you make sure your flow works by letting you simulate the trigger and see what happens.
In case you don’t know where it is, it’s in the top bar inside the canvas:
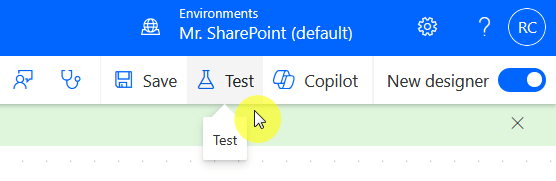
This is especially useful when you’re still tweaking things or you’re not sure if the connections are set up right.
When you click it, Power Automate will either wait for the real trigger to happen or let you manually run the flow.
After it runs, you will see a full breakdown of each action, what succeeded, what failed, and what data moved through.
This way, you catch mistakes early, fix them right away, and avoid the “why didn’t this run?” headache later on. 😅
2. Name your flows clearly
Giving your flows clear names might seem small, but it makes a big difference, especially as you start building more.
When you name a flow right and specific instead of the default “Untitled flow,” it’s easier to find it later in your list.
It makes troubleshooting easier later on and helps your team quickly understand what each flow is for without opening it.
Think of it like naming files on your desktop, you will thank yourself later. 🙂
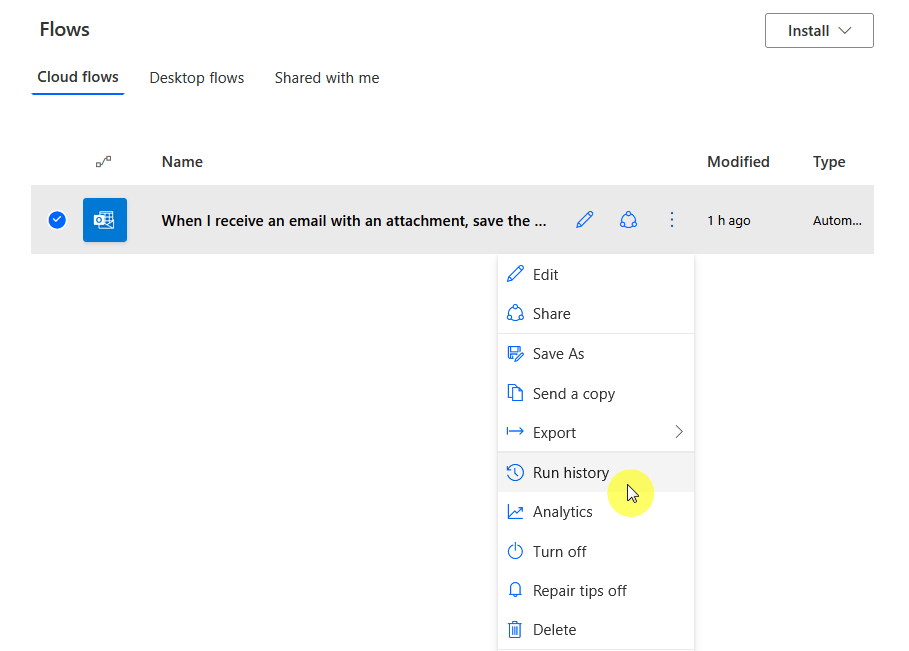
3. Check the run history to troubleshoot errors
The run history is your go-to place when a flow doesn’t work as expected, as it shows a detailed log of each run.
You can easily find it in your flow’s more commands option:
It will tell you which steps succeeded, failed, or were skipped.
You can click into each step to see the data that was passed through, making it easier to spot what went wrong.
For example, your flow didn’t work because maybe a file was missing, or an email address was incorrect.
It’s a simple way to fix issues, especially for more complex flows, so always check here first when something doesn’t work.
Do you have any questions about Microsoft Power Automate? Let me know in the comments.
For any business-related queries or concerns, contact me through the contact form. I always reply. 🙂


